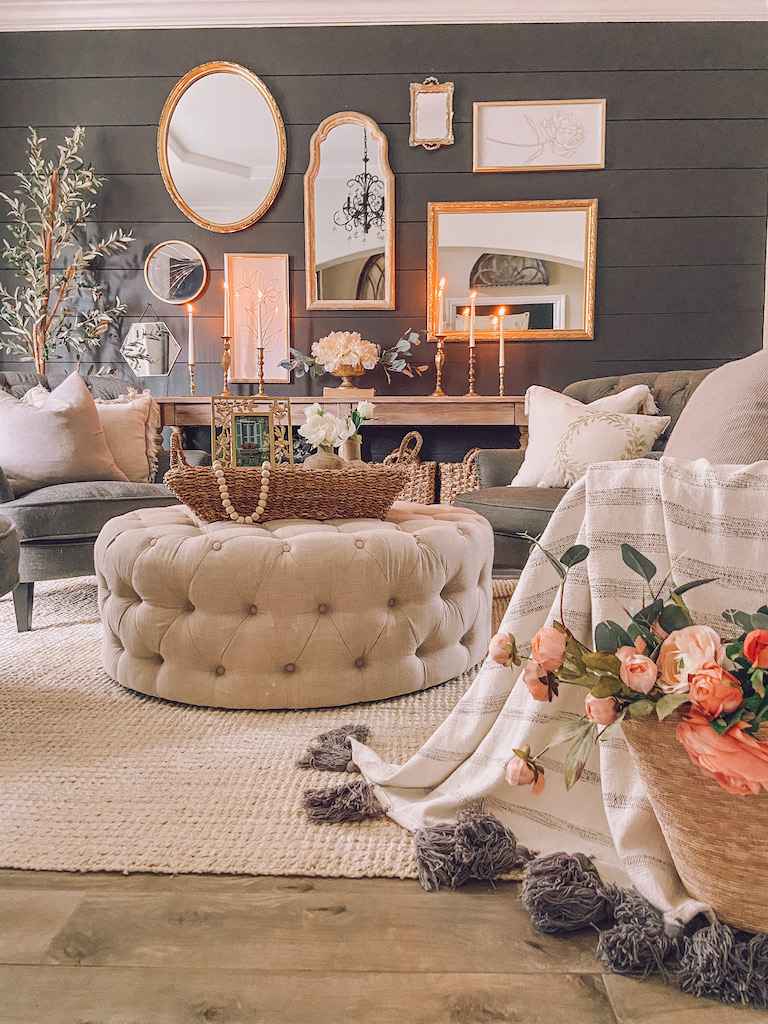
How to Create a Mirror Gallery Wall
Gallery walls are SO much fun!!!! I honestly don’t have any gallery walls in my house.. can you believe that??? Gallery walls used to intimidate me! I didn’t even know here to begin. However, the other day I had a few gold mirrors that I had NO idea what to do with… along with a blank wall that needed a new look. So, I took the challenge and designed my first ever mirror gallery wall!
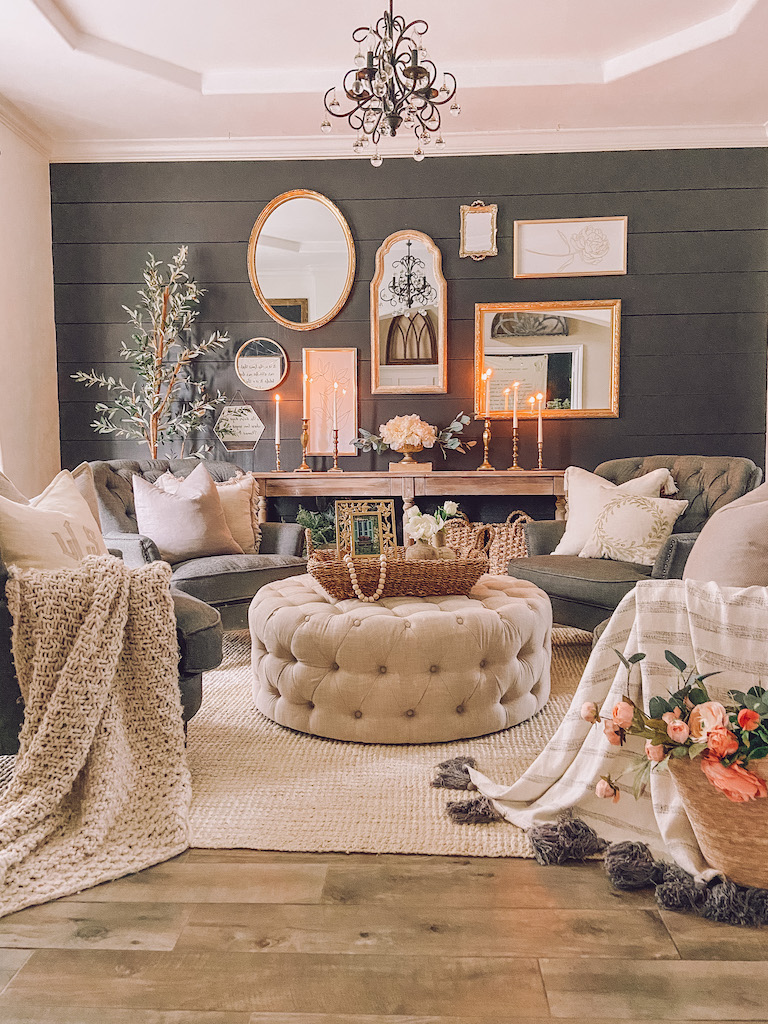
What appeared at first to be a daunting and time consuming project, ended up being fairly simple and easy! It was way more easier than it looked. I really don’t think you could possible mess it up! Today I am sharing some tips I used so you can create your own mirror gallery wall!
To find more details on the paint color and more from this room check out this post here.
How to Create a Mirror Gallery Wall

Step 1: Gather Your Mirrors and frames
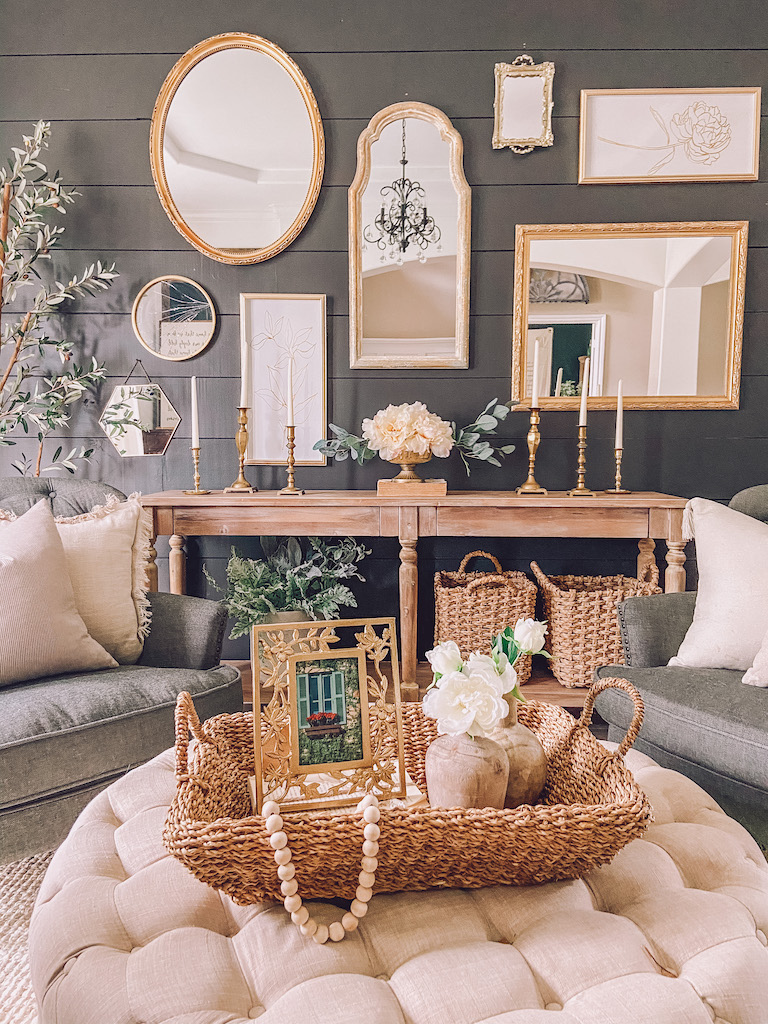
For this gallery wall, I used a mixture of gold framed mirrors and gold framed prints. During my shopping adventure, I had a hard time finding gold mirrors that I loved, but I found these cute gold floral prints that ended up being so perfect! The best place to find vintage mirrors are on facebook marketplace, antique malls, and thrifted stores! Don’t be afraid to mix old and new! Your mirrors don’t all have to have the same colored frame, don’t be afraid to mix it up!
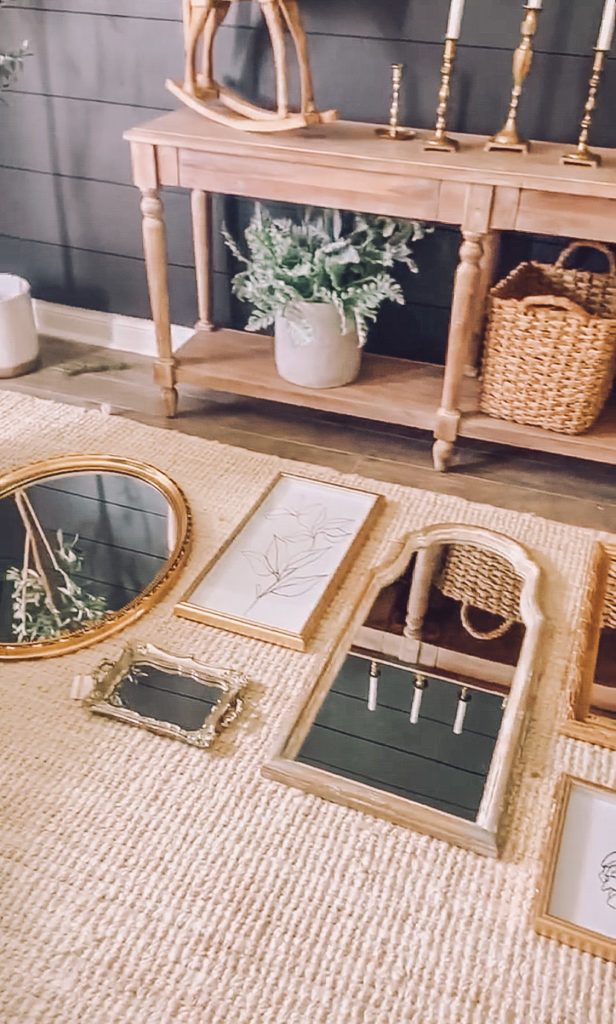
Step 2: Map out your mirror gallery wall
Lay all your mirrors and frames on the floor and begin to position the items. Make sure you use the same dimensions to map out the floor. Measure the space on your wall, and take into consideration the same measurements on the floor. To be more accurate, you can tape off the floor with blue painters tape if it helps to create the visual better. I really just winged it honestly… and ended up with LOTS of holes in my wall. So trust me….. make sure you measure!
Note: this photo is soo blurry.. I forgot to take a picture of this step and instead took a screen shot from my video ;).
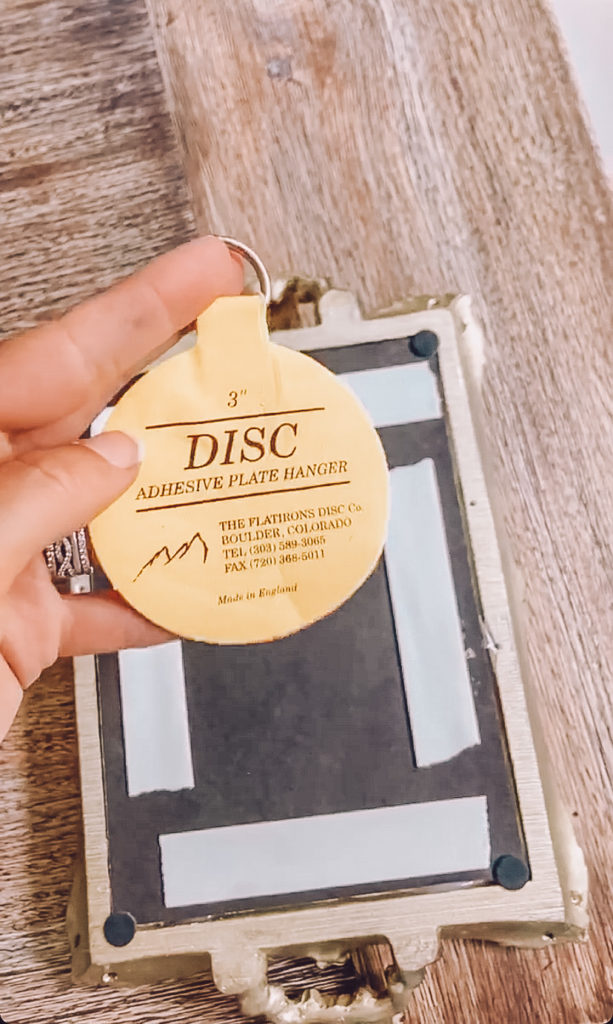
Step 3: Equip All Mirrors For Hanging
Ensure all mirrors have proper hanging equipment. I turned one of the gold floral prints on the side, and had to move the hanging hook to the correct space. You can also hang items without hooks, such as plates or trays using these disc hangers.
Step 4: Hang
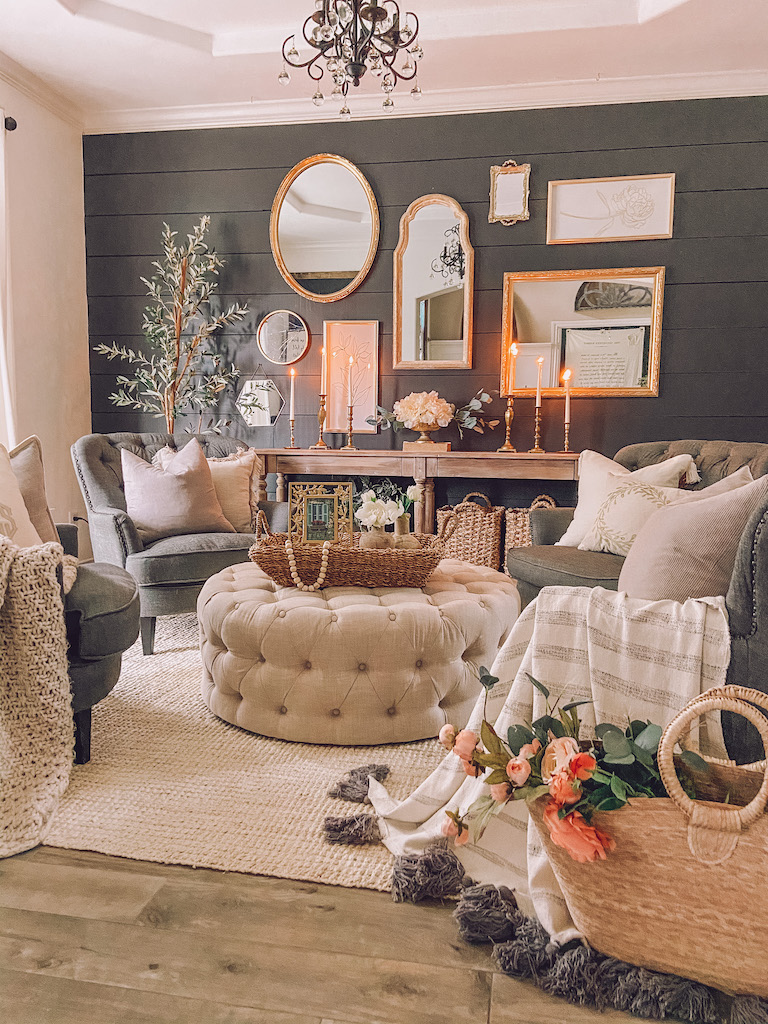
Now it is time to hang! I started with the center mirror because everything else is based off of the center. I wanted the center mirror to be center on wall so I measured down from the ceiling and up from the table to make sure it was center. To hang the items, I used screws. Next, I moved on to the other mirrors by holding them on their place on the wall, marking the top and then placing the screw appropriately on the wall. Simple and easy! Don’t be afraid to put holes in your wall! They can be easily repaired! Also, the measurements don’t have to be exact, I promise you that you can not mess this up. As long as the mirror is held up in the area you want, just mark the spot, add the screw and hang!
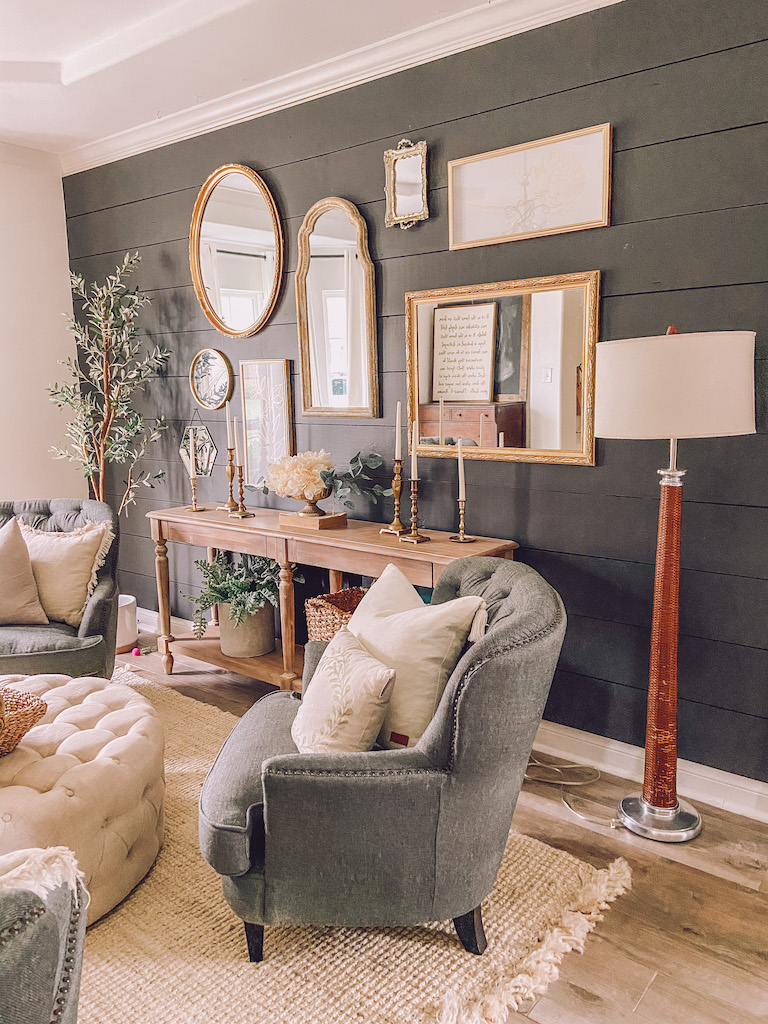
Now you have a beautiful mirror gallery wall! A mirror gallery wall makes a gorgeous statement in your home for all your guest to see!
For your shopping convenience I added some of my favorite gold mirrors along with other times from this sitting room.

xoxo,
Leanna

Beautifullllll! I love it!