HOW TO ORGANIZE YOUR PANTRY IN 5 EASY STEPS
If you haven’t noticed, I have recently been organizing all of the things! I love to organize and create simple and purposeful places in my home. Today I am going to share with you how to organize your pantry in 5 easy steps.
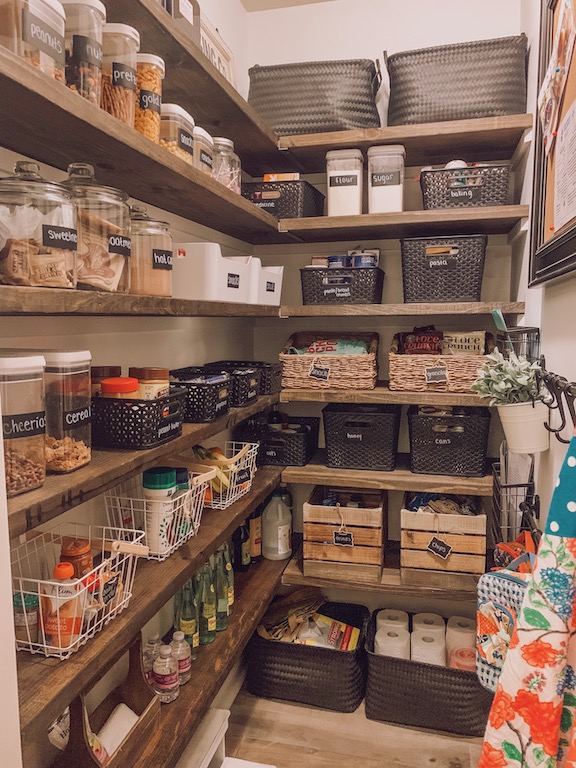
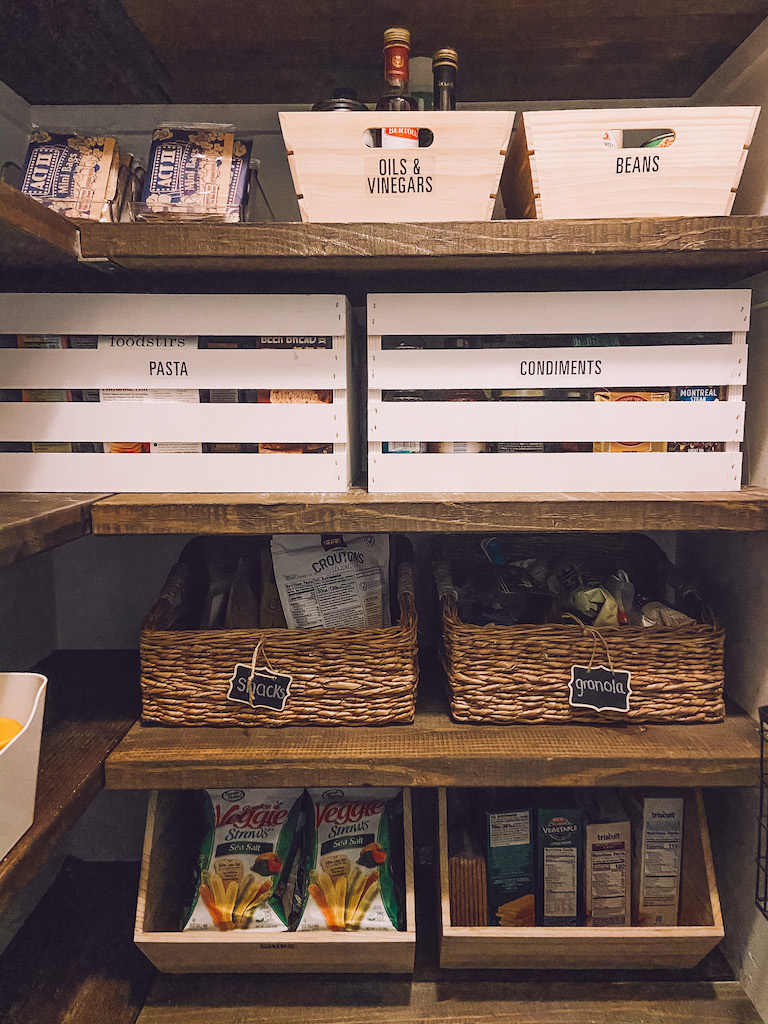
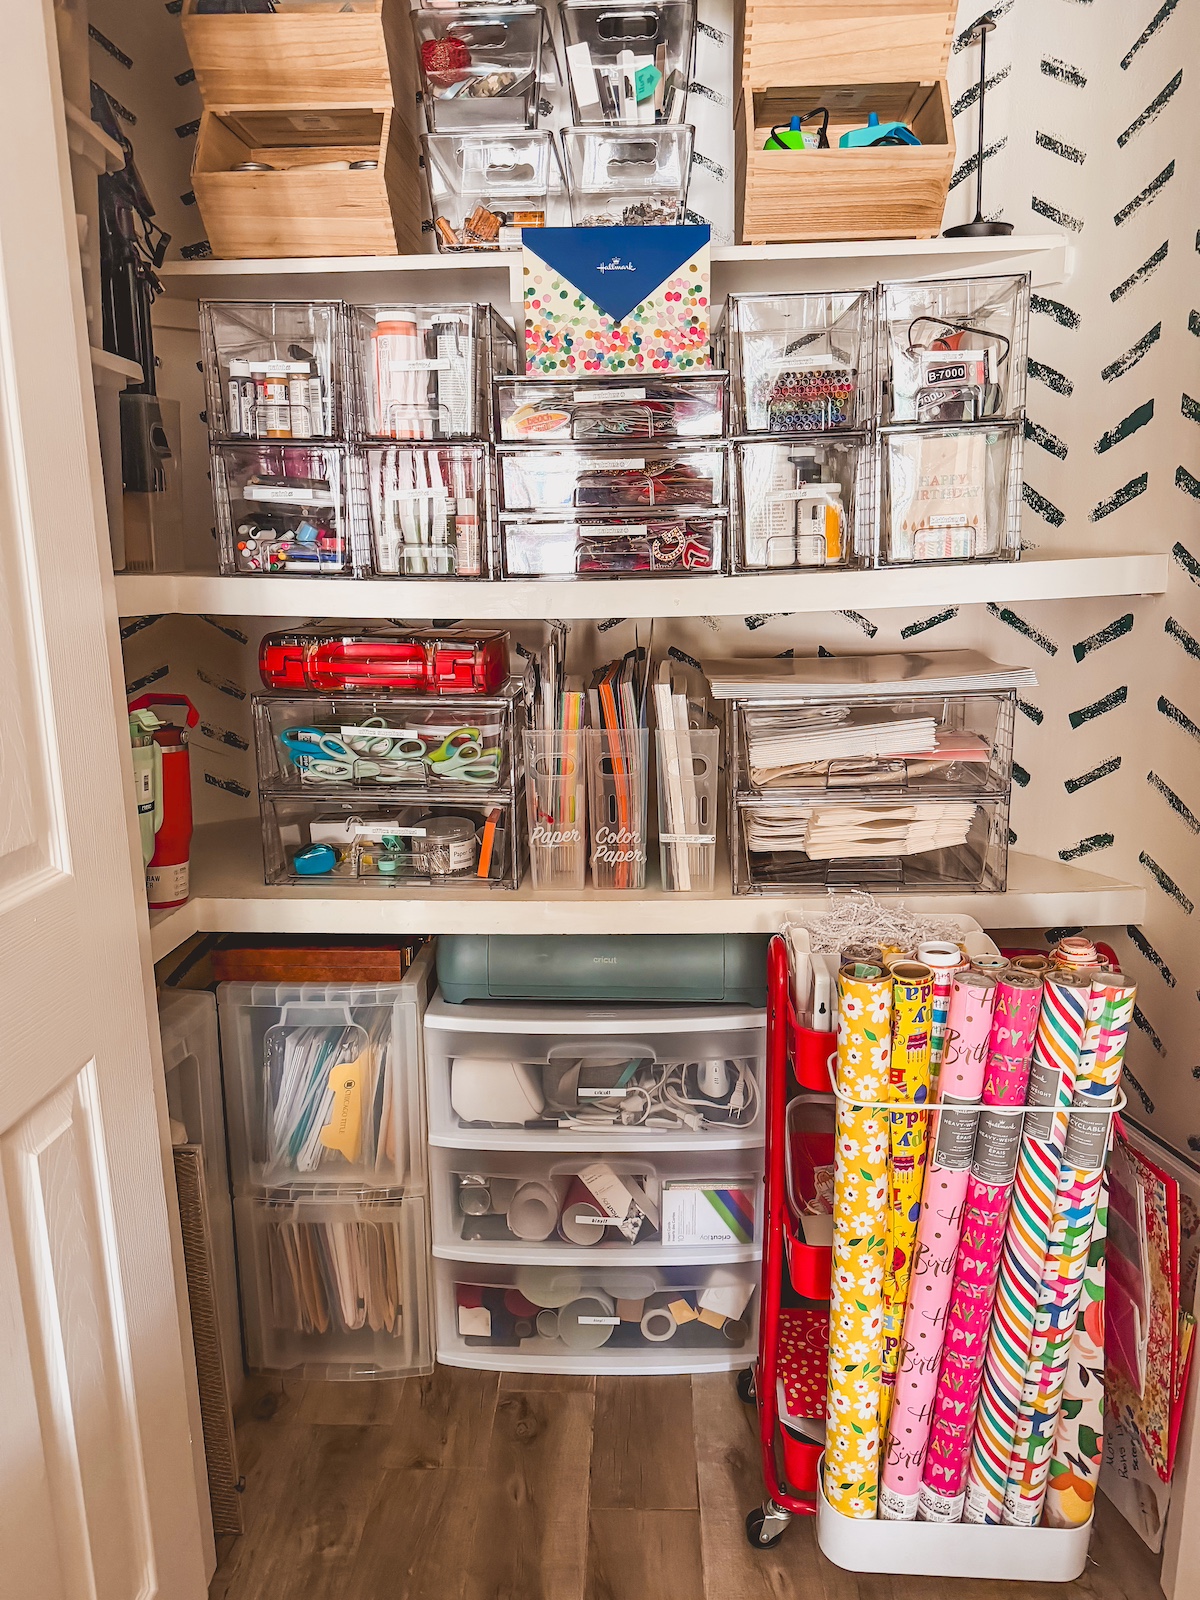
This is a picture of our pantry after we installed the new shelves. I loved the new system, but the black storage bins were too dark for our space.

STEP ONE: PURGE, SORT AND DECLUTTER TO ORGANIZE YOUR PANTRY
In any organization project the first task is to evaluate inventory. Here is a breakdown of steps we use to de-clutte
1. Take everything out (yes everything)
2. Wipe clean all of the shelves.
3. Organize your pantry goods into 4 piles- Trash, Recycle, Donate and Keep
4. Lastly, asses and analyze your Keep Pile. This is what you need to figure out how to sort when putting everything back in. Put like items together so you can see how many you have. This step is important so you can decide how many you really need in each category.
STEP TWO: PLANNING TO CREATE YOUR ORGANIZED PANTRY
Now that you can see all that you have, you are ready to PLAN your organization.
1. First, decide if all the categories belong in this area based on space available and daily use (if you need more space: can you move your medicine to your bathroom, or extra soda cans to your garage?)
2. Next, determine if everything will fit and how. You may decide at this point to get rid of more.
3. After that, visualize configuration possibilities. Figure out where the best places to put things. Example, put kid items in arms reach for kids. Keep small appliances that are hardly used at the top, and soda cans and drinks at the bottom.
4. Now, imagine what types of storage containers would work best based on space and type of items. Make sure to take measurements to make sure you buy containers that fit your space.
STEP THREE: SHOPPING
After you have organized, de-cluttered, visualized, measured and planned you are now ready to shop for your containers!
Possible storage containers to organize your pantry:
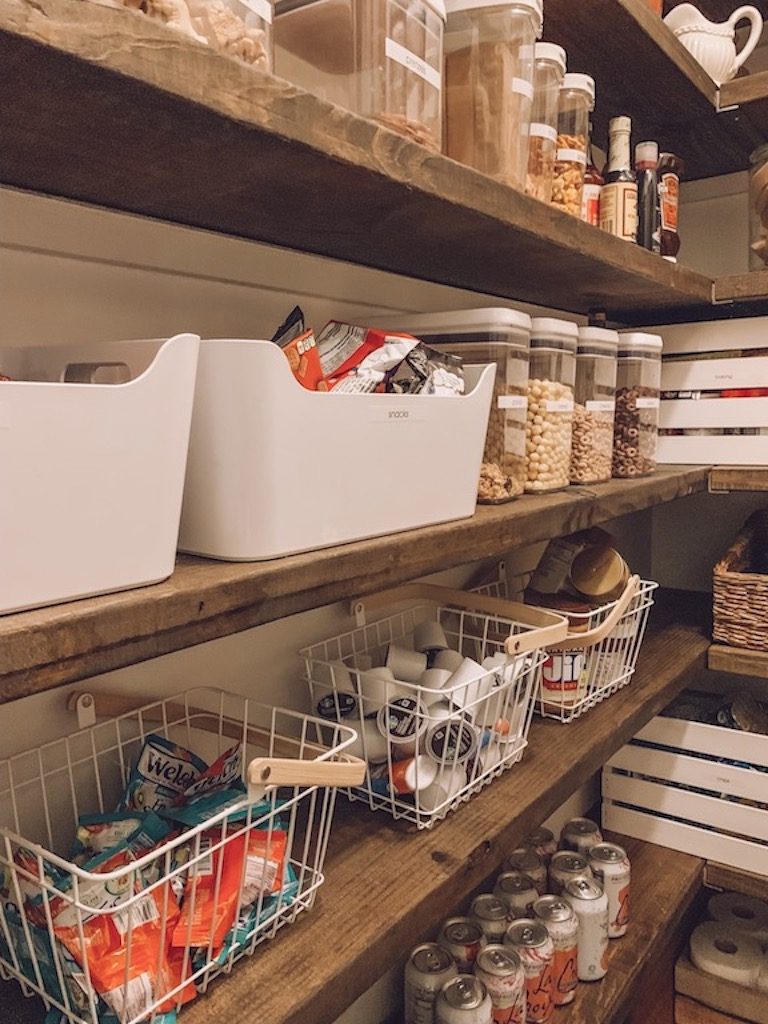
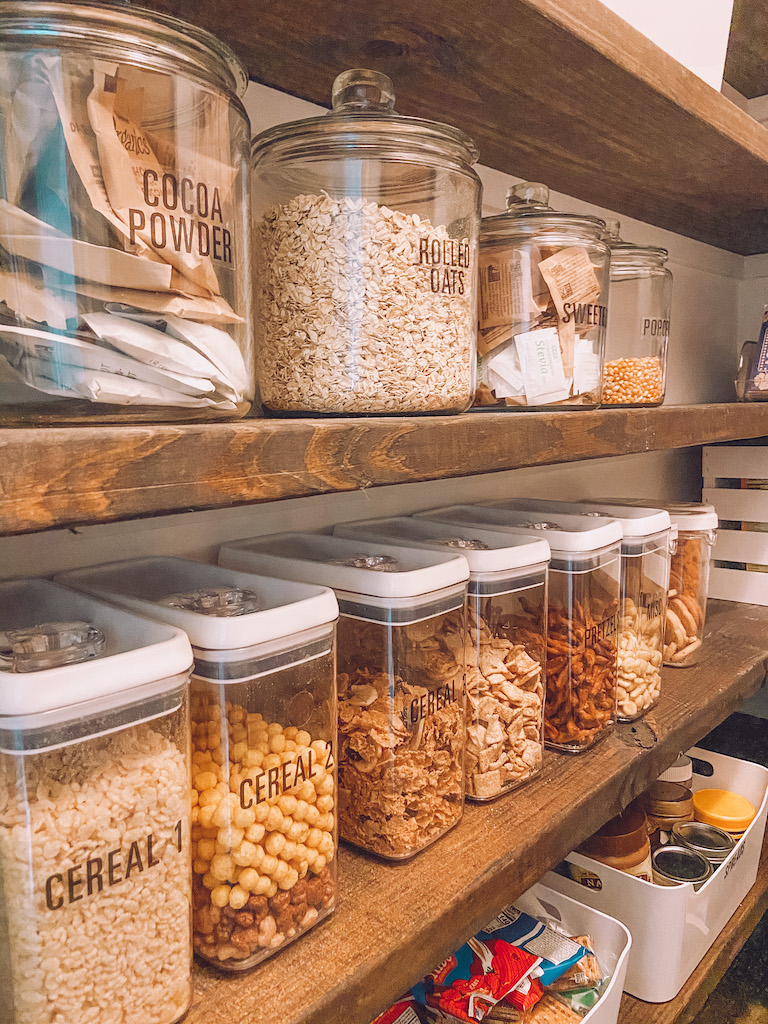
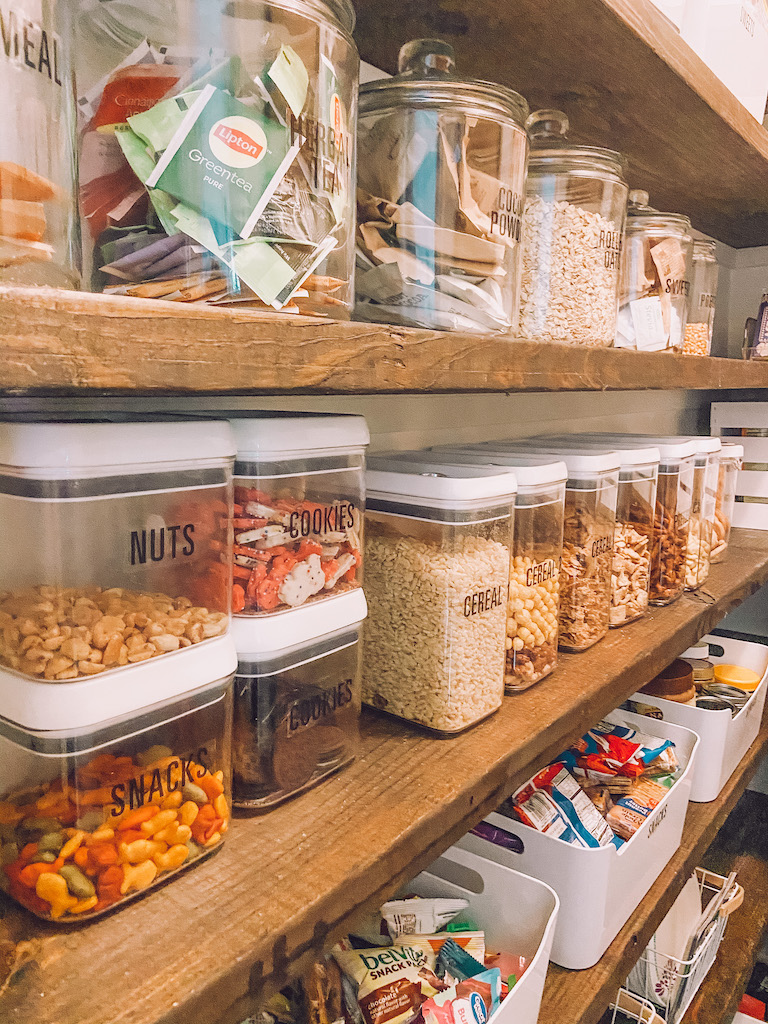
· Air-Tight Food Storage Containers– Perfect for food items like cereal, cookies, crackers and nuts. Above all, they are especially good if you have kids and solve the problem of poorly closed boxes and stale food.
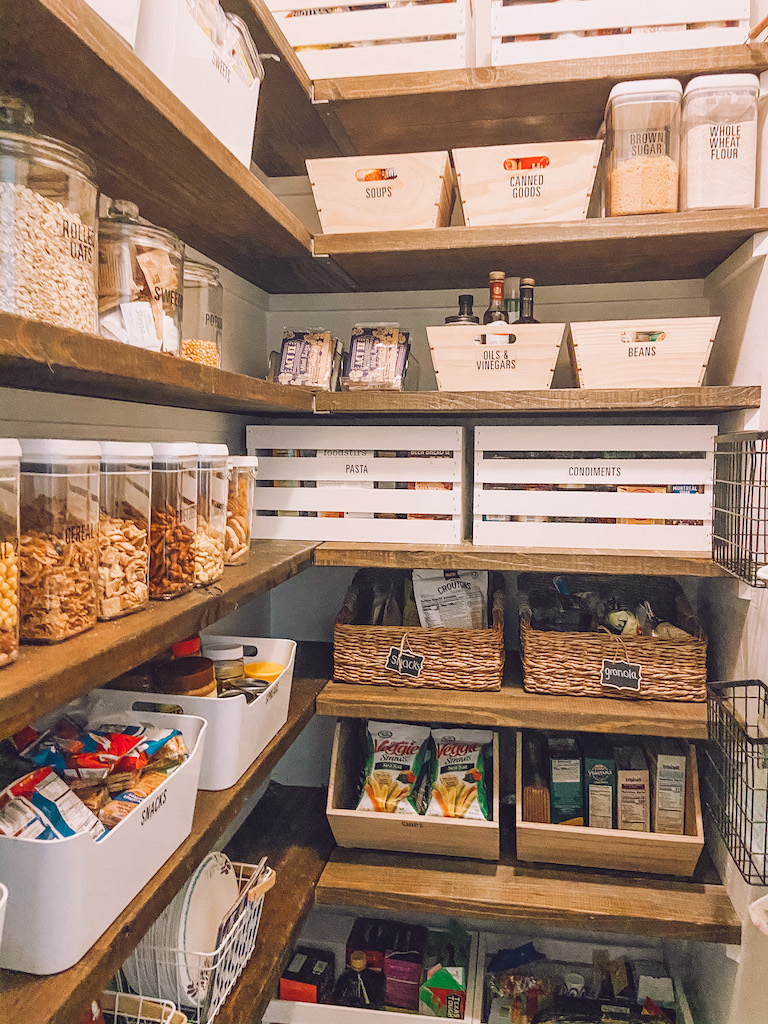
· Small Storage Bins– These are perfect for small pantry items like individual snacks packs.
· Medium Storage Bins– Medium storage bins are best used for boxed food such as mac and cheese, bread crumbs, panko, or condiments and bottles of oils etc.
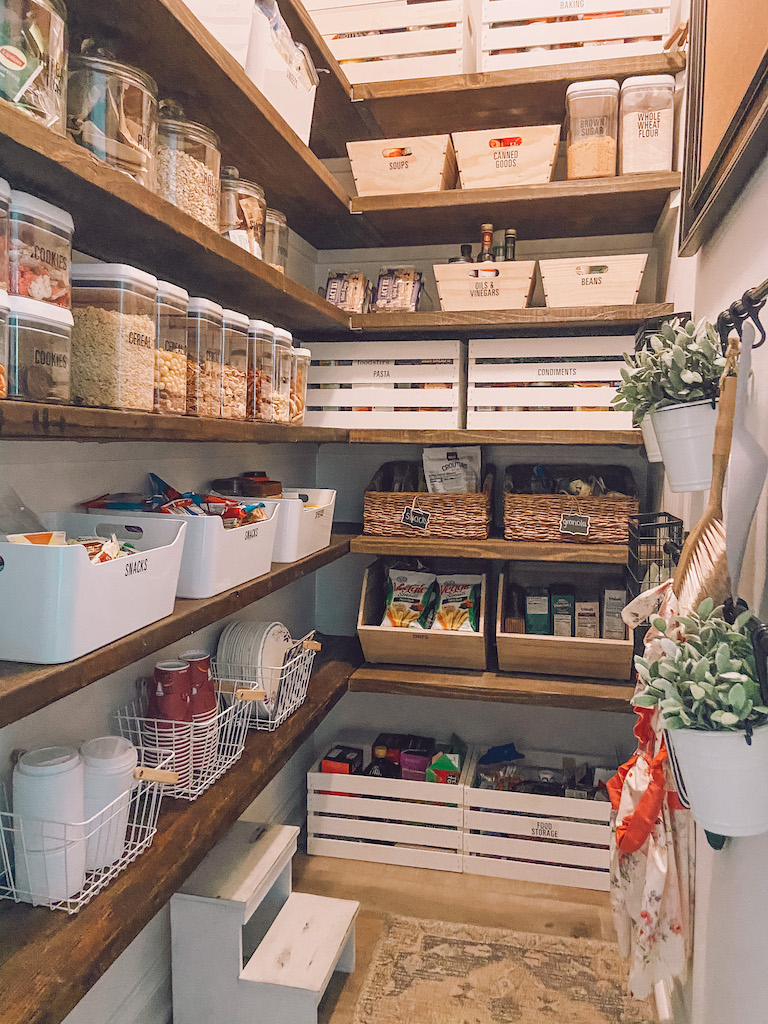
· Large Storage Bins– Best used for floor storage because of their large size. Similarly, they are perfect for items like paper towels, lunch boxes, water bottles, garbage bags and any other paper goods.
Buy the storage bins that are practical to you and your family. Hence, I did a mixture of all of the above!
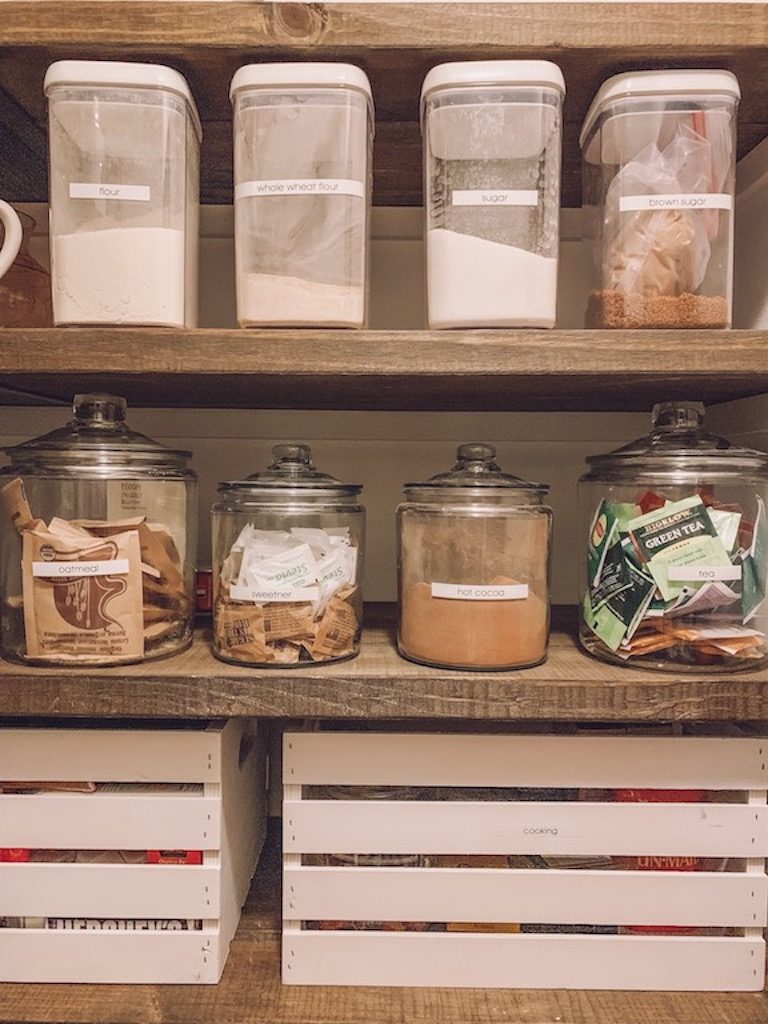
STEP FOUR : LABEL EVERYTHING
Labeling your bins and containers is always a good idea! It’s also a great way to achieve “compliance” from family members (and visitors) to keep things organized!
Ideas for labels to organize your pantry:
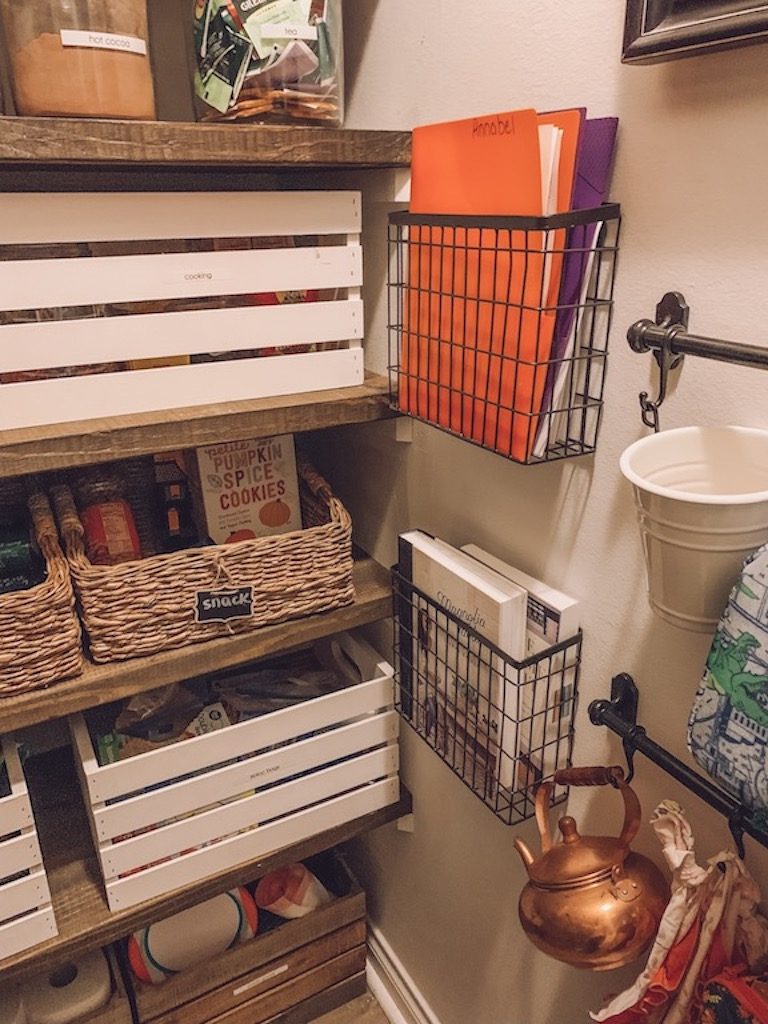
- Chalkboard Labels – Chalkboard tags or tape are a great idea because they can easily be changed if you decide to move things or can be used on bins that get swapped out a lot like canisters in the kitchen or kids’ toys. They are also easy to find at your local craft store.
- Label Maker – An old fashioned label maker is still easy to use, inexpensive and can add a fun retro flare. We have one and can send you tags this way.
- Make Your Own – Cut and make your own out of cardstock or recycled cards. Punch with a whole punch and add a fun ribbon.
- Vinyl – We can use our silhouette to make you up to 15 vinyl stickers or The Talented Kitchen on Amazon has a great set to purchase as well.
I chose to use my label maker to make my own labels. As a result, I have a uniform look on all of my storage bins.
STEP FIVE: PUTTING IT ALL TOGETHER
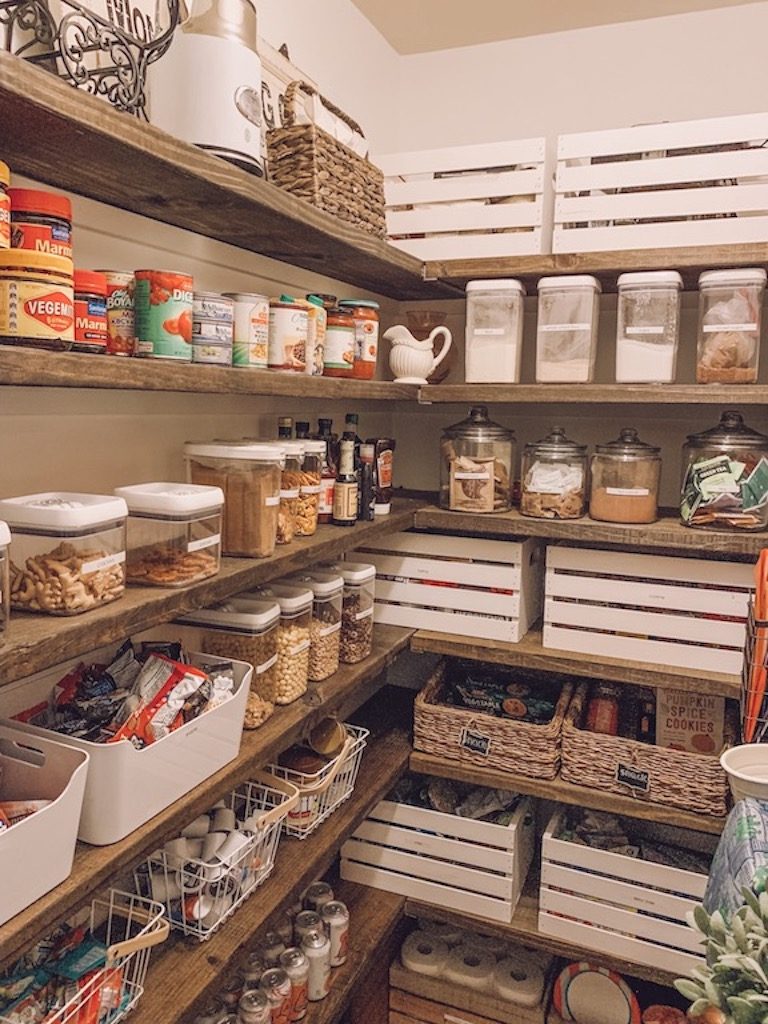
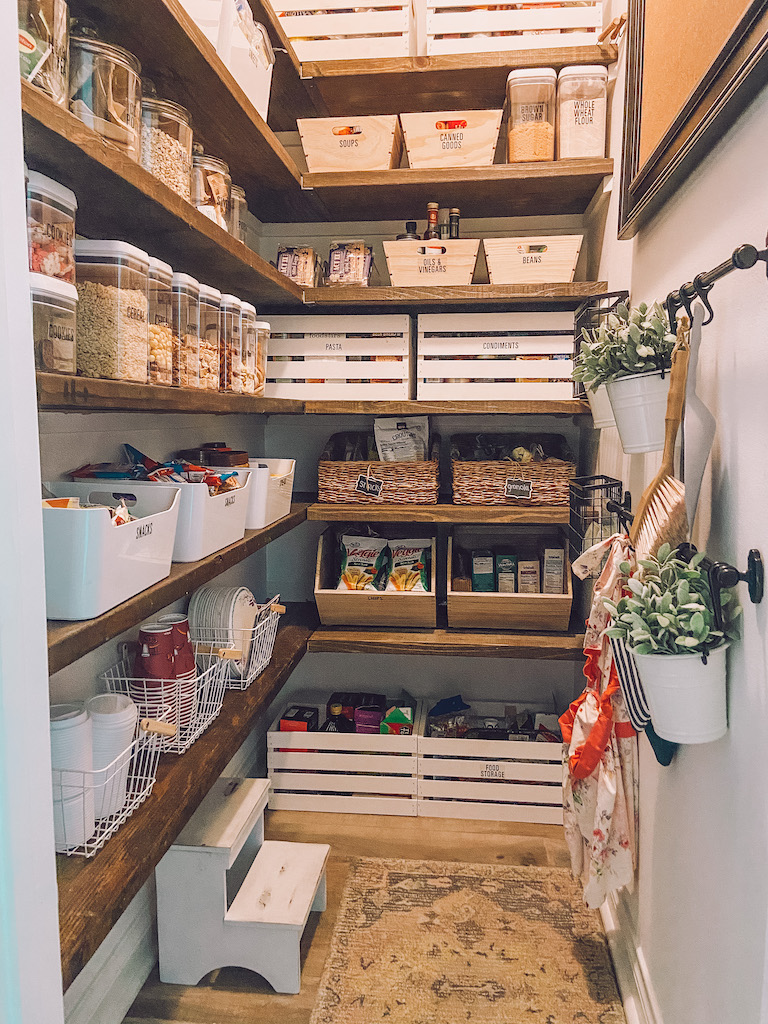
This is my favorite part! Finally, it is time to play around with different arrangements of your storage bins and pantry products until it looks great. In addition, make sure to think about the practicality of everyday use.
Helpful Tips:
· Hide things that will tend to get messy with use.
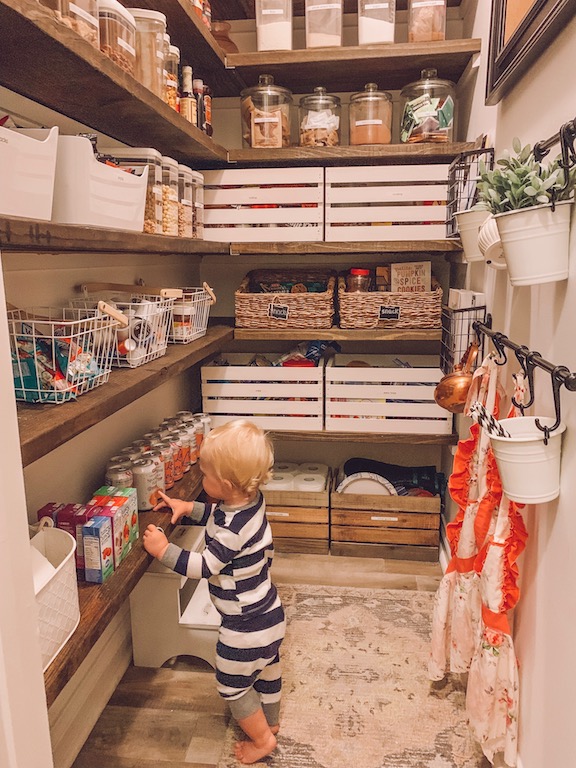
· Put kid snacks where they can reach them.
· Similarly, put things you don’t want the kids to reach hidden and/or out of reach.
· Consider putting labels on bins, baskets and containers to help stay organized
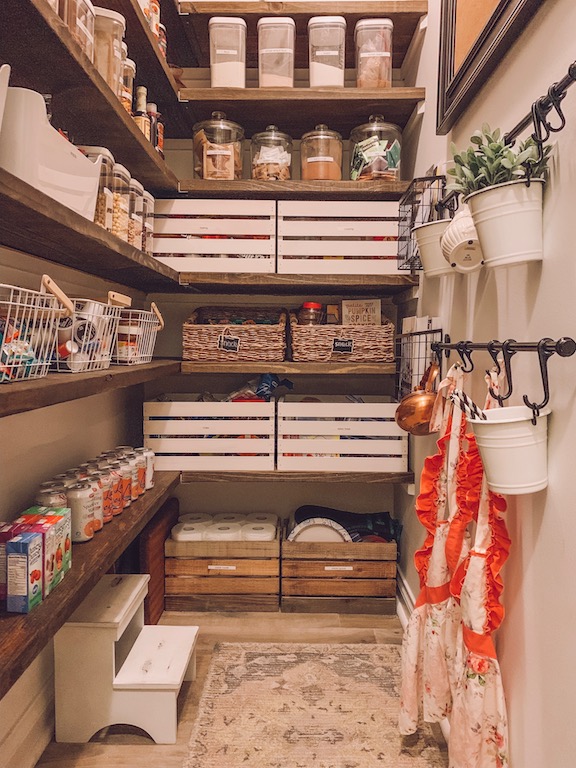
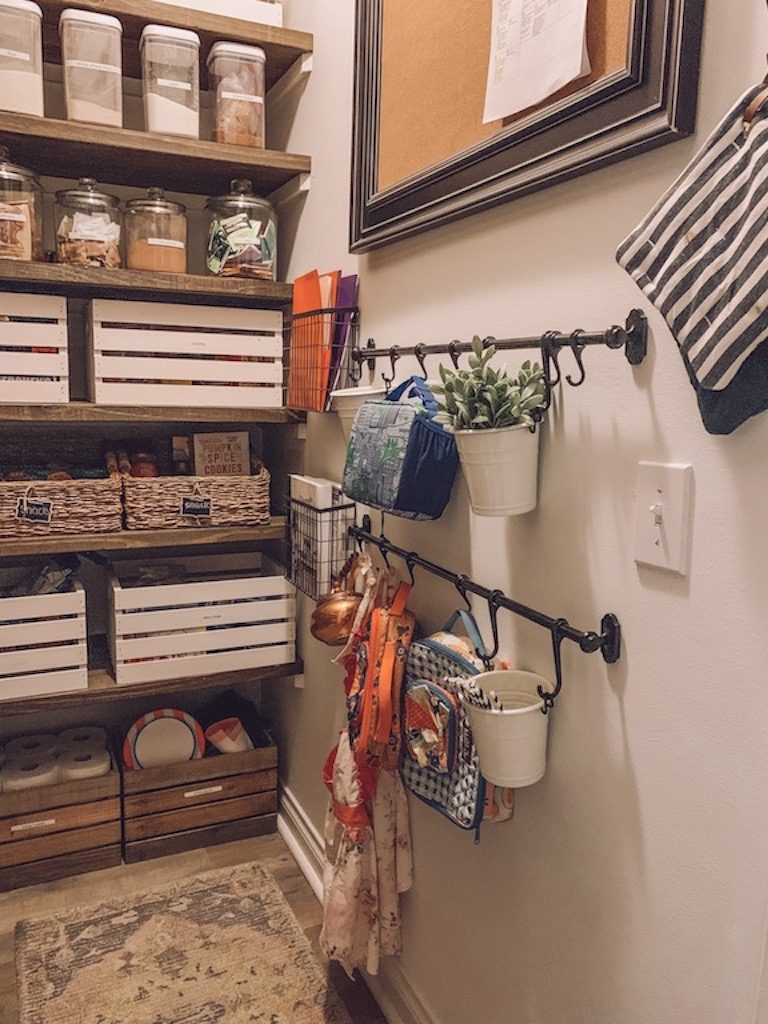
· Even in a functional space it’s always worth saving a bit of space for decor. The prettier it is, the more motivating it will be to keep it that way!
I still have a couple things I want to do in here (like add a fun wallpaper and find a new can storage system)! But, I love that everything is so accessible! I now walk into our pantry and can always find what I am looking for! The kids also find it so much fun to be able to find their own snacks!
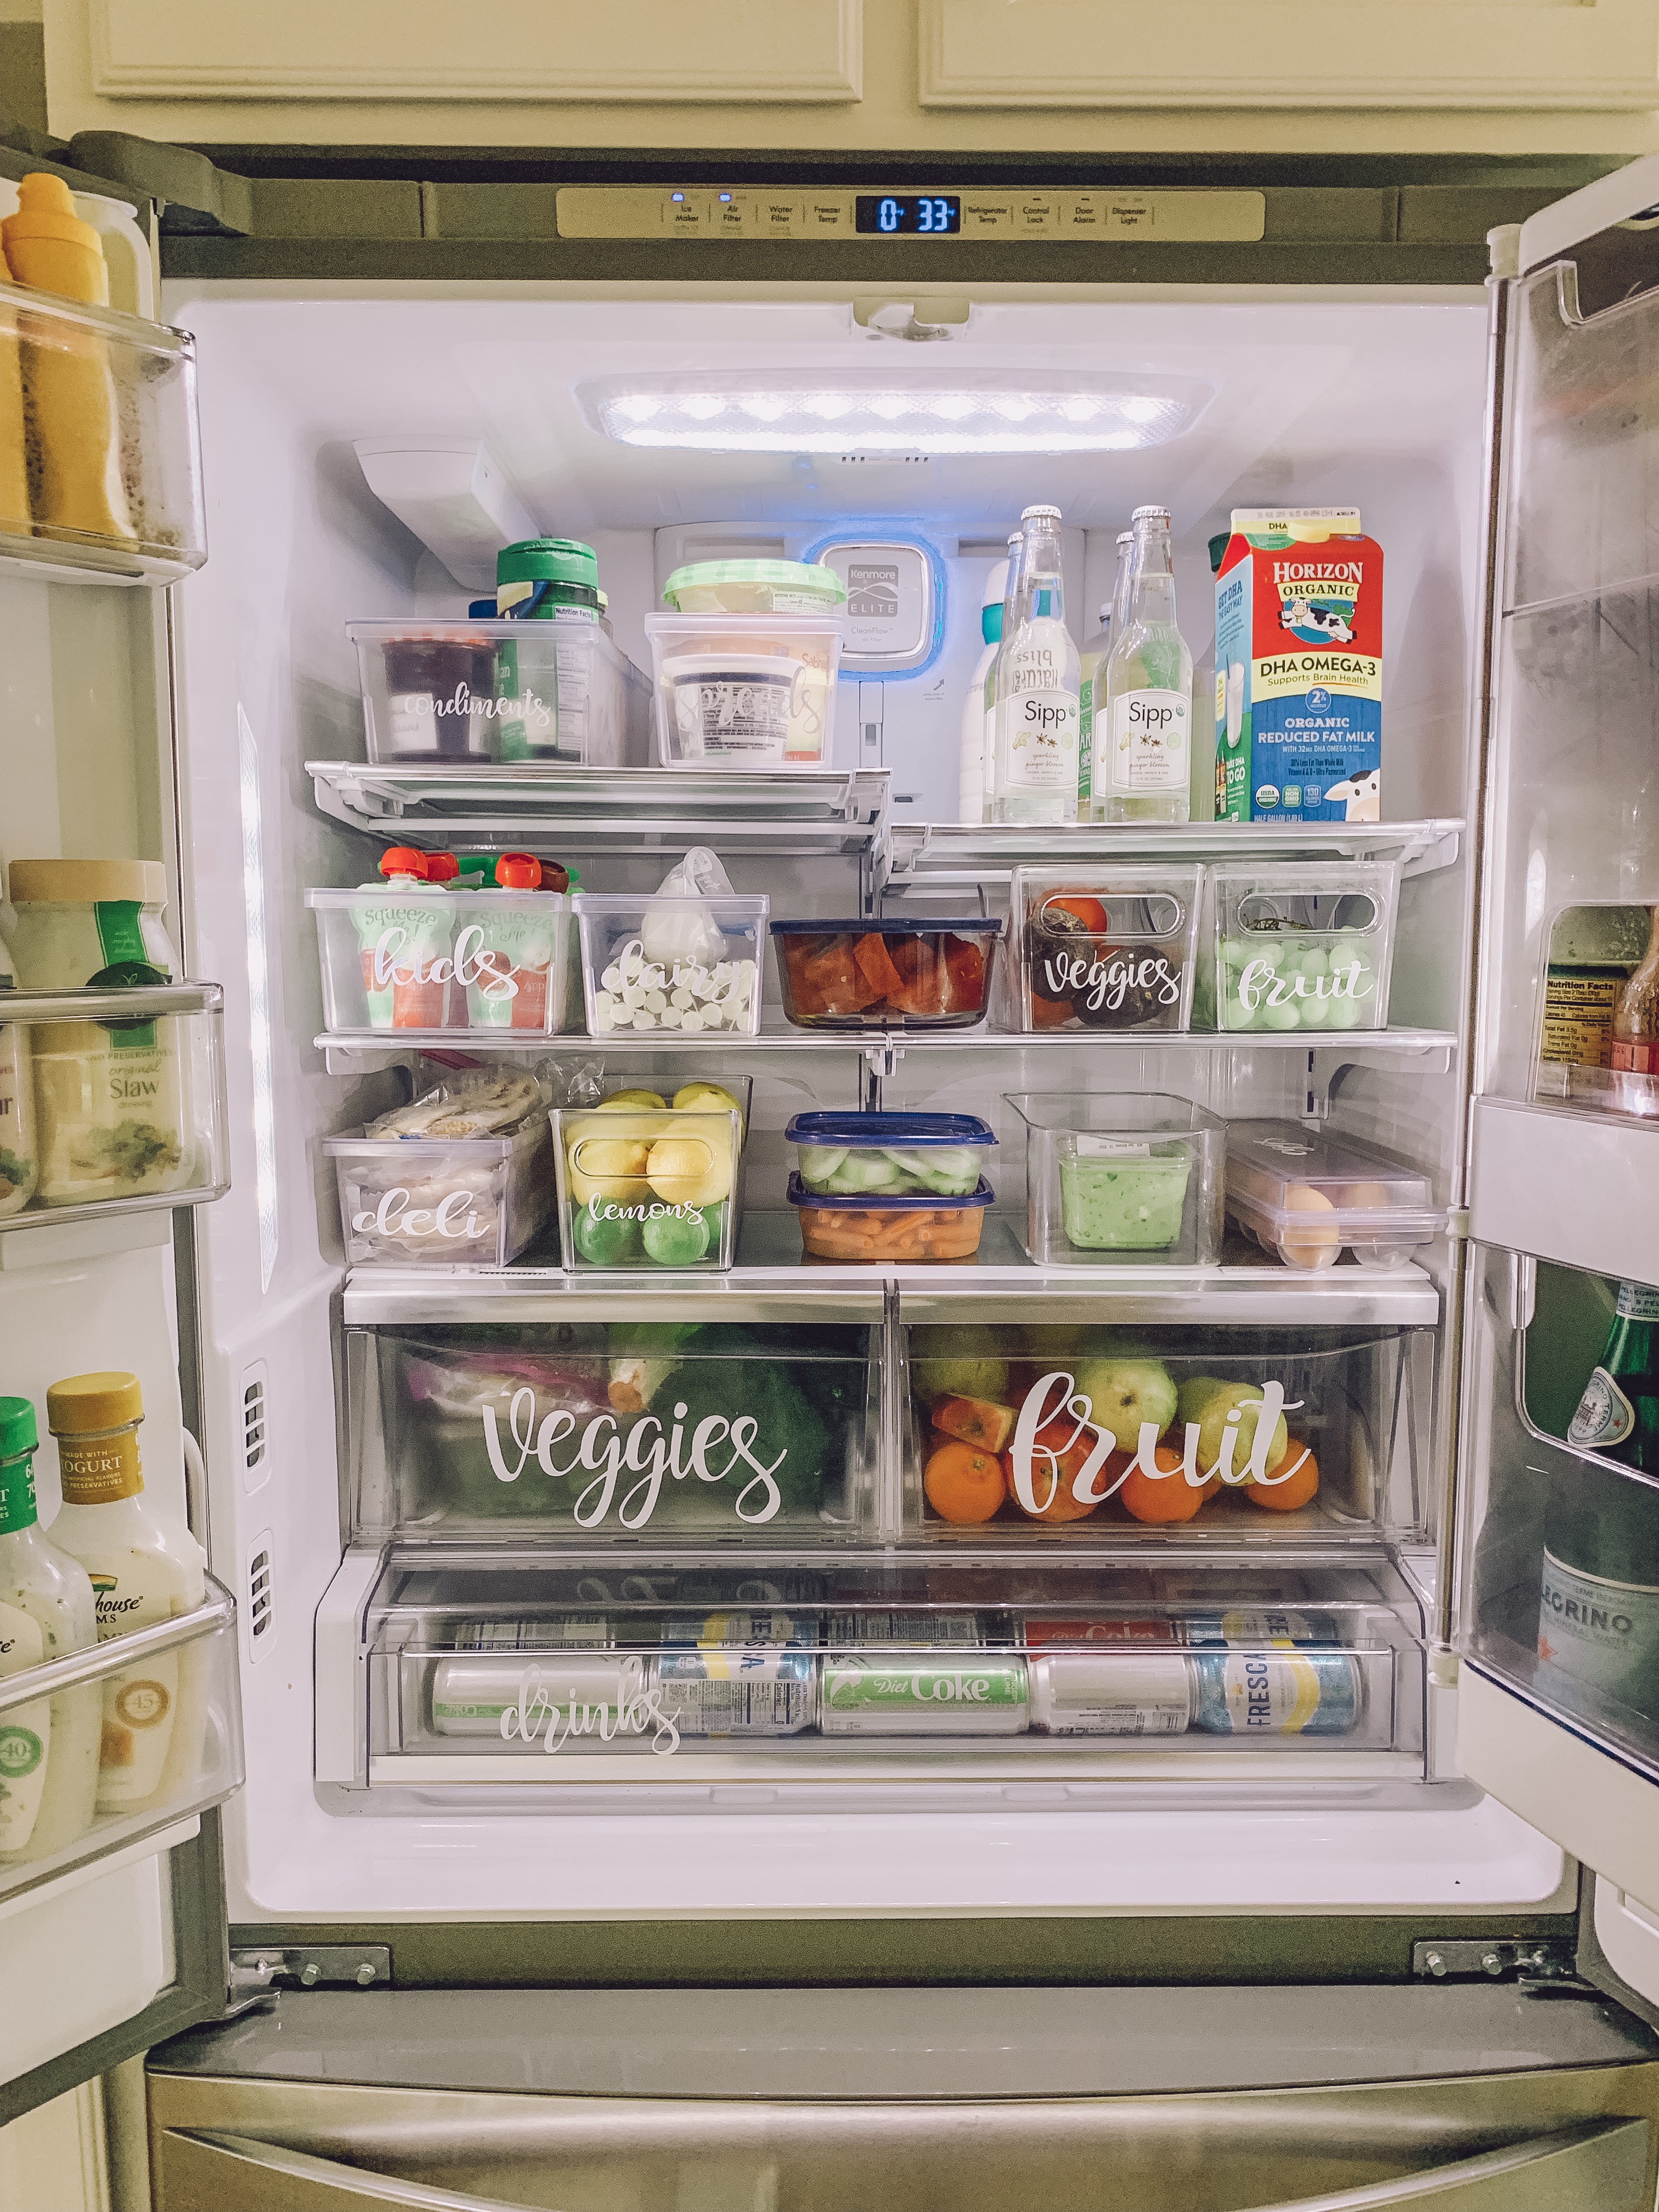
If you loved our pantry organization ideas head to my blog post on how to organize your refrigerator here.
xoxo,
Leanna
I added some of my favorite pantry organizational products for your shopping convenience.

UPDATED PANTRY
This post has been edited to share some more recent photos of my pantry. I added some fun new labels from the Talented Kitchen! I also separated some of the pantry goods into smaller bins so I could see what I had more easily.
Some times it takes a few trials before you figure out a system that works for you and your family.
What do you think?

I love your pantry! Mine is very similar and I would love to do my shelves like you did. Did you have a post on how you did them? Thank you so much
Not yet! but its on my list! Thank you!