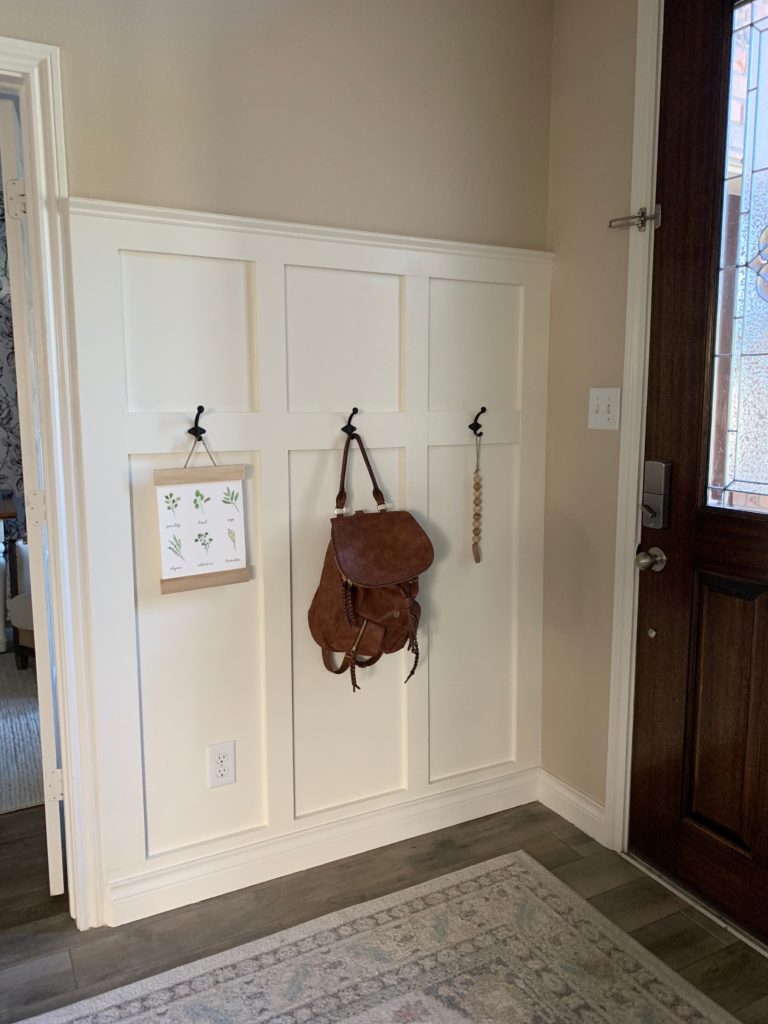
DIY Board and Batten Wall Tutorial
I have been staring at this blank wall since the day we moved into our house. First, I tried a small entry way table but I never truly loved the space. The table was in the way all the time to get in and out of the door. I knew I wanted something that made this space more practical and also brought this wall to life. At first I thought we should do shiplap. But, I wanted to try something new since we have shiplap in a few rooms in our house already. I new DIY board and batten wall with a few hooks would be perfect for this space and I was so excited to get to work!
Materials needed for your board and batten wall:
1 x 6″ Pine boards – For thick trim at top and bottom
1 x 4″ Pine boards- For sides and interior trim
2 & 2-1/2-Inch 16 Gauge Finish Nails
2.7 mm Utility plywood (to cover the texture on walls before placing trim)
Primer
Paint of choice – We used Alabaster by Sherwin Willams in Semi Gloss
Tools Needed:
Table Saw (optional)
Chop Saw
Level
Steps:
Let me start out by saying that if your walls are not textured this will be even easier for you. But if you live in the state of Texas where every home has textures walls I am afraid we have a few extra steps.
If you have textured walls, you’ll want to cover them with a thin layer of plywood. If you choose not to do this step, your wall won’t look like it is one solid piece, because you will see the texture through your paint. We did this in our spare bathroom and I really dislike how it came out (another project on the list is to do it right the next time) . Plywood comes in 4 x 8 foot sheets. The 2.7mm is the thinnest and has a smooth finish that is ready to be painted so no sanding is needed.
Measure your wall to determine the size to cut the plywood. You can divide the plywood up in pieces if it is easier to manage. But please make note to only make your cuts where they are going to be covered by the vertical boards or horizontal boards like the example below. Use your jigsaw or table saw to make the appropriate cuts.

To adhere your plywood to the wall use the brad nailer and 3/4inch nails. You don’t need to find studs since its a very thin layer of plywood.
Next, Measure and mark out with a pencil where you want the vertical and horizontal framing. Make sure that all the inner panels are spaced out the same along the wall.
With your jigsaw or table saw, cut out the framing for the bottom board first with the 1×6 pine boards. Next, nail it up using the brad nailer.
After, cut and nail up the vertical boards with the 1×4 pine boards.
Finally, cut and nail the top horizontal board using the 1×6 pine board.
If you want to add bottom trim, nail it on last.

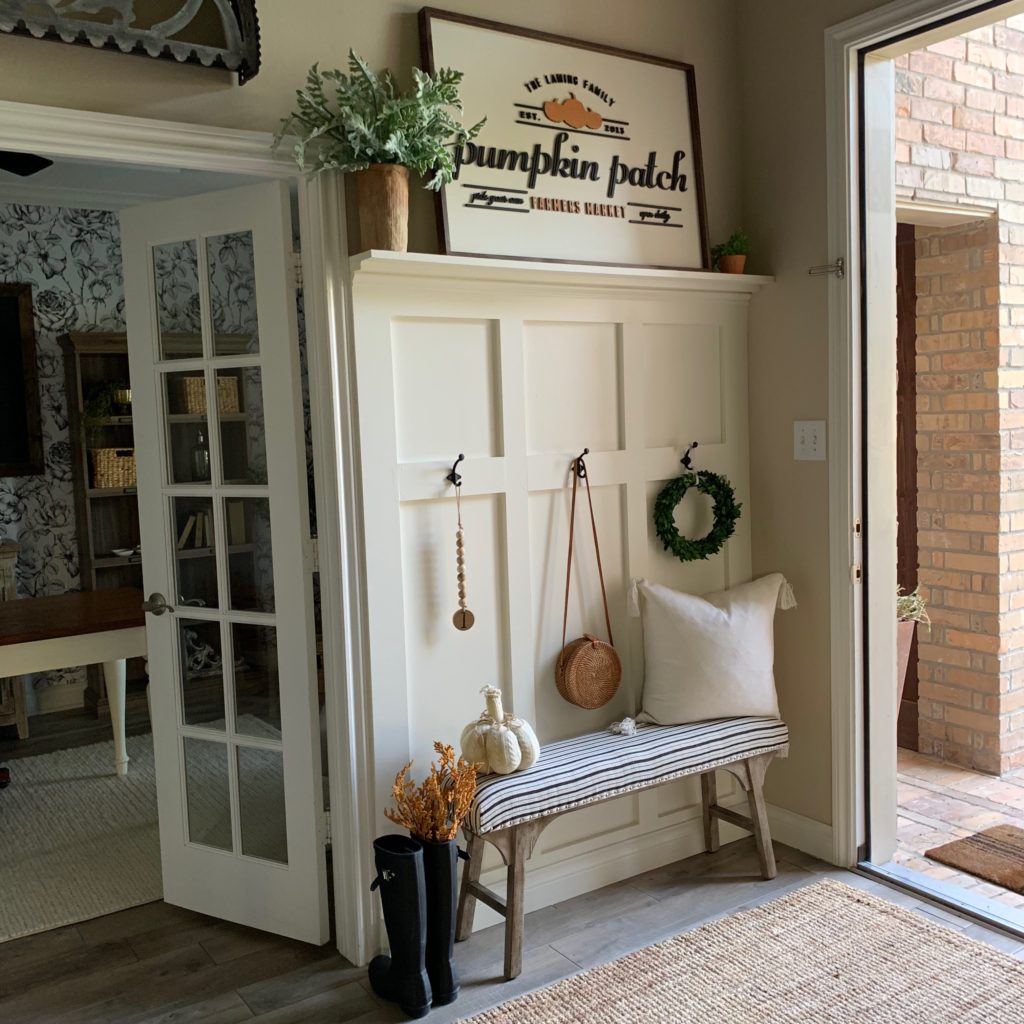
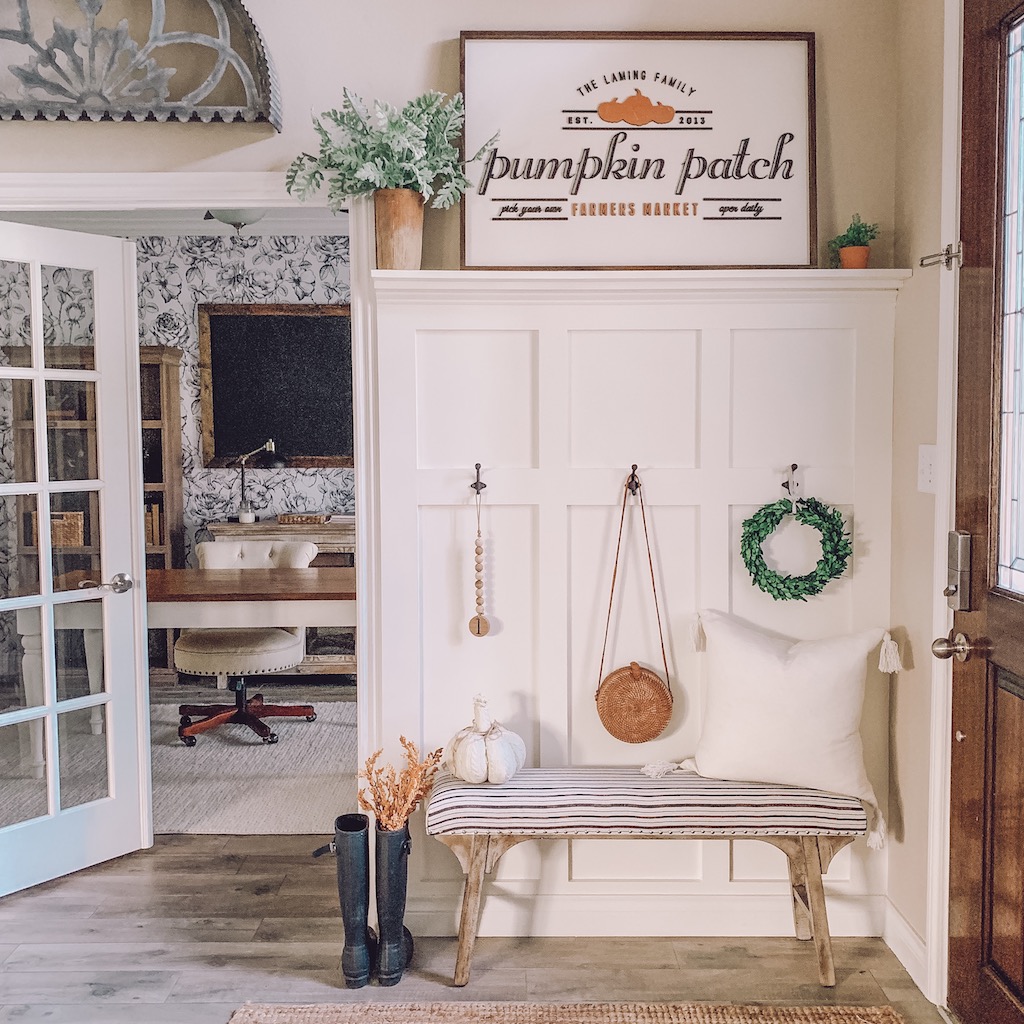
If you want to add a small ledge to the top:
Use a piece of quarter round finishing trim, then nail it onto the top of the board and batten wall to create a small ledge.
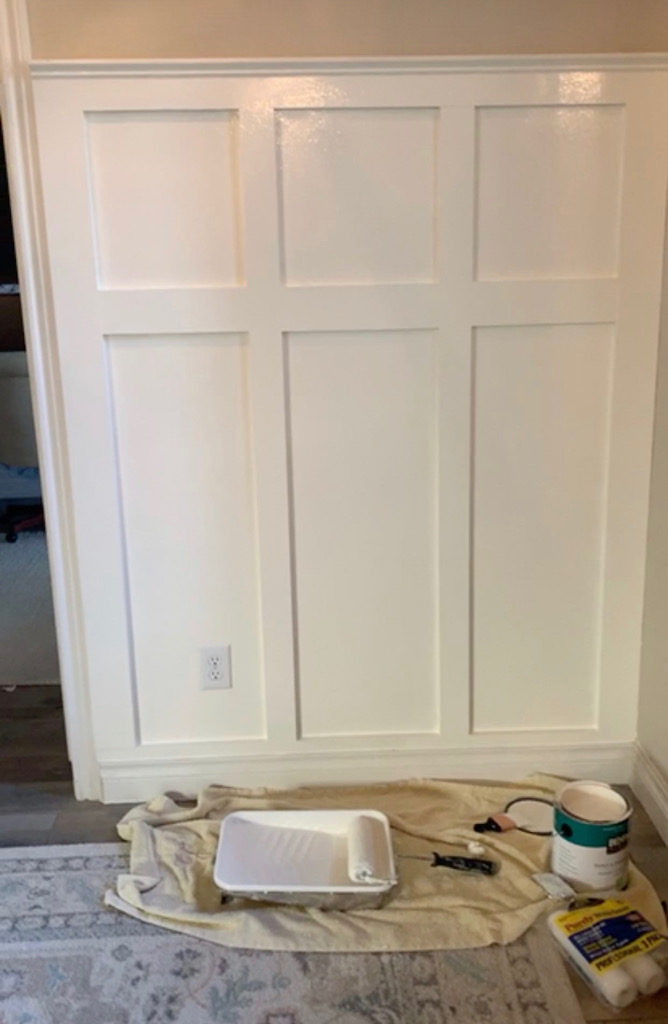
Now its time for the finishing touches which in my opinion can be the most time consuming
Fill in the nail holes with spackle and caulk around every spot where the boards meet the wall.
After the spackle and caulk dries, you can start painting! Make sure you use a primer first to avoid the wood knots seeping through over the years. Next, use your favorite white paint! For this project we used Sherwin Williams Alabaster in Semi Gloss.
You can find really cute hooks at hobby lobby if you are creating this wall to hang jackets, purses or backpacks.
Note: After we finished I realized I wanted a bigger ledge on the top of the DIY board and batten wall to lean pictures and signs. To do this, we added another 1×2 pine frame board to the top trim by laying it on its side and nailing it to the existing trim.
And that’s it sweet friends! It may seem like a daunting task at first but I promise you its not! We tackled the entry way and the bathroom in just a few weekends! It really made such a big impact and I am so happy with how our DIY board and batten wall turned out!
xoxo,
Leanna


What color is the paint on your entry walls? I like this neutral for my bathroom that I am about to add a board and batten wall to!
Can you share what height this is at?
Wow! The board and batten look amazing! We are looking to do the same in our back entry, so thank you for the tutorial! Also, would you mind sharing where your adorable bench is from?