Healthy No-Bake Peanut Butter Oat Cups
If you’re trying to eat a little healthier but still crave something sweet, these no-bake peanut butter oat cups are exactly what you need. They’re the kind of snack that feels indulgent while still being made with real, simple ingredients—no oven, no complicated steps, and no guilt.

I make these constantly for my family because they’re perfect for busy afternoons, after-school snacks, or when that late-night sweet tooth hits and I don’t want to derail everything. They store beautifully, take just minutes to prep, and honestly taste like a dessert you’d buy at a fancy café—but better because you made them at home.
Why You’ll Love These No-Bake Peanut Butter Oat Cups
- No baking required – perfect for warm days or quick prep
- Healthy sweet tooth fix without refined sugar overload
- Made with pantry staples you likely already have
- Perfect for meal prep and grab-and-go snacking
- Kid-approved and adult-loved
- Naturally gluten-free (use certified GF oats)
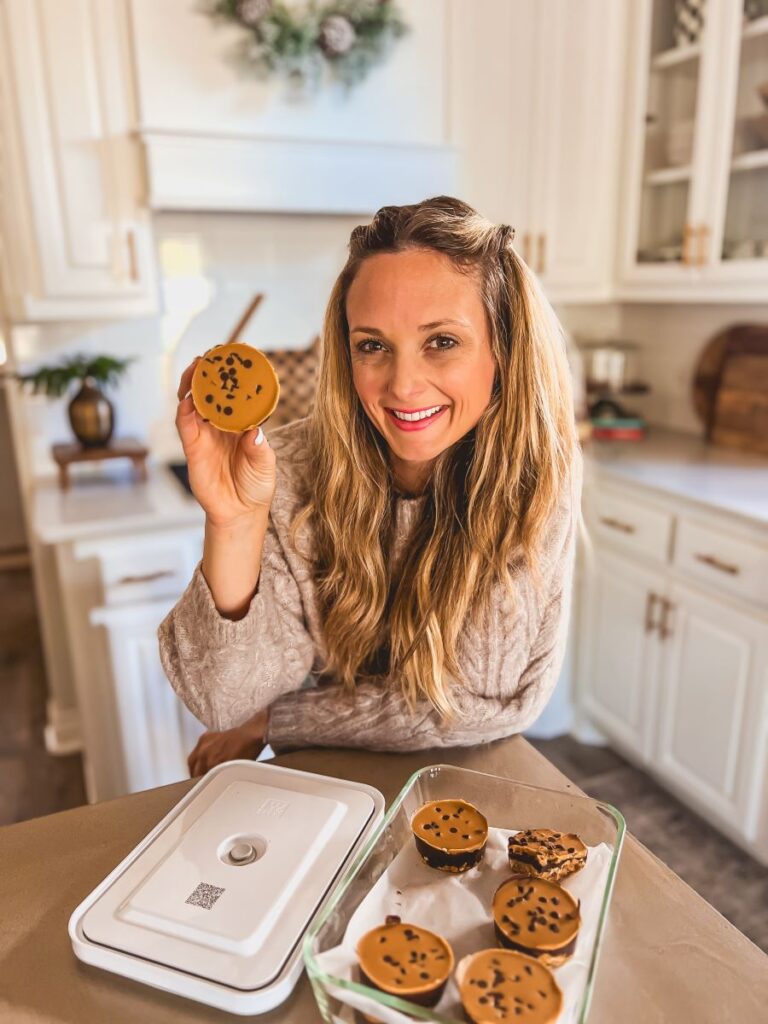
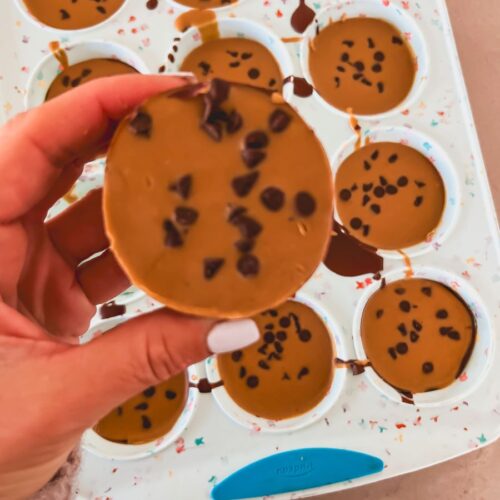
Leanna’s Pro Tip : A silicone muffin tin works especially well for this no-bake recipe. Once the cups are set, they pop right out without liners and keep their shape beautifully—perfect if you’re prepping these for guests or photos.
Ingredients You’ll Need
- Old-fashioned oats – Adds texture, fiber, and keeps these filling
- Natural peanut butter – Creamy, rich, and full of healthy fats
- Honey or maple syrup – Naturally sweetens without refined sugar
- Vanilla extract – Enhances flavor and balances sweetness
- Dark chocolate chips – The perfect rich topping
- Coconut oil – Helps the chocolate layer set smoothly
- Pinch of salt – Brings out all the flavors
👉 Tip from Leanna: Use creamy peanut butter for the smoothest cups, but crunchy works if you love texture.
Step-by-Step: How to Make No-Bake Peanut Butter Oat Cups
Step 1: Make the Oat Base
Start by adding the quick-cooking oats, honey, and creamy peanut butter to a medium mixing bowl. Stir everything together until the oats are evenly coated and the mixture becomes thick and sticky. If it feels a little dry or crumbly, add 1 to 2 teaspoons of water and mix again until the mixture easily presses together. You’re looking for a texture that holds its shape when pressed.
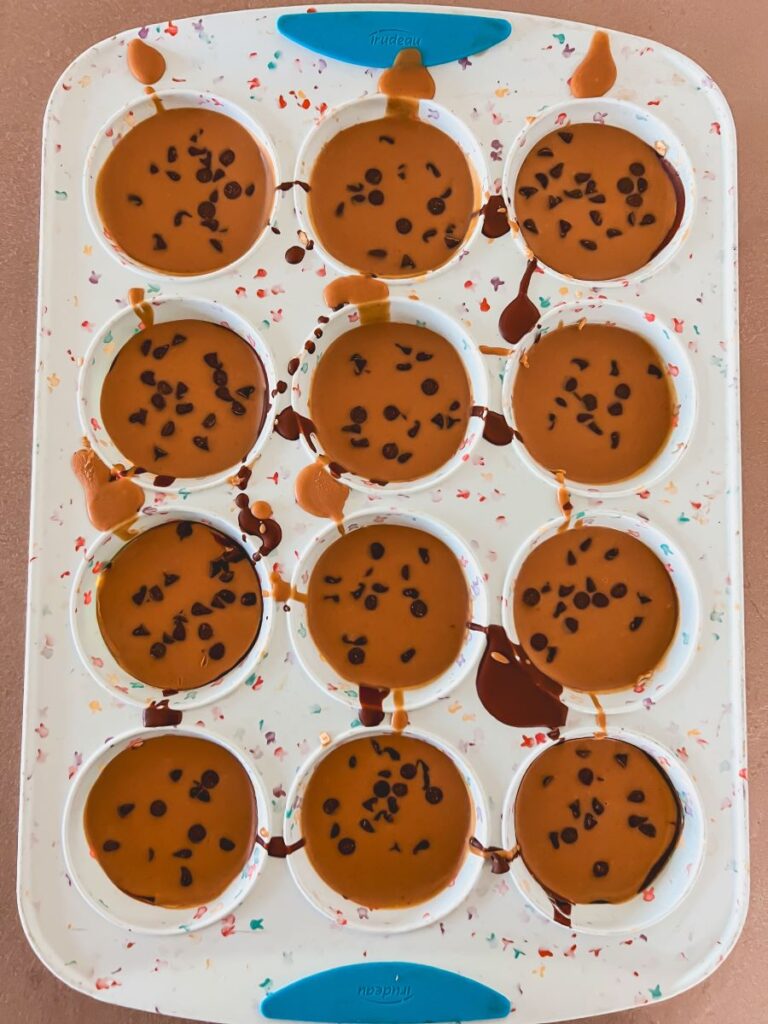
Step 2: Prep the Muffin Tin
Line a standard muffin tin with paper liners or use a silicone muffin tin for easy removal. Silicone works especially well for no-bake recipes and makes popping the cups out effortless once they’re set.
Step 3: Press in the Oat Layer
Divide the oat mixture evenly between the muffin cups. Using the back of a spoon or your fingers, press the mixture firmly into the bottom of each cup. Taking the extra time to compact the oats helps the cups hold together and creates a sturdy base for the layers on top.
Step 4: Make the Chocolate Layer
Add the chopped dark chocolate and coconut oil to a microwave-safe bowl. Microwave in short 20–30 second intervals, stirring between each one, until the chocolate is completely melted and smooth.
Step 5: Add the Chocolate Layer
Spoon the melted chocolate evenly over the pressed oat base in each muffin cup, spreading it gently to the edges. Place the muffin tin in the refrigerator for about 10–15 minutes, just until the chocolate layer firms up slightly. This step helps keep the layers clean and prevents the peanut butter from mixing into the chocolate.
Step 6: Prepare the Peanut Butter Topping
In a small bowl, gently warm the peanut butter with the coconut oil until smooth and pourable. Stir well to combine. This makes it much easier to spread over the chocolate layer without disturbing it.
Step 7: Finish the Cups
Spoon the peanut butter mixture over the chocolate layer and gently smooth it out. Sprinkle mini chocolate chips evenly over the top of each cup, lightly pressing them in so they stick.
Step 8: Chill Until Set
Return the muffin tin to the refrigerator and chill for 30–45 minutes, or until all layers are fully set and firm. Once set, remove the cups from the tin and enjoy right away, or transfer them to an airtight container for storage.
Pro Tips for the Best No-Bake Peanut Butter Oat Cups
- Use a silicone muffin tin for the easiest release. Silicone muffin tins work especially well for no-bake recipes because the cups pop right out once set—no liners needed and no crumbling.
- Press the oat mixture firmly into the cups. Taking an extra few seconds to compact the base helps the cups hold together and creates a clean, bakery-style layer once chilled.
- Let the chocolate cool slightly before topping. Allowing the melted chocolate to sit for a minute prevents it from melting into the oat base and keeps the layers defined.
- Use creamy peanut butter for the smoothest texture. Creamy peanut butter creates a more cohesive base, but crunchy peanut butter can be used if you prefer extra texture.
- Sprinkle flaky sea salt on top. A light sprinkle of flaky salt balances the sweetness and gives these oat cups a gourmet, sweet-and-salty finish.
Variations & Customizations
- Swap the nut butter. Almond butter, cashew butter, or sunflower seed butter all work well and slightly change the flavor while keeping the recipe no-bake.
- Change the chocolate layer. Use milk chocolate, semi-sweet, or dairy-free chocolate chips depending on your preference or dietary needs.
- Add extra texture or nutrition. Stir in chia seeds, flaxseed, or chopped nuts to the oat mixture for added fiber and crunch.
- Make them bite-sized. Use a mini silicone muffin tin to create smaller, poppable oat cups—perfect for kids or snack boards.
- Turn them into a dessert-style treat. Add a drizzle of melted peanut butter or white chocolate over the top once set for a more indulgent finish.
Make-Ahead, Storage & Freezer Suggestions
Make-Ahead Tips
- These no-bake peanut butter oat cups are perfect for meal prep.
- You can make them up to 3 days in advance and store them chilled until ready to serve.
Storage
- Store the oat cups in an airtight container in the refrigerator for up to 7 days.
- Keep parchment between layers to prevent sticking.
Freezer Instructions
- Frozen cups make a great grab-and-go snack straight from the freezer.
- Freeze the cups in a freezer-safe container for up to 2 months.
- Let thaw in the refrigerator or at room temperature for a few minutes before eating.

Frequently Asked Questions
Are no-bake peanut butter oat cups healthy?
Yes, these no-bake peanut butter oat cups are a healthier option when you’re craving something sweet. They’re made with simple, wholesome ingredients like oats, natural peanut butter, and honey or maple syrup, which provide fiber, protein, and healthy fats. While they still feel like a treat, they’re more balanced than traditional desserts and are perfect for satisfying a sweet tooth without overdoing it.
How long do no-bake peanut butter oat cups need to chill?
These oat cups need about 30 to 45 minutes in the refrigerator to fully set. Chilling allows the peanut butter oat base to firm up and the chocolate topping to harden. If you’re short on time, you can place them in the freezer for 15 to 20 minutes, but refrigeration gives the best overall texture.
How do you store no-bake peanut butter oat cups?
Store the oat cups in an airtight container in the refrigerator for up to 7 days. For longer storage, they can be frozen for up to 2 months. Let frozen cups sit at room temperature for a few minutes before eating so they soften slightly and taste their best.
You’ll Also Love These Recipes
- No-Bake Peanut Butter Cheesecake Cups
A creamy, indulgent no-bake dessert made with rich peanut butter flavor—perfect when you want something sweet and satisfying without turning on the oven. - Cookie Dough Energy Bites (No Bake)
These no-bake cookie dough energy bites are an easy grab-and-go snack made with wholesome ingredients and a classic cookie dough taste everyone loves. - Easy Air Fryer Granola Recipe (Healthy Snack)
A quick and crunchy homemade granola made in the air fryer—perfect for topping yogurt, smoothie bowls, or enjoying by the handful. - Chocolate Covered Frozen Banana Pops
A fun, refreshing treat that combines frozen bananas with a chocolate coating for an easy dessert that’s great for kids and adults alike.
No-Bake Peanut Butter Oat Cups
Ingredients
Oat Layer
- 2 cups quick-cooking oats
- ½ cup honey
- ⅓ cup all-natural creamy peanut butter
- Optional: 1–2 teaspoons water only if mixture feels too dry
Chocolate Layer
- 6 ounces dark chocolate chopped
- 2 teaspoons coconut oil
Peanut Butter Layer
- ½ cup all-natural creamy peanut butter
- 1 teaspoon coconut oil
- ¼ cup mini chocolate chips
Instructions
Make the oat layer.
- In a medium mixing bowl, combine the quick-cooking oats, honey, and peanut butter. Stir until the mixture is thick and fully combined. If the mixture feels dry or crumbly, add 1–2 teaspoons of water until it easily presses together.
Prepare the muffin tin.
- Line a standard muffin tin with paper liners or use a silicone muffin tin for easy removal.
Press in the oat base.
- Divide the oat mixture evenly between the muffin cups. Press firmly into the bottom of each cup using the back of a spoon or your fingers to create a compact, even base.
Make the chocolate layer.
- Add the chopped dark chocolate and coconut oil to a microwave-safe bowl. Microwave in 20–30 second intervals, stirring between each round, until fully melted and smooth.
Add the chocolate layer and chill briefly.
- Spoon the melted chocolate evenly over the oat base in each cup. Refrigerate for 10–15 minutes, just until the chocolate is set enough to support the top layer.
Prepare the peanut butter layer.
- In a small bowl, gently warm the peanut butter with the coconut oil until smooth and pourable. Stir to combine.
Finish with the peanut butter layer.
- Spoon the peanut butter mixture over the chocolate layer and spread gently. Sprinkle mini chocolate chips evenly over the top.
Chill until fully set.
- Refrigerate for 30–45 minutes, or until all layers are firm. Remove from the tin and enjoy.

Looks yummy I can’t wait to make these
Can I use almond butter too? Or instead?
Thank you!
[email protected]
I am alway looking for a healthy snack/ quick breakfast for my GF family.
Looks so tasty, going to make this today!