Easy Christmas Tree Decorating Tricks For a Spectacular Tree
These seven simple Christmas tree decorating tricks can help you make an exquisite tree in your home!
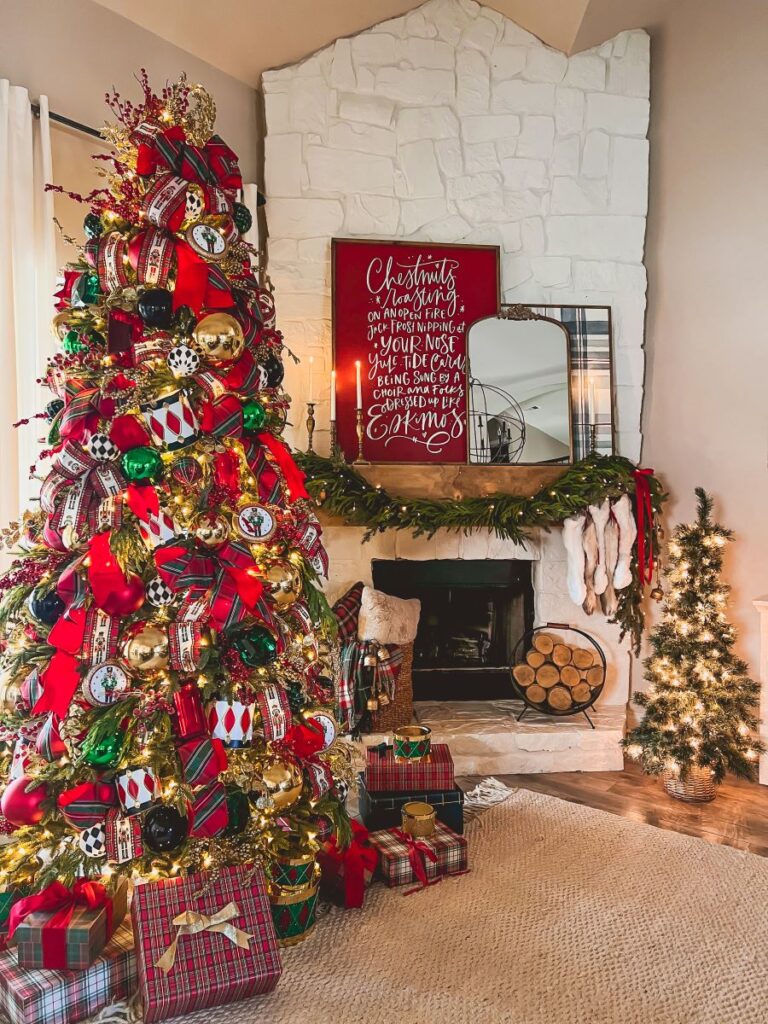
Tricks for Every Style
Whether you prefer more of a statement tree or gravitate towards a minimalistic vibe, these tips and inspiration can help make decorating easier (and we all need a little simplicity amidst all of the hustle and bustle of the holiday season!)
The Benefit of Bonus Trees
I use these tips on a “bonus tree” that I have in my home that’s purely decorative. (I have a separate tree full of sentimental ornaments, like keepsakes from my childhood or my own kid’s handmade ornaments from preschool.) These bonus trees don’t have to be huge or expensive – even a mini tree can brighten up smaller spaces!
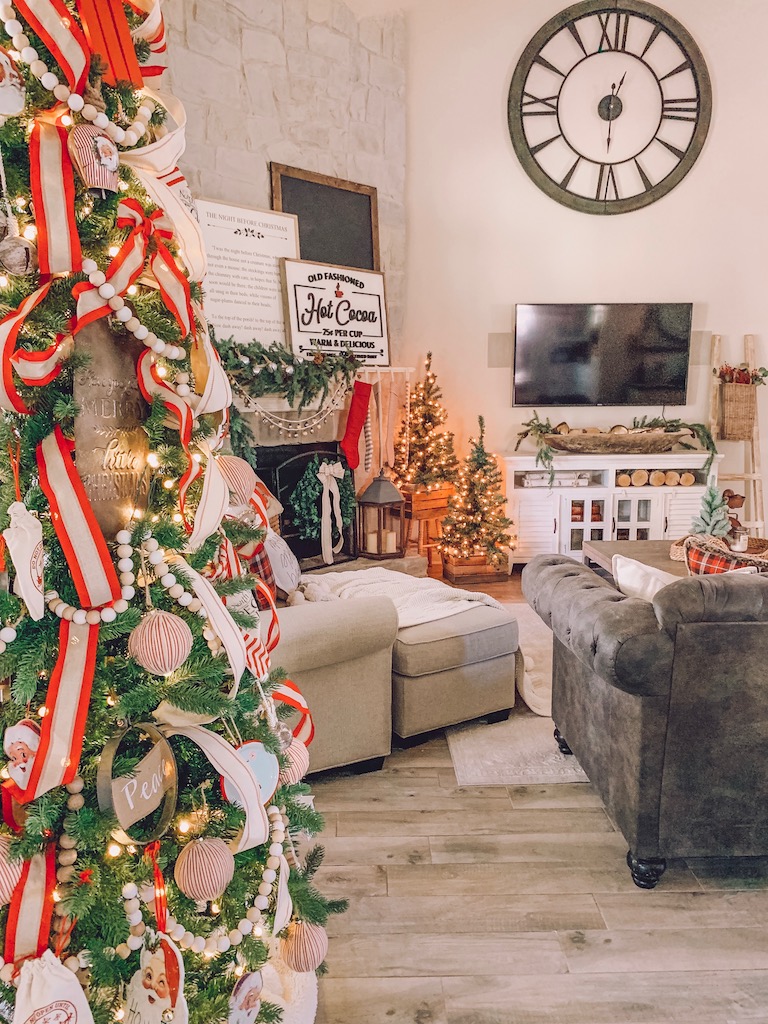
A bonus tree is a nice solution if you’d like one tree to be more themed and specific, and another to decorate with the family that holds special ornaments from over the years.
If you’re wondering what size of tree to get and how many lights and accessories you need, you can use, you can use this as a helpful guide:

Tip 1: Start With a Great Resource!
This year, I felt so fortunate to participate in the Home for the Holidays Decorating Challenge using products from Decorator’s Warehouse, which has such an amazing variety of everything you could possibly need for tree decorating and more! (You can see a full reveal of my tree here!)
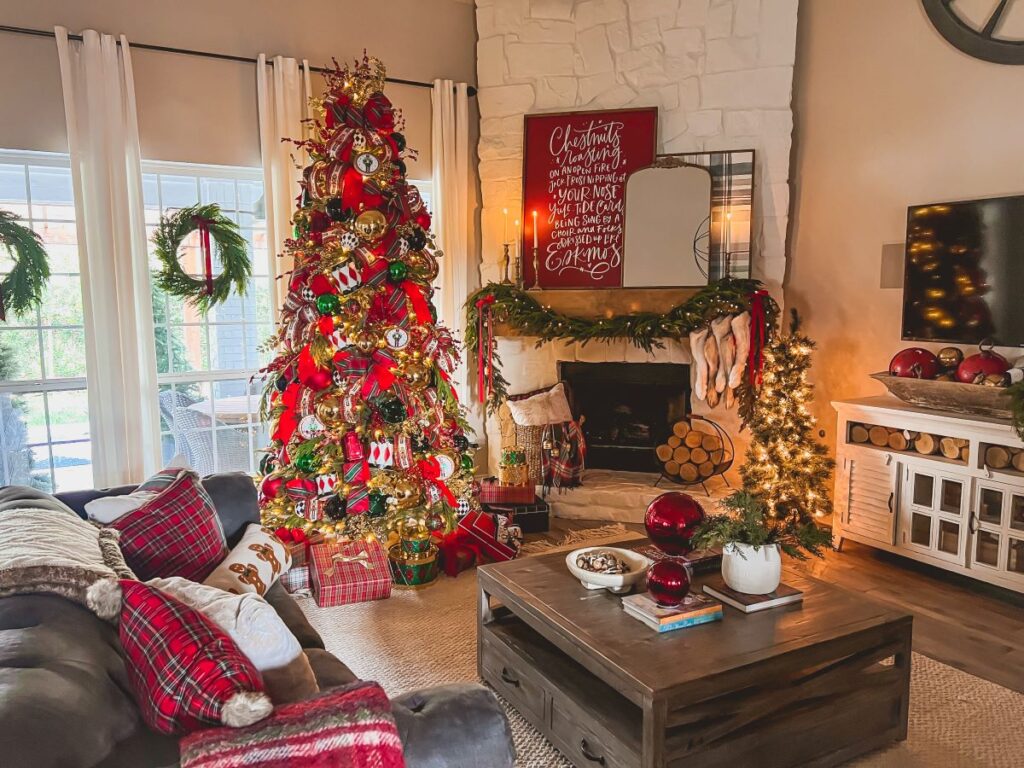
Decorator’s Warehouse was my secret weapon for getting inspired and finding all of these amazing pieces. They made selecting coordinating products so easy and I can’t recommend them enough! If you prefer to shop in person, your local craft store can also be a helpful resource!
Tip 2: Choose a Theme
With so many different styles and products to choose from, it’s helpful to narrow down a cohesive look that you’d like to represent. These can cover such a wide range, from whimsical and playful to fancy and sparkly.
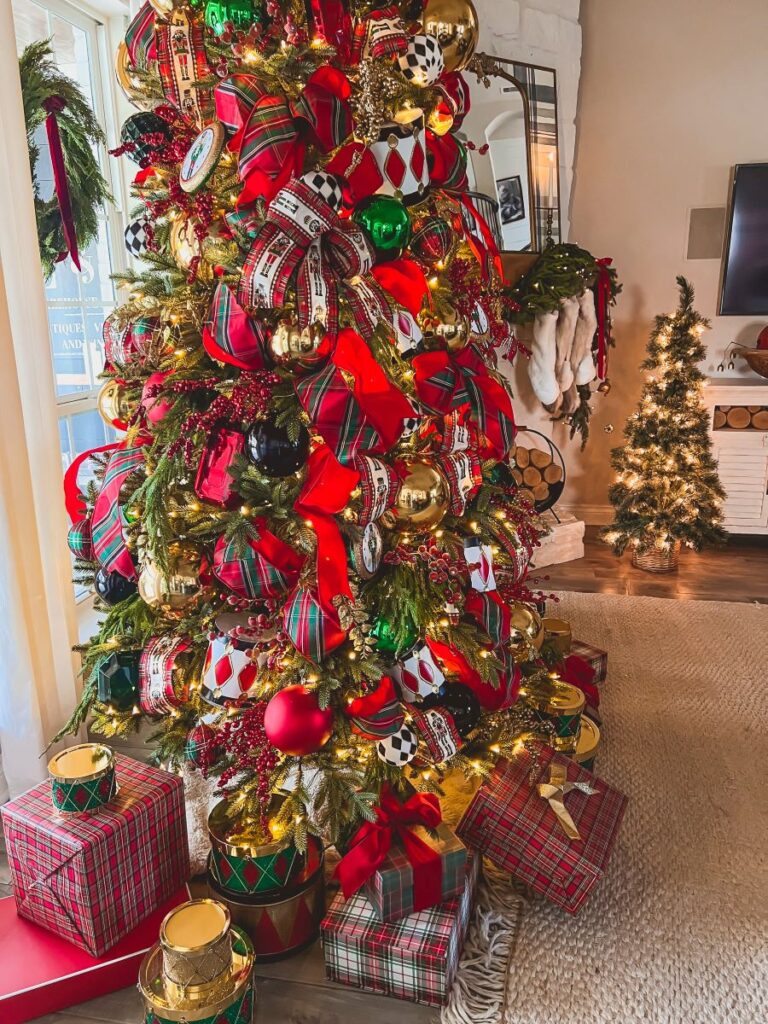
This year, I was inspired by The Nutcracker, one of my favorite holiday traditions. My kids and I love reading the story, dancing like the Sugar Plum Fairy, and watching the ballet. I knew that I wanted to choose elements that reflected this classic and special story.
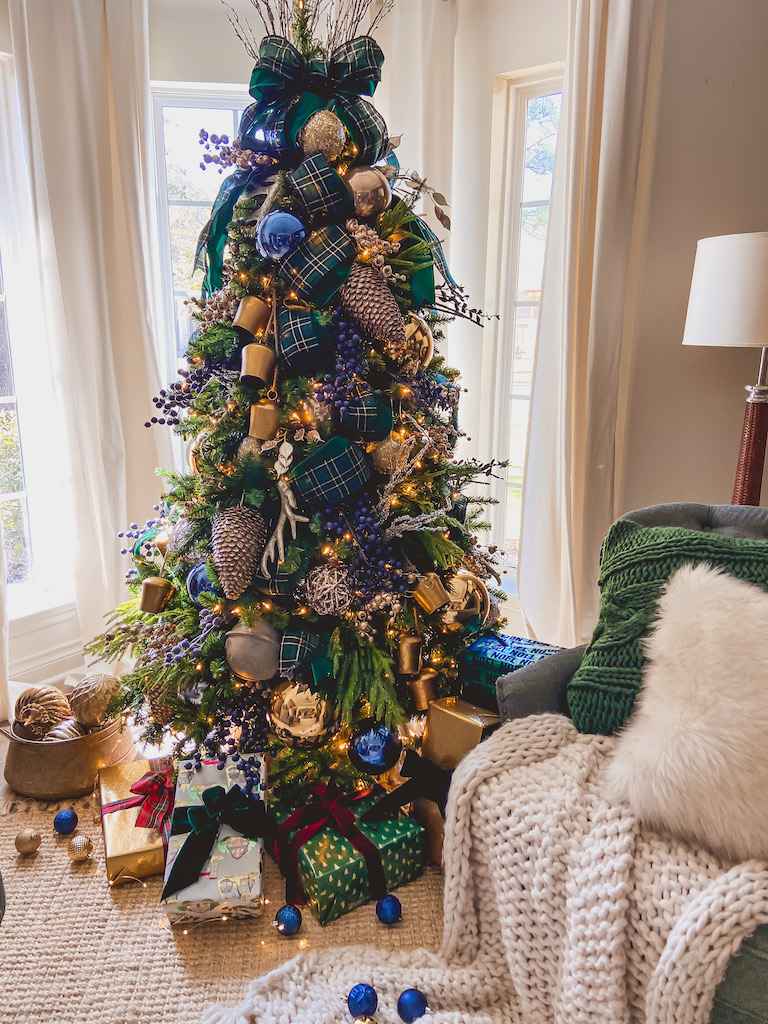
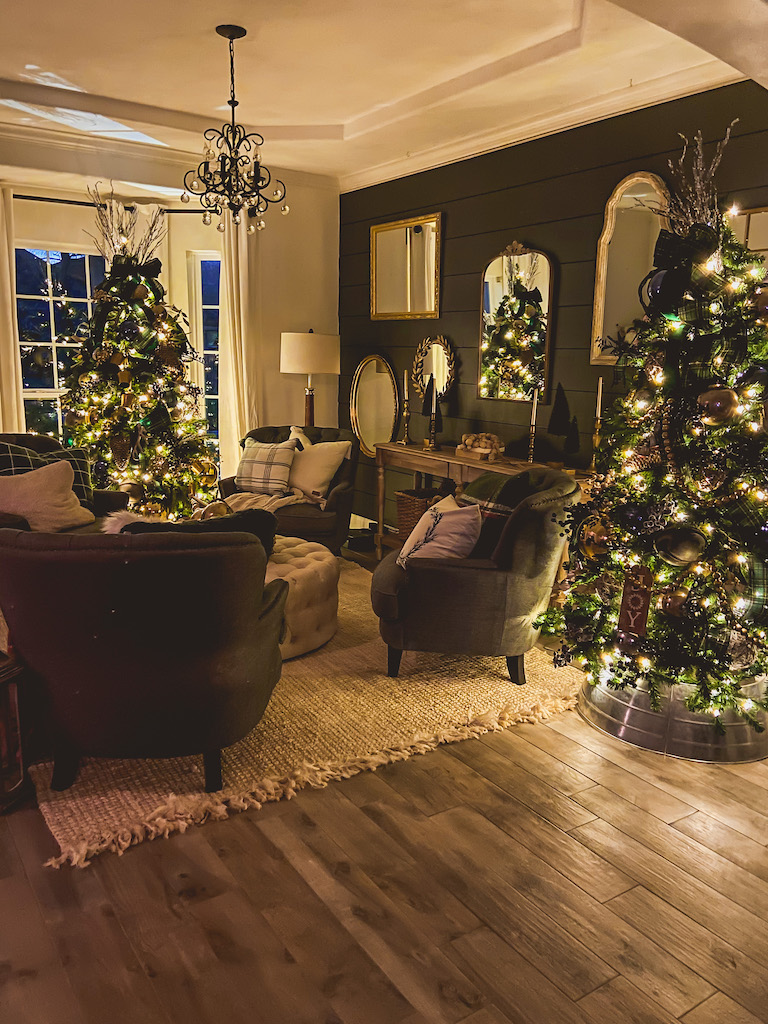
Last year, I went with a blue, green, and gold plaid theme and I still love how it turned out. You can read all the details from that tree here!
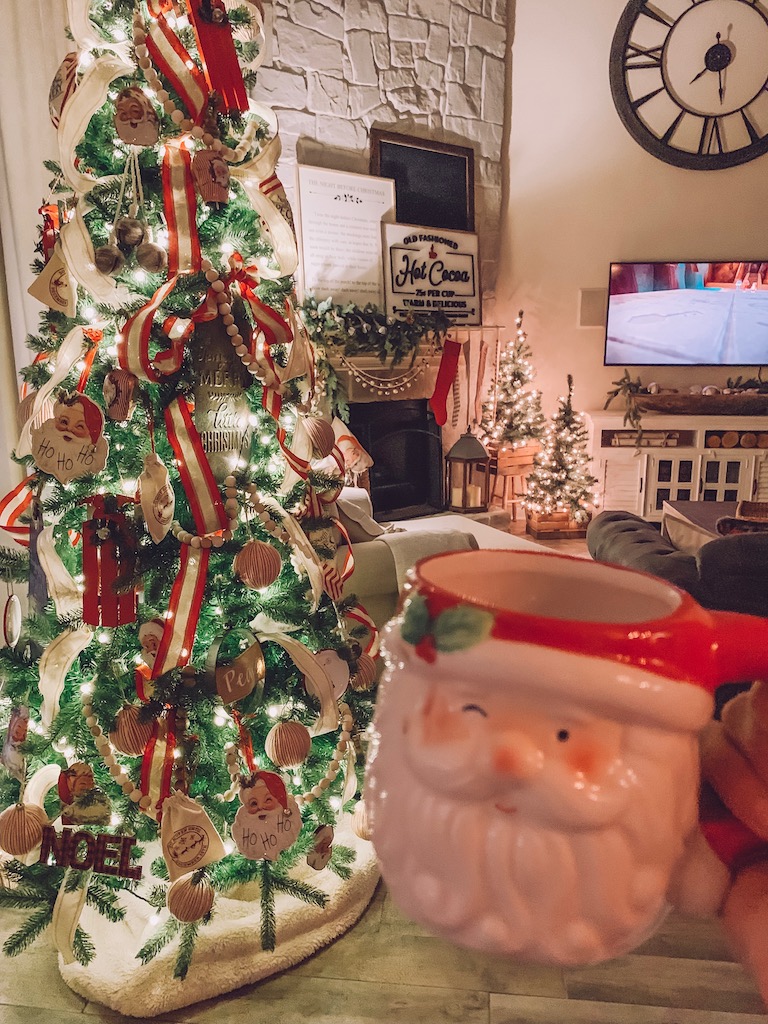
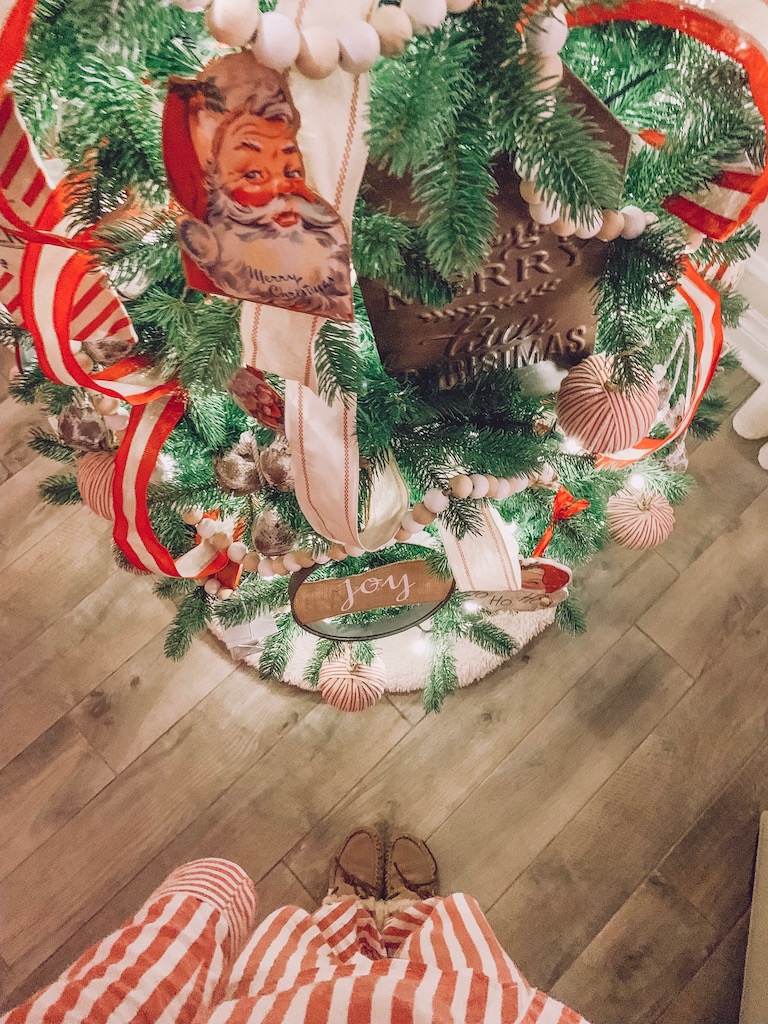
I have also done an adorable red-and-white tree inspired by Santa!
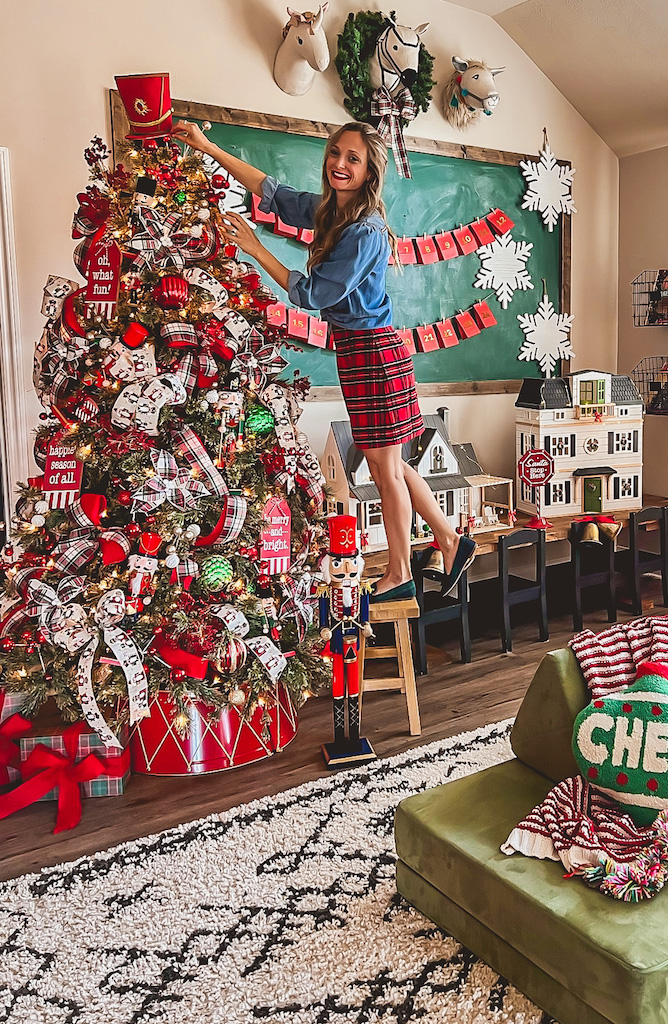
Here is another tree that I did in the past in my kids’ playroom:
Some other themes you might enjoy are:
- Land of the Sweets with gumdrops, peppermints, and candy cane elements
- Rustic with natural accents like cardinals, birch tree branches, and berries
- Gingerbread with gingerbread people and houses
- Silver and Gold with sparkly and metallic touches
- How the Grinch Stole Christmas with Dr. Seuss-inspired decorations
- Buffalo Check with cozy black and red accessories
- Angels and Stars with dreamy elements to honor the Nativity story
- A Christmas Carol with old-fashioned decorations like wooden rocking horses and candle ornaments that would make even Ebenezer Scrooge smile
- Silver Bells with beautiful bells adorning the tree
- Color Scheme – Choose any color (or 2-3!) for all the decorations. It doesn’t have to be “Christmas” colors like red and green – it can be pink, purple, white, or anything you’d like!
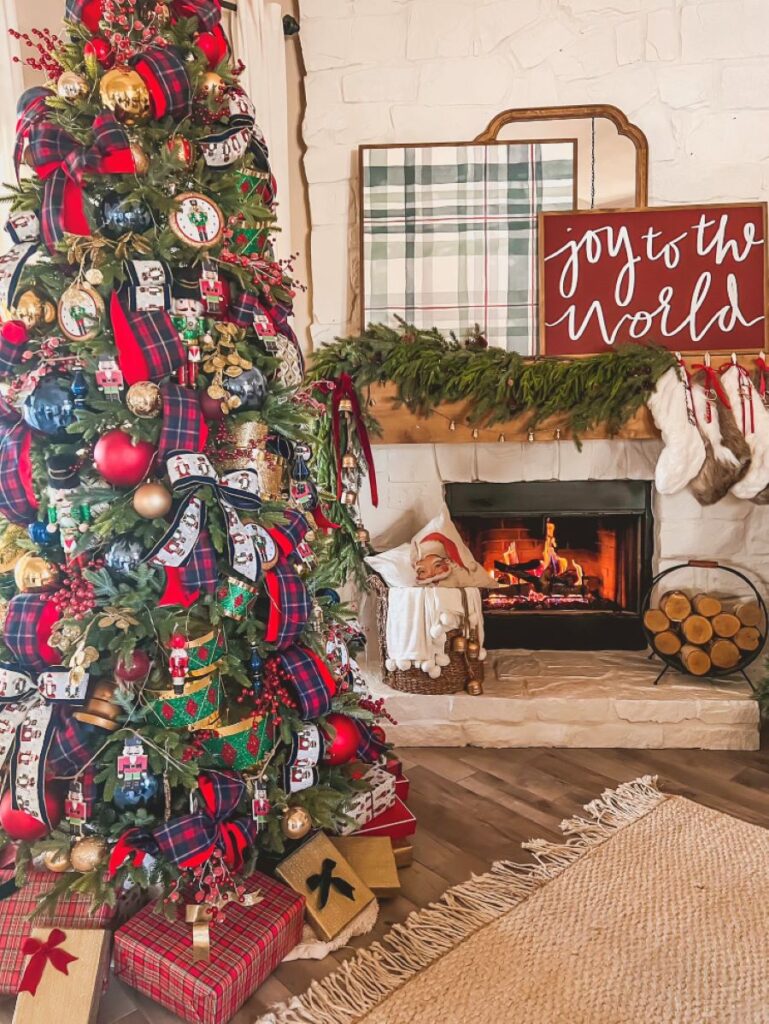
Tip 3: Add Festive Ribbons and Bows!
Making your own bows is such a simple way to save money and add your own creative touch to your tree, wreaths, or presents! My primary inspiration for this tree was this lovely Nutracker ribbon.
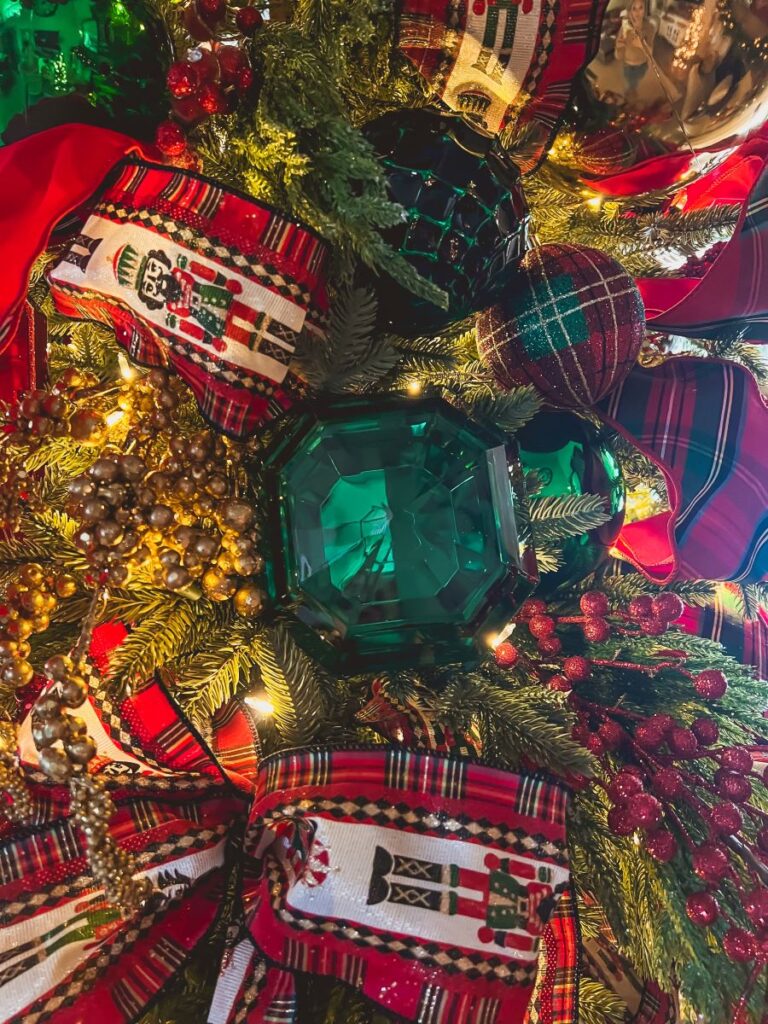
There is so much detail up close and I love how it incorporates traditional Christmas colors with a hint of plaid. (Y’all know I am pretty much obsessed with all things plaid!)
For a coordinating look, I chose this classic plaid ribbon that complemented the Nutcracker ribbon beautifully. Then, I arranged these ribbons in various sizes of bows and placed them around the tree. I also cascaded the ribbons from the bows down the tree in a waterfall effect.
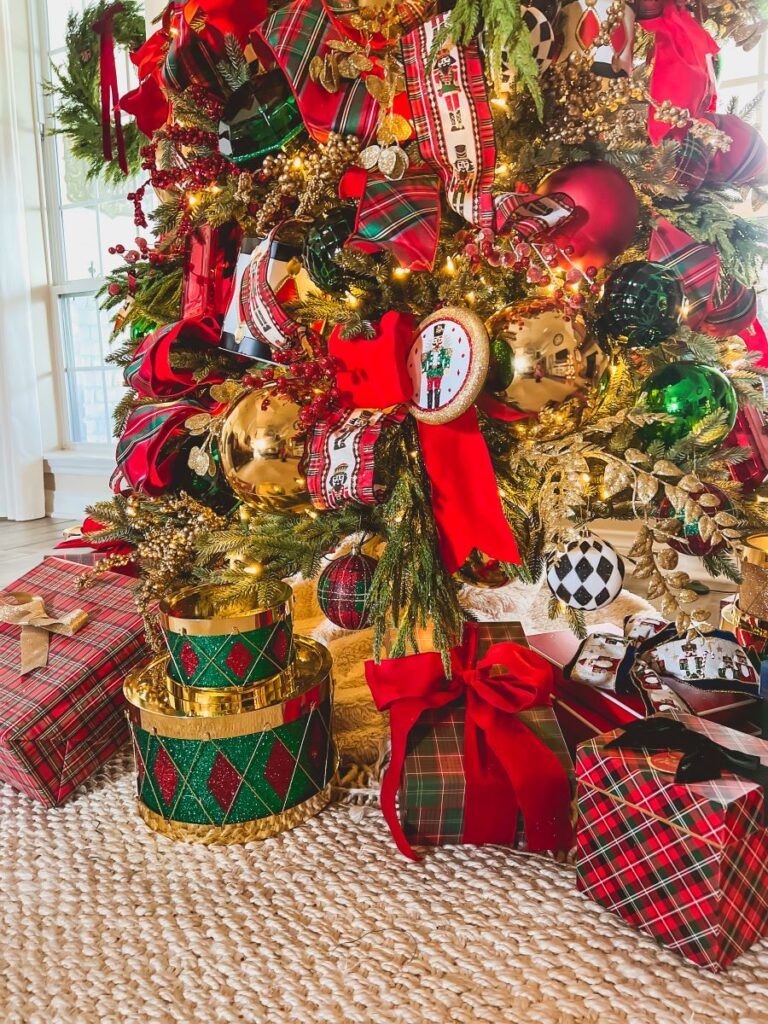
For an easy bow tutorial, you can check out my post about that here! I included step-by-step directions and a video example.
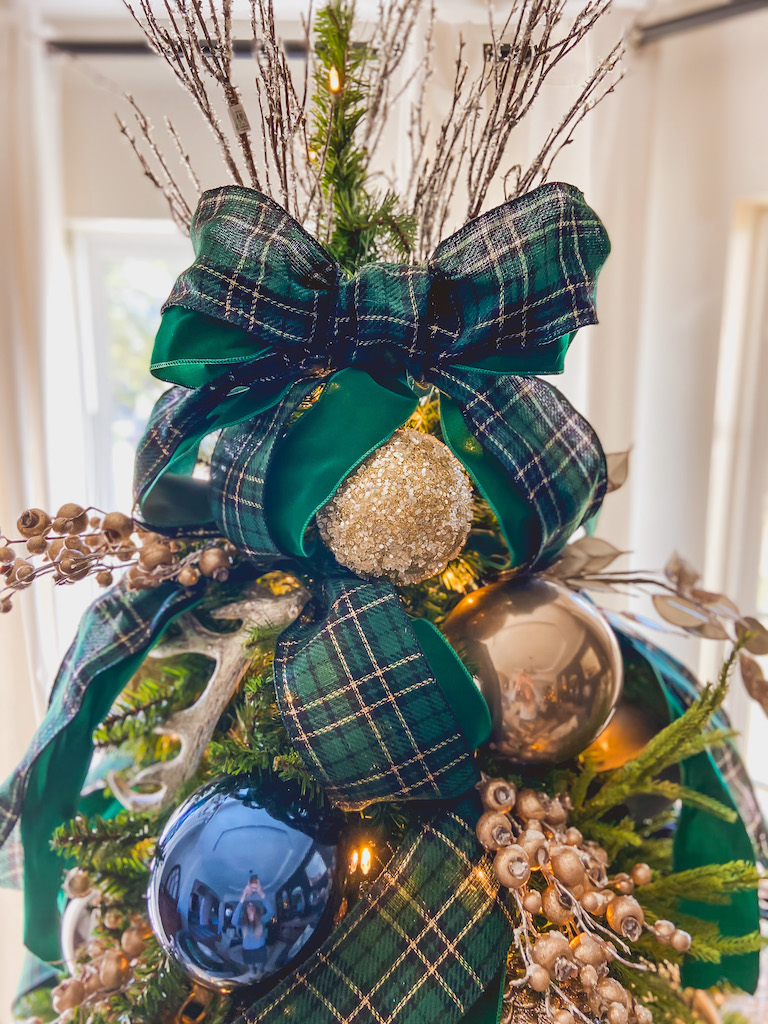
You can also make a tree topper out of a ribbon, just like I did with my tree from last year!
Tip 4: Extra Spray Branches Make All the Difference
A little secret is to add in these iced pine spray branches that provide so much dimension and look so realistic, like snow has gently fallen on my tree. I noticed parts of my fake Christmas tree looking a bit smushed and bare after being in storage and these accents are the perfect solution to fill that area right up.
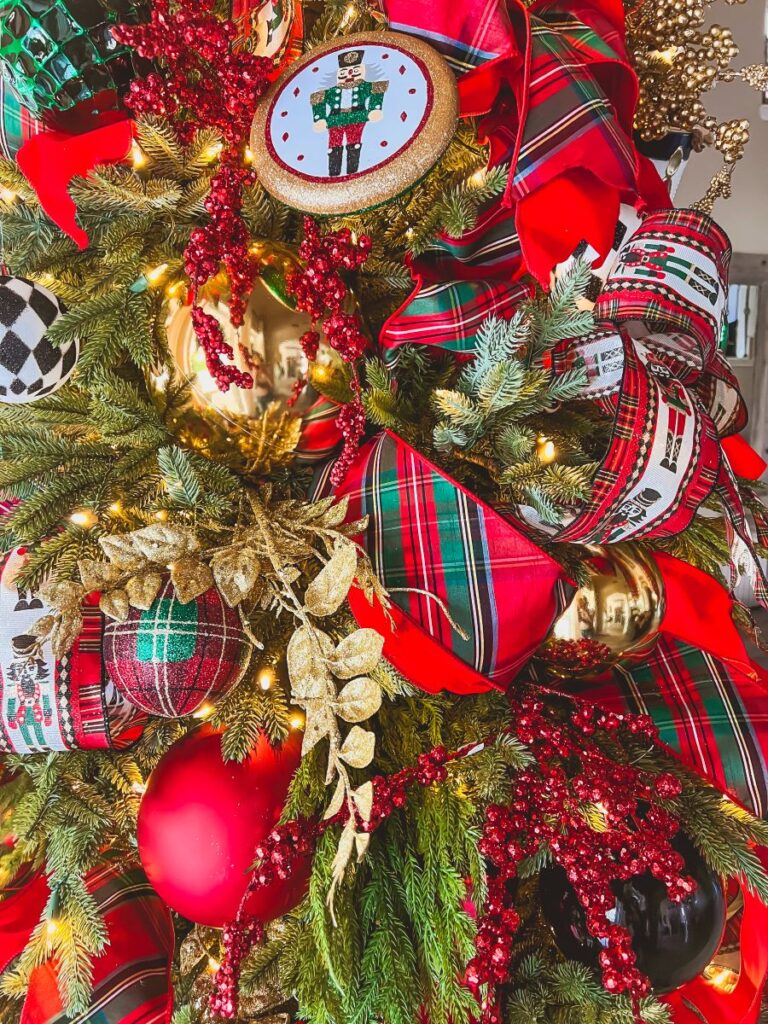
I also love the bit of sparkle the pine branch sprays give the tree, or you could go with this non-sparkly pine option. Additionally, the sparkly berry branches that come in gold and red also give such a festive pop of color and fullness to my tree!
Finally, I added in these beautiful gold fern leaf accents. They are especially striking at the top of the tree for some extra height and dimension!
Tip 5: Sprinkle In Statement Ornaments
My absolute favorite part of tree decorating is adding all of the ornaments and I’m so impressed with the collection of ornaments at Decorator’s Warehouse! I wanted these Nutcracker disc ornaments to be the star of the show, along with the *adorable* glittery drum ornaments.
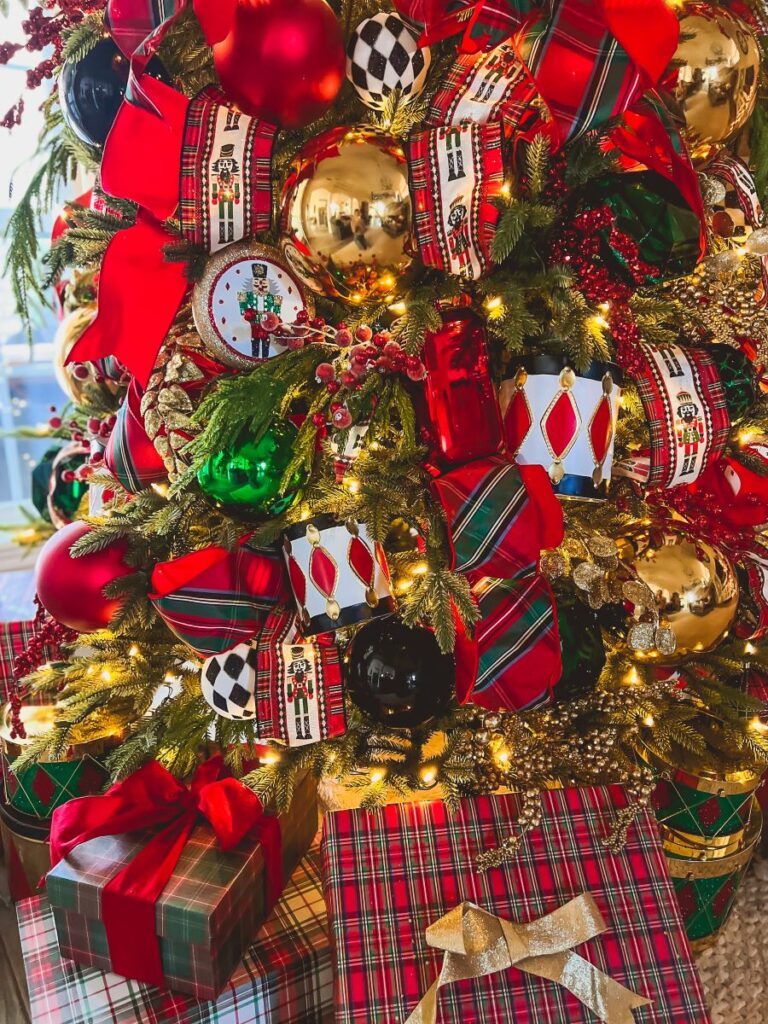
The black-and-white harlequin ornaments also reminded me of the Nutcracker and made such a statement. Then, I completed the look using traditional ornaments combined with emerald and ruby gem ornaments.
For last year’s tree, I chose large pine cones and bells to be my statement ornaments and was so pleased with how it came out!


Tip 6: Add My Secret Trick: Fairy Lights!
Once the entire tree has been decorated, I go back and add my secret trick: these twinkling fairy lights! They have a battery-operated pack, which is super convenient and easy to hide amongst the branches in the middle of the tree.
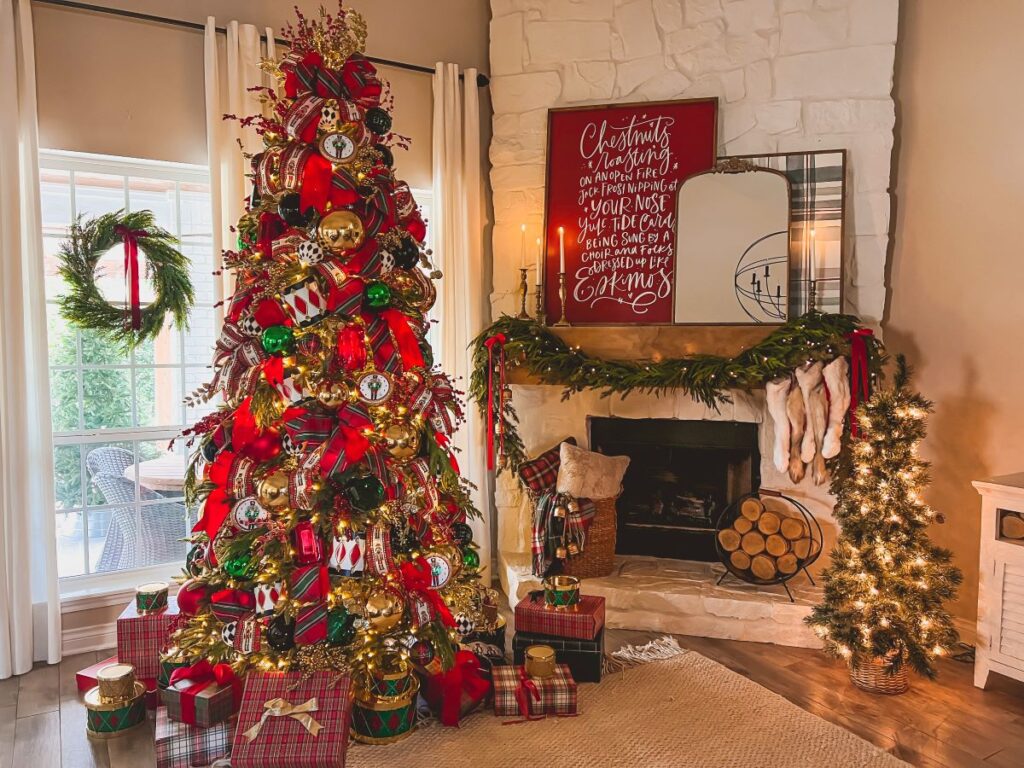
First, I start at the top of the tree, then take each fairy strand and wrap it around various branches. These do tend to tangle easily, but I promise the effect is so worth it!
You can also set a timer for how long you want the lights to twinkle.
Tip 7: Do What Makes You Happy!
My last and most important tip is to have your home reflect your own tastes, rather than worrying about what you “should” be doing. Whether you like a look that’s more whimsical and fun or traditional and classic, it’s so important to go with what is meaningful and joyful for you and your family!
More Inspo
For an easy go-to-guide that you can save and share, you can use this as a helpful resource:
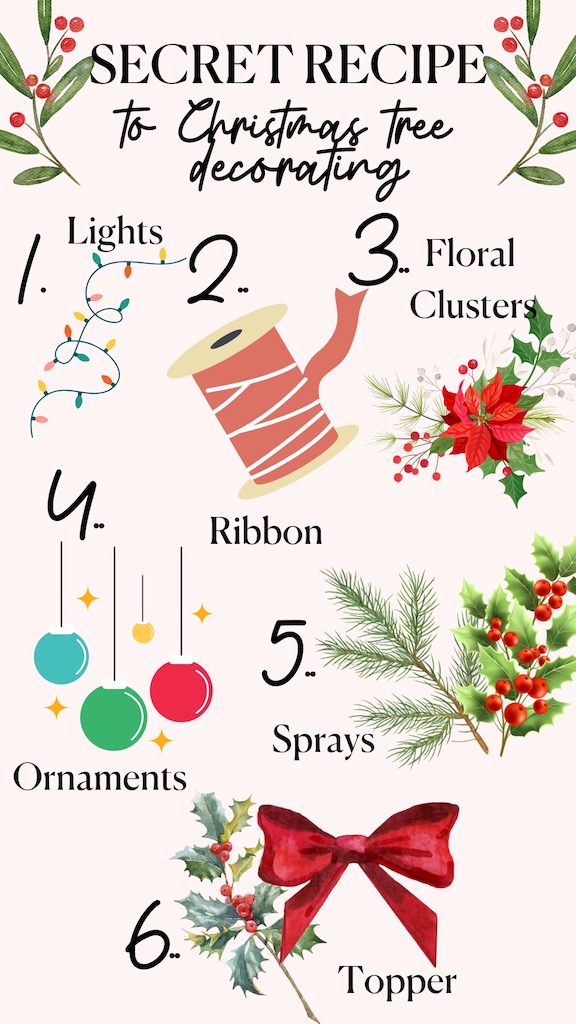
I hope these tricks can be helpful for you to create a joyful space! If you’d like even more tips, you can check out this post I wrote a couple of years ago for more inspiration! I hope you all have a fantastic holiday season!
Love,
Leanna
