Easy DIY Mini Gingerbread House Mug Topper
How to make a DIY mini gingerbread house as a cute mug topper for the holidays! Just a little secret, you can’t eat these!!
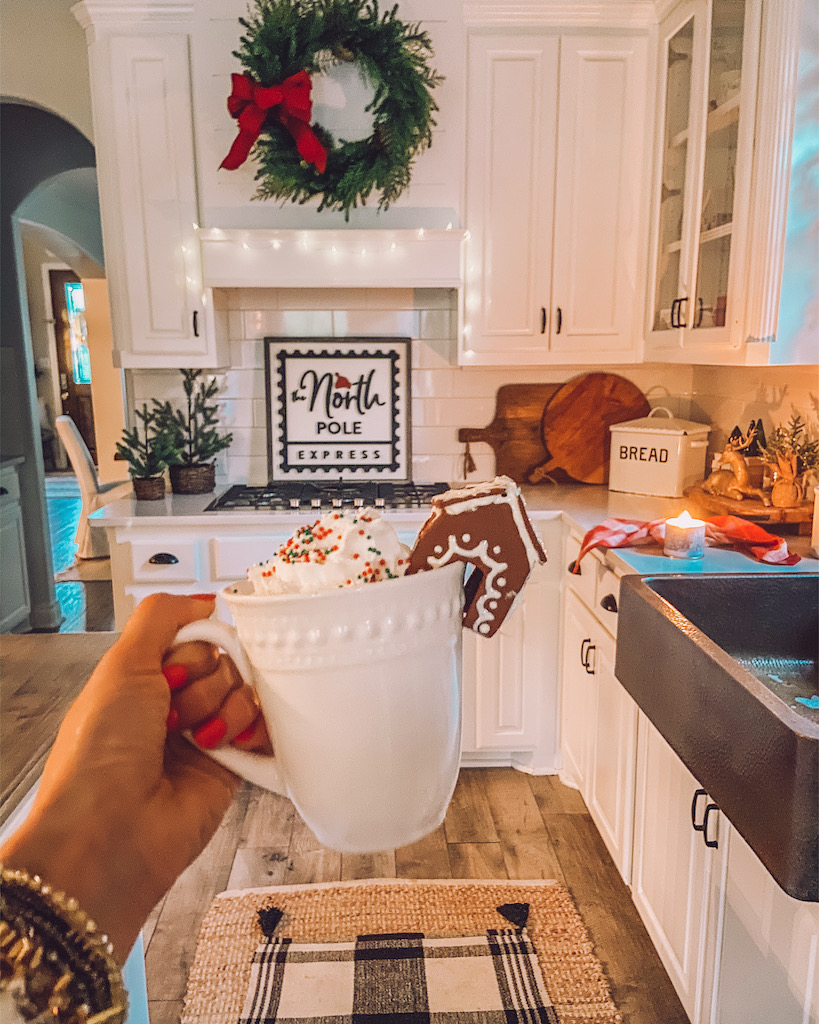
Let me start out by saying, I hate to bake. But I also love all the cute gingerbread houses and cookies during the holiday season. I love to decorate them (are you surprised??), but that is as far as it goes. Today I am sharing a very simple easy way to make mini gingerbread houses without the mess!!! Yes, you heard it! No icing, no baking, no pulling your hair out because the house won’t stick together. The only down side is that you can’t eat it. But, do you ever really eat a gingerbread house?? My kids love to decorate it, and then it gets tossed in the garbage a few weeks later.
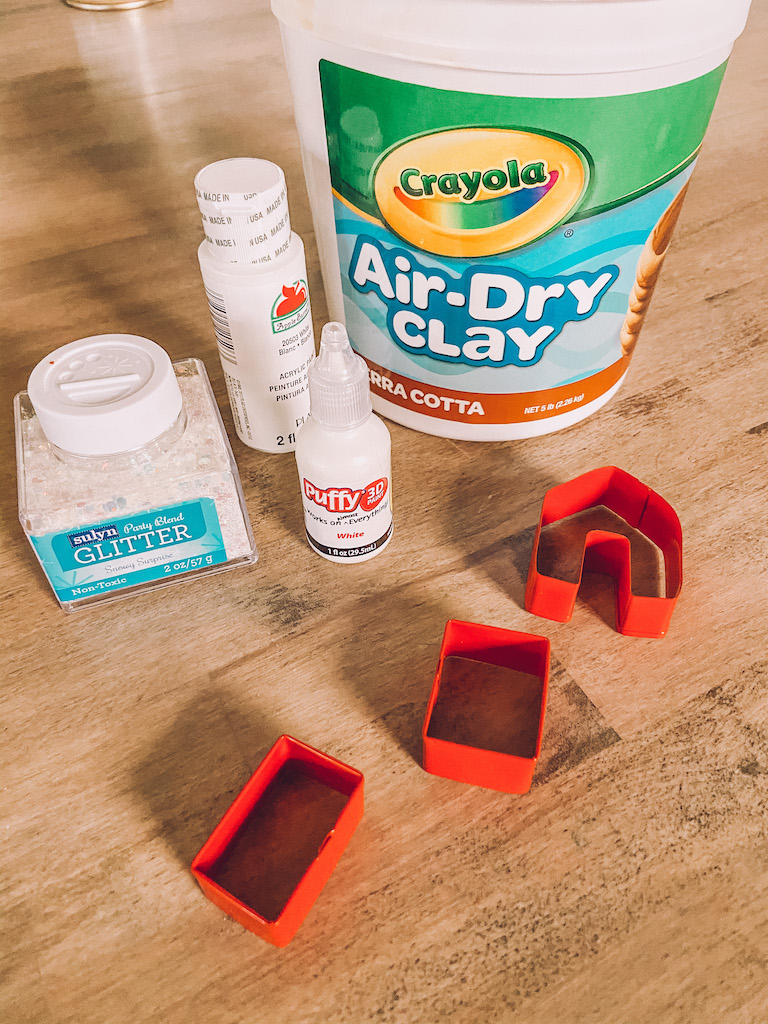
All you need to make your own DIY mini gingerbread houses are a few simple items. You can also decide to make these two different ways: with air dry clay or with modeling clay.
The modeling clay is faster to make, since you use the oven to harden the clay. The air dry clay needs to sit at least over night so your project won’t be able to be completed in a day.
How to Make Mini DIY Gingerbread Houses
What you Need
- Modeling Clay (brown) or Air Dry Clay
- Rolling Pin
- Mini Gingerbread house cookie cutters
- White Puffy Paint
- White Glitter
- Glue Gun
Directions
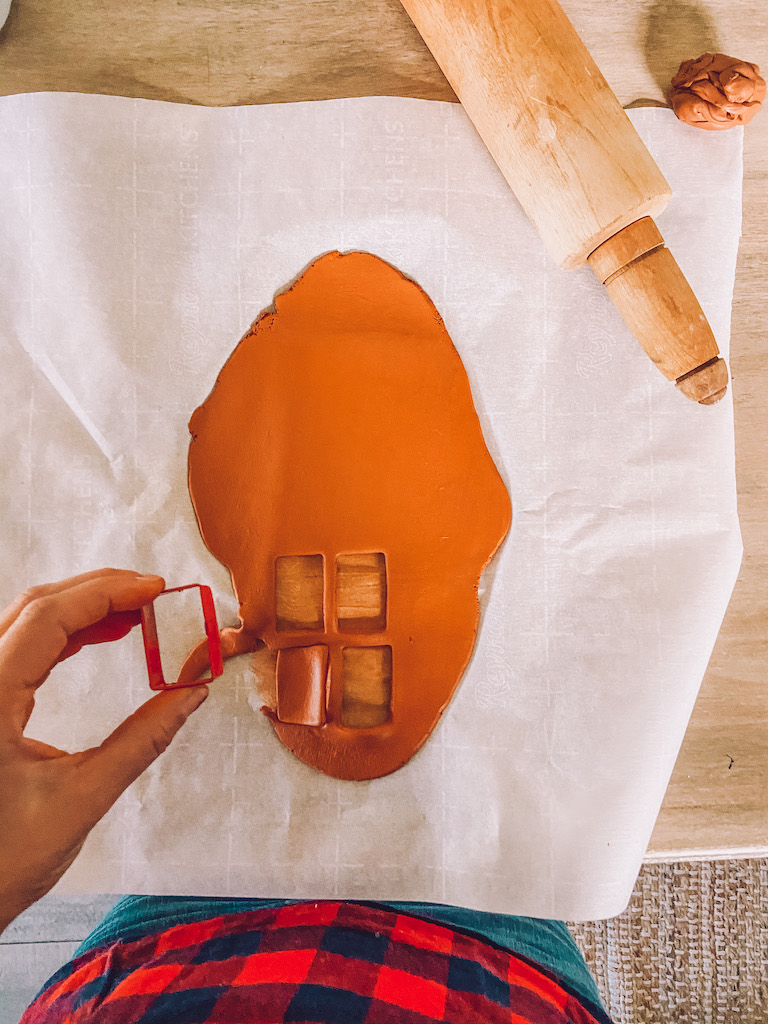
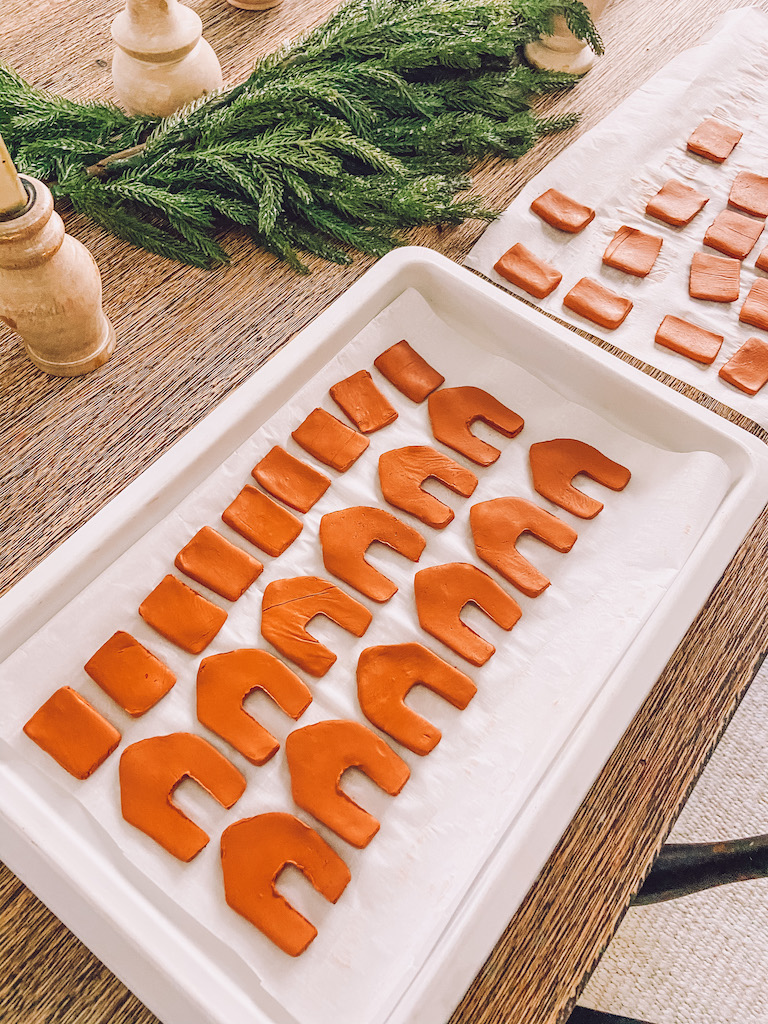
- Roll out your clay about 1/4′ thin
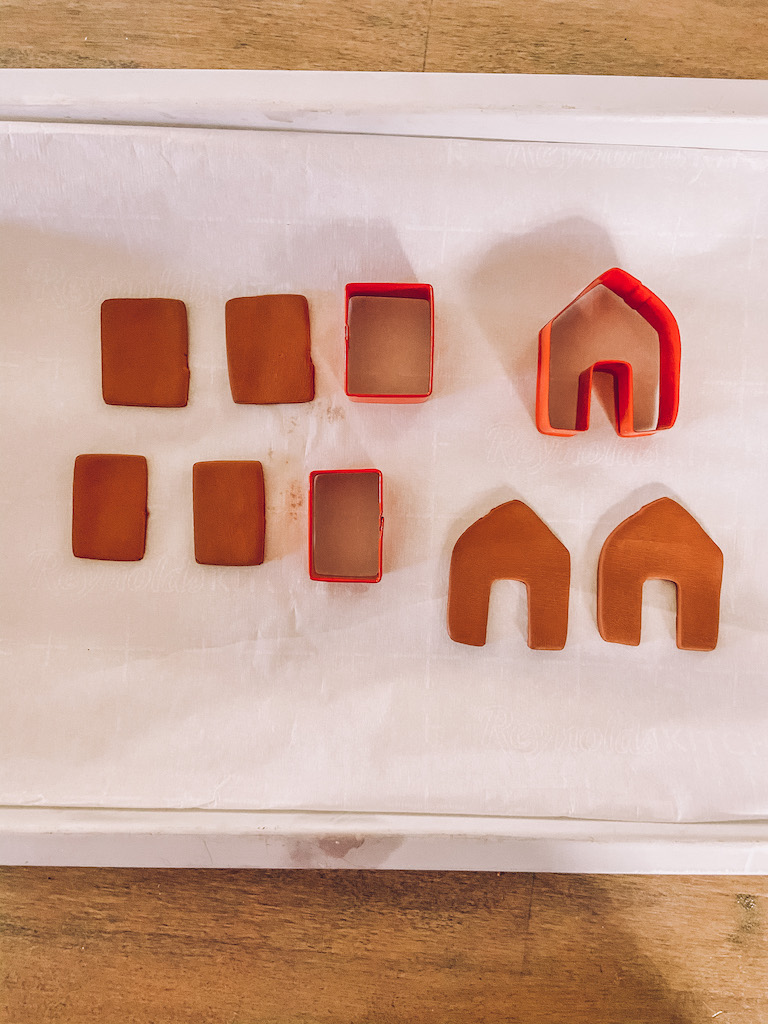
- Cut out the gingerbread shapes using the cookie cutters
- If you are using the modeling clay – bake according to the directions. If you choose to use the air dry clay, dry overnight.
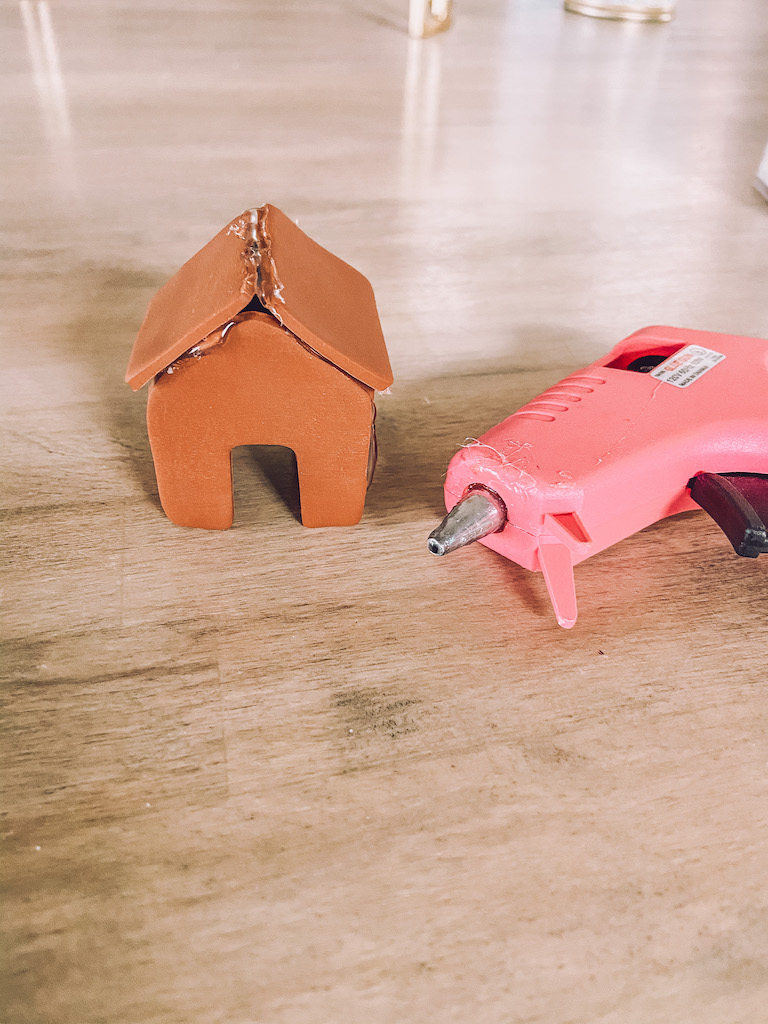
- Glue the gingerbread house together using a hot glue gun
- When dry, decorate the gingerbread house with white puffy paint and glitter
- Let dry!
Really so simple right!!!!! Remember: Do NOT eat these!! They are too cute to eat anyways!
xoxo,
Leanna




Turned out great! Such a good idea to use clay.