How to Make a Stunning Mimosa Drink Tower (The Ultimate Brunch Party Showstopper)
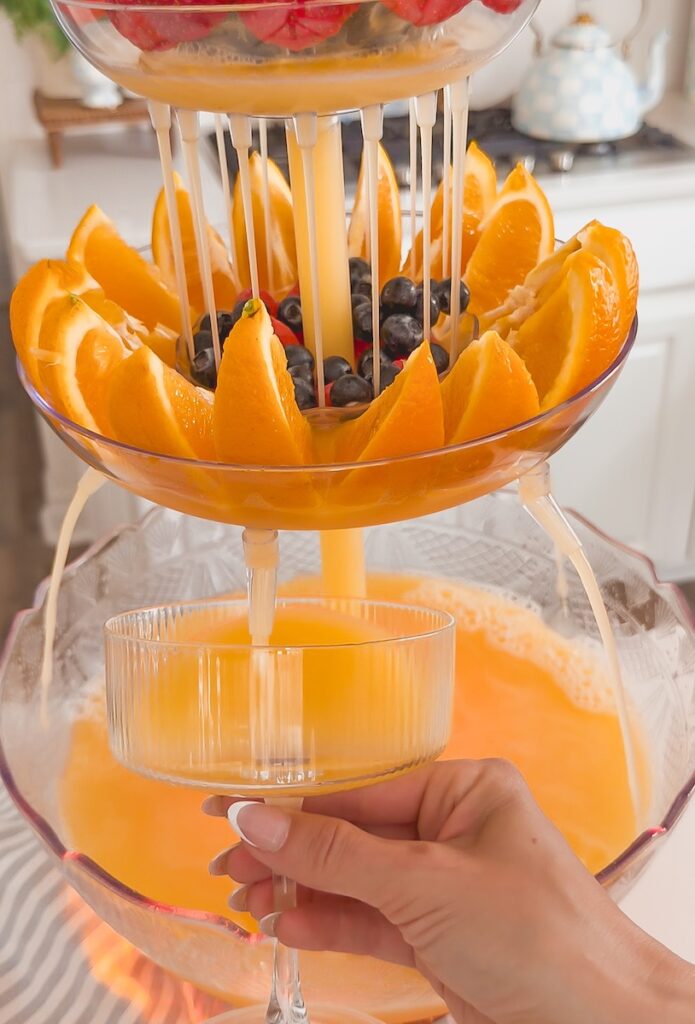
A mimosa drink tower is the ultimate brunch centerpiece that instantly elevates any gathering with sparkling champagne, fresh citrus juice, and vibrant fruit layered beautifully for a show-stopping presentation.

There’s just something about a mimosa that feels like celebration—whether it’s a holiday brunch, baby shower, girls’ weekend, or even a slow Sunday at home. But turning that classic drink into a tower? That’s next-level entertaining, and honestly, it makes everything feel more special with very little extra effort.
I made this mimosa drink tower for a recent get-together, and it completely stole the show. The mix of oranges, raspberries, blueberries, and blackberries created the prettiest color contrast, and paired with bubbly champagne… it looked like something straight out of a high-end brunch spot. The best part? It’s actually so easy to put together.
Why You’ll Love This Mimosa Tower Idea
This mimosa drink tower isn’t just pretty—it’s practical, customizable, and perfect for entertaining.
- Effortless hosting experience – Instead of constantly refilling glasses, guests can serve themselves, which gives you more time to actually enjoy your event
- A built-in centerpiece – This instantly becomes the focal point of your table, eliminating the need for extra décor
- Customizable for any occasion – Whether it’s a baby shower, bridal brunch, holiday gathering, or girls’ weekend, you can easily change the fruits and juices
- Interactive and fun for guests – People naturally gather around it, which creates a more social and engaging experience
- Quick and easy to assemble – Even though it looks impressive, it takes very little time and effort to put together
Ingredients You’ll Need
You only need a few simple ingredients to create this stunning mimosa drink tower, and the exact amounts can be found in the recipe card below.
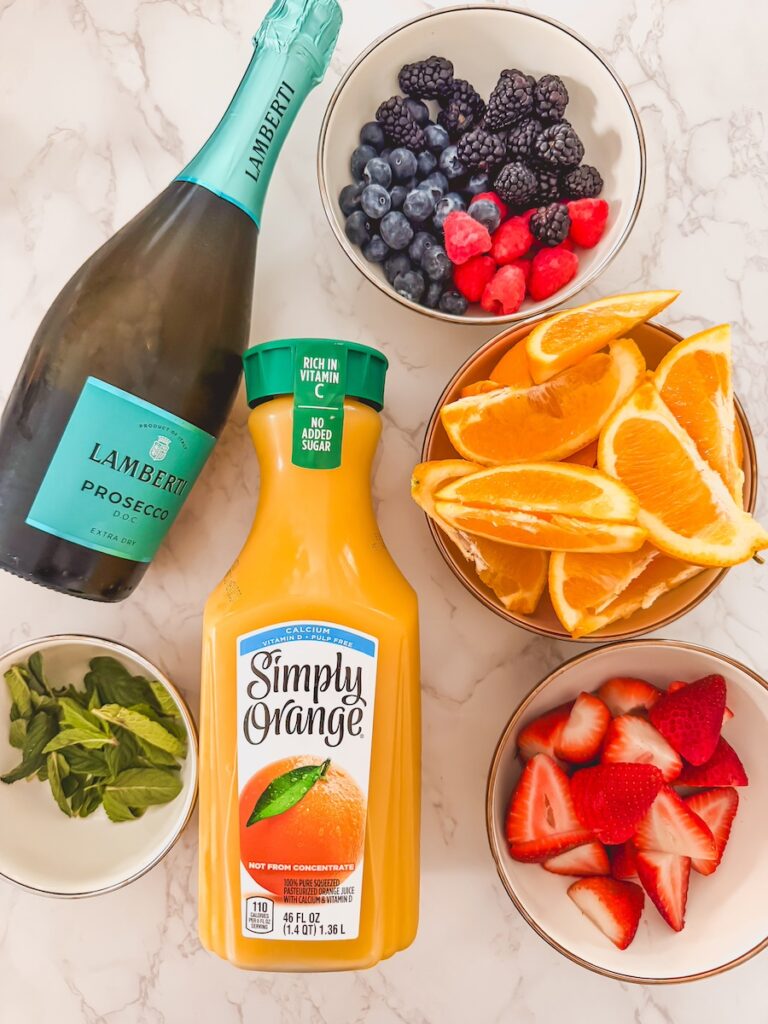
- Champagne or Prosecco – This is the base of your mimosa tower, and using a dry option helps balance the sweetness of the fruit and juice
- Orange juice – Fresh squeezed will give you the best flavor, but a high-quality store-bought option works beautifully as well
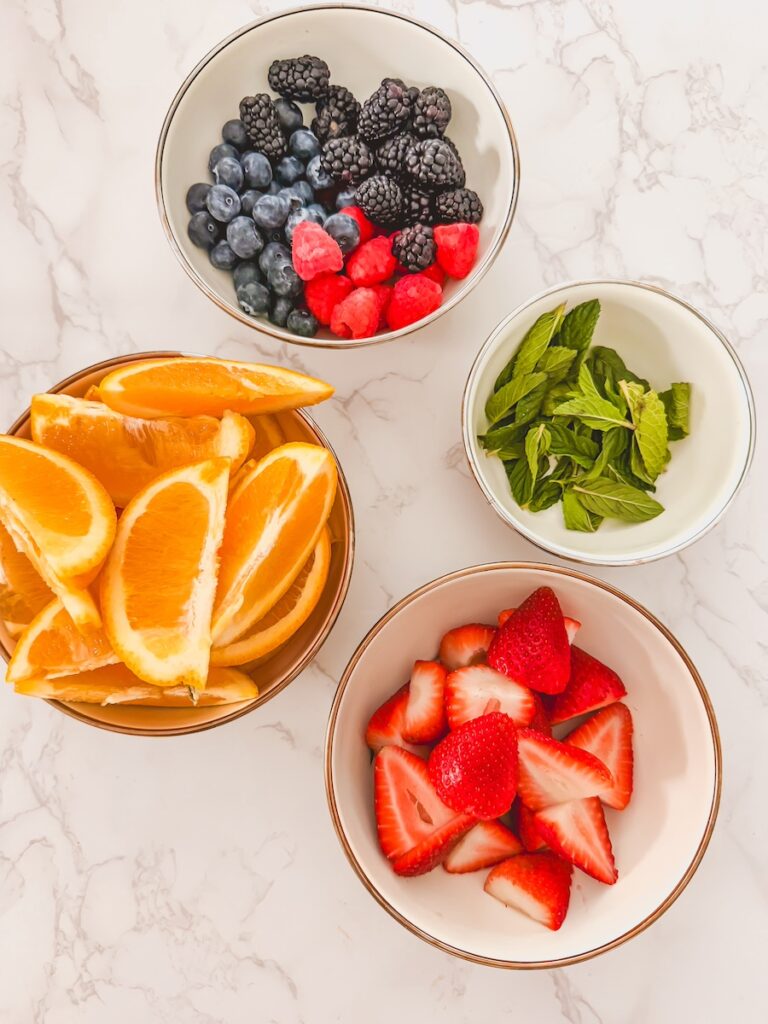
- Fresh oranges – These add visual dimension and enhance the citrus flavor throughout the tower
- Raspberries – Their vibrant red color creates contrast while adding a slightly tart note
- Blueberries – These provide a deep pop of color and a mild sweetness that balances the drink
- Blackberries – Slightly richer and more tart, they add depth and elevate the overall flavor profile
The Drink Tower I Used
This mimosa drink tower setup makes entertaining feel effortless while creating a stunning presentation your guests will talk about long after brunch is over.
- Mimosa Drink Tower from Amazon – This multi-tiered tower allows for easy pouring and a beautiful cascading display, making it perfect for parties, showers, and holidays
How to Make a Mimosa Drink Tower
Creating a mimosa drink tower is easier than you think, and the key is layering flavors and colors for the best visual effect.
Step 1: Prep Your Fruit Properly
Start by washing all of your fruit thoroughly. Slice the oranges into thin rounds or wedges, and make sure your berries are clean and dry. This not only ensures freshness but also helps the fruit look vibrant and appealing in the tower.
Step 2: Set Up Your Tower in the Right Spot
Place your drink tower on a flat, sturdy surface where guests can easily access it. Once it’s filled, you won’t want to move it, so choosing the right spot from the beginning is key.
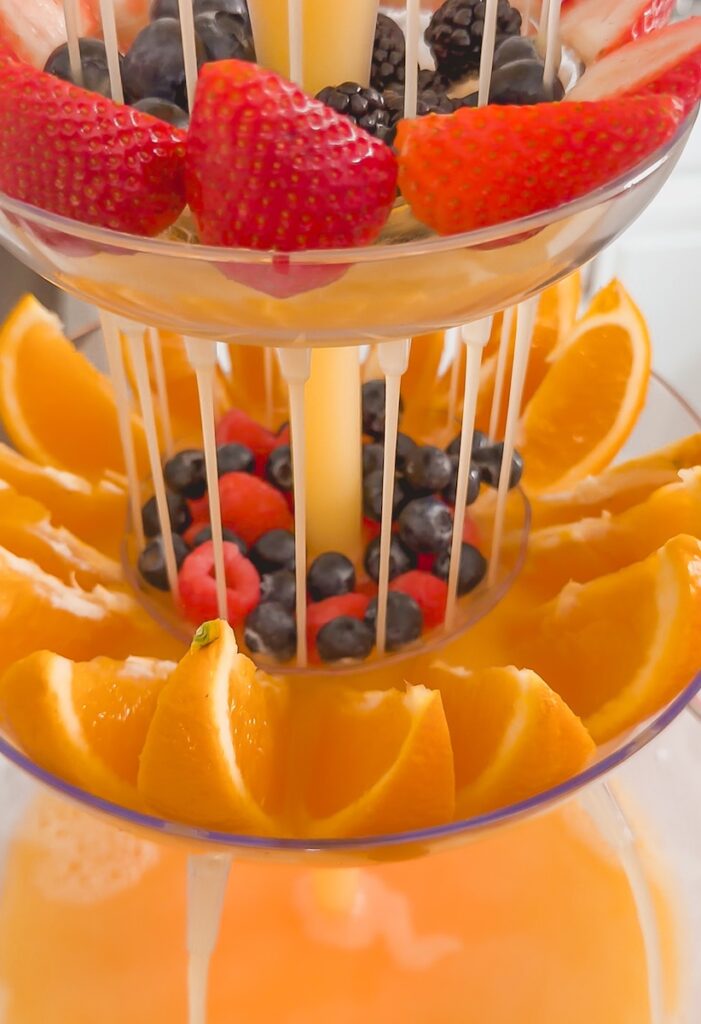
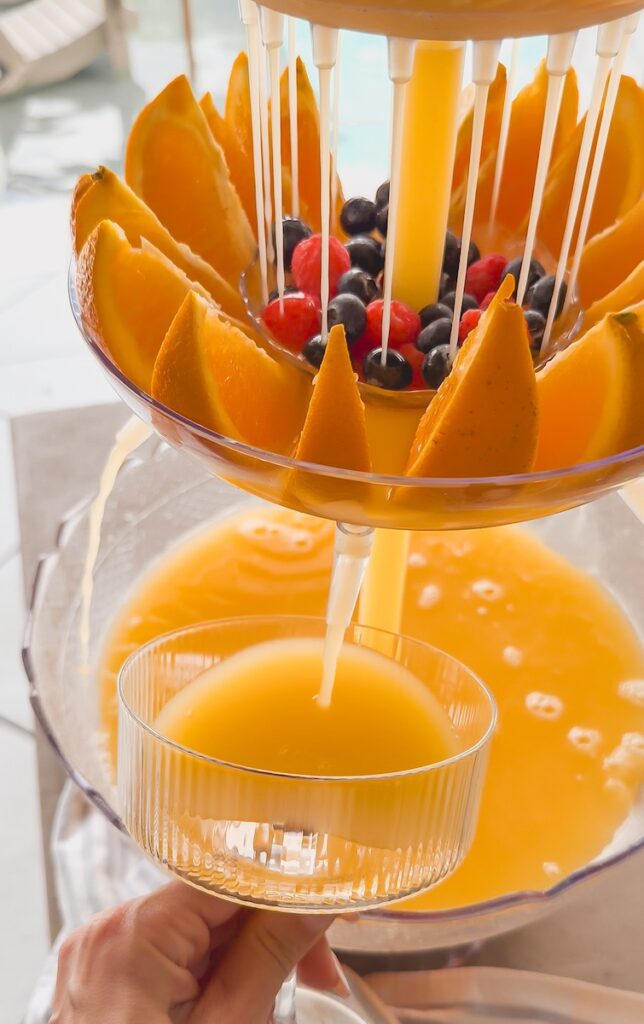
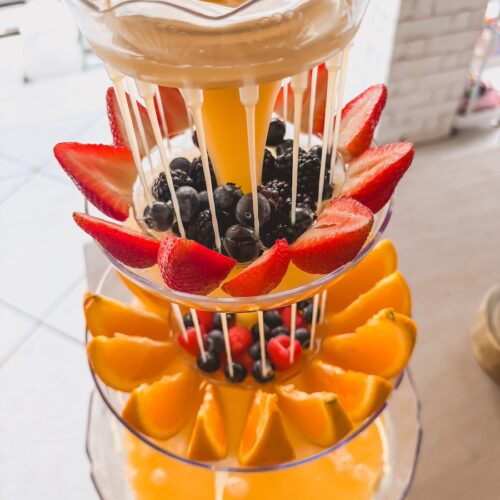
Step 3: Layer the Fruit for Maximum Visual Impact
Add your oranges, raspberries, blueberries, and blackberries evenly throughout each tier. Try to distribute colors evenly so that every level looks full, balanced, and visually stunning.
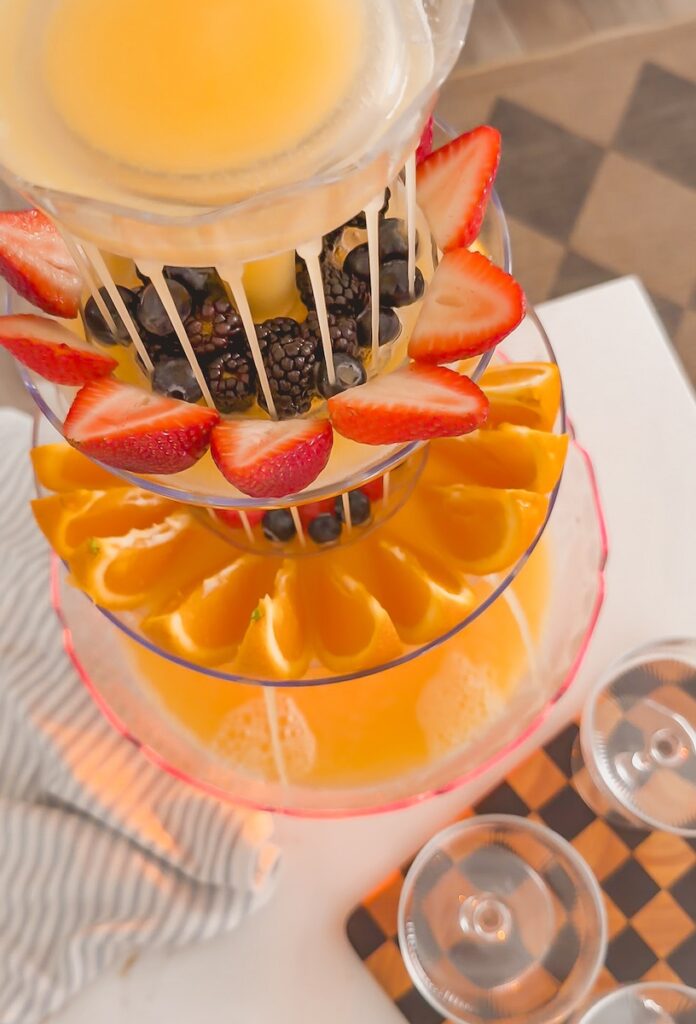
Step 4: Pour Champagne First, Then Juice
Pour the champagne or Prosecco into the tower first, followed by the orange juice. This helps maintain the bubbly texture and prevents the drink from becoming too flat.
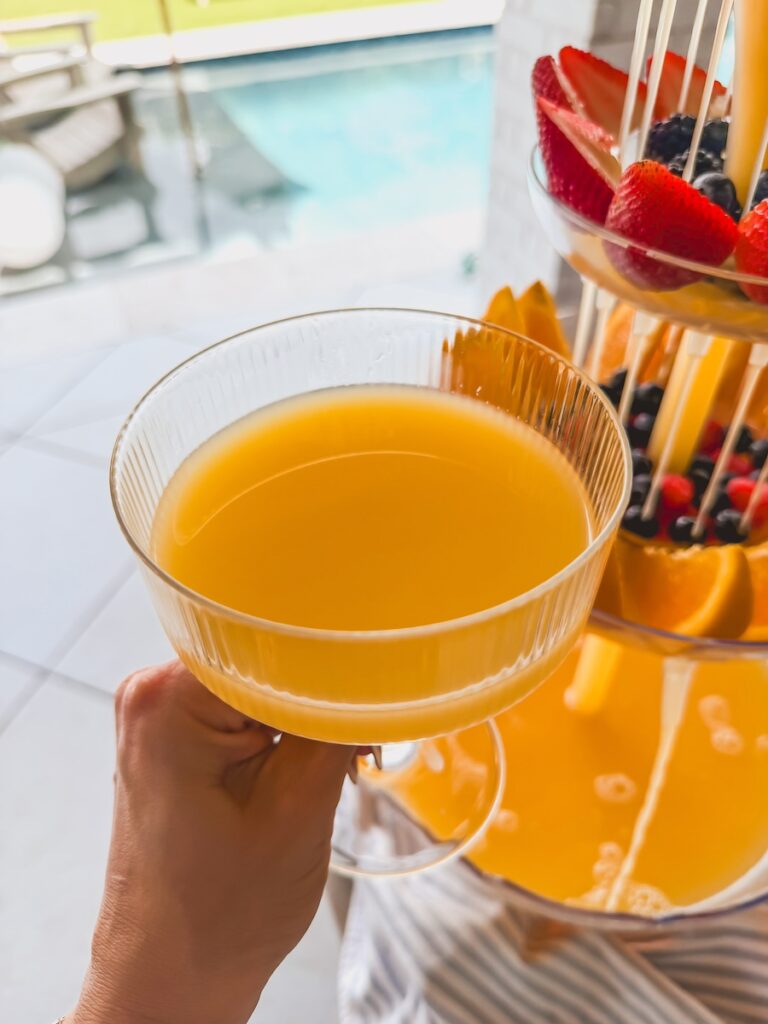
Step 5: Let Guests Serve and Enjoy
Once everything is assembled, let your guests serve themselves. As the drink sits, the fruit will naturally infuse into the liquid, enhancing both the flavor and the overall experience.
Watch How to Make It
Tips for the Best Mimosa Drink Tower
A few simple tips will take your mimosa drink tower from pretty to absolutely unforgettable.
- Chill everything first – Cold champagne and juice keep the tower fresh longer
- Use fresh fruit – It makes a huge difference in both flavor and presentation
- Don’t overfill – Leave a little space to prevent spills when serving
- Add fruit right before serving – This keeps everything looking vibrant
- Use a mix of colors – The contrast is what makes it visually stunning
Flavor Variations to Try
This mimosa drink tower is incredibly versatile, and you can easily switch up the flavors depending on the occasion.
- Tropical Mimosa Tower – Add pineapple juice, mango slices, and even a little passion fruit for a vacation-inspired twist
- Cranberry Holiday Mimosa – Use cranberry juice with fresh cranberries and rosemary for a festive look
- Peach Bellini Tower – Swap orange juice for peach nectar and add fresh peach slices
- Rosé Mimosa Tower – Use sparkling rosé for a soft pink, girly aesthetic that’s perfect for showers
- Citrus Blend Tower – Combine orange, grapefruit, and lemon juice for a more complex citrus flavor
Make Ahead, Storage & Serving Tips
Planning ahead is key when you want your mimosa drink tower to look effortless but still feel polished and put together.
- Make Ahead – You can wash, slice, and prep all of your fruit several hours in advance and store it in the refrigerator
- Assemble Right Before Serving – For the best bubbles and freshest presentation, assemble the tower just before guests arrive
- Refill Strategy – Instead of overfilling at the beginning, refill the tower as needed to maintain freshness and carbonation
- Short-Term Storage – If needed, leftovers can be refrigerated for a few hours, but the bubbles will gradually fade
What to Serve With a Mimosa Drink Tower
Pairing your mimosa drink tower with the right foods will turn your setup into a full brunch experience.
- Breakfast casseroles – Hearty and perfect for feeding a crowd
- Pastries and croissants – Light, buttery options that pair beautifully
- Fresh fruit boards – Complements the flavors in the tower
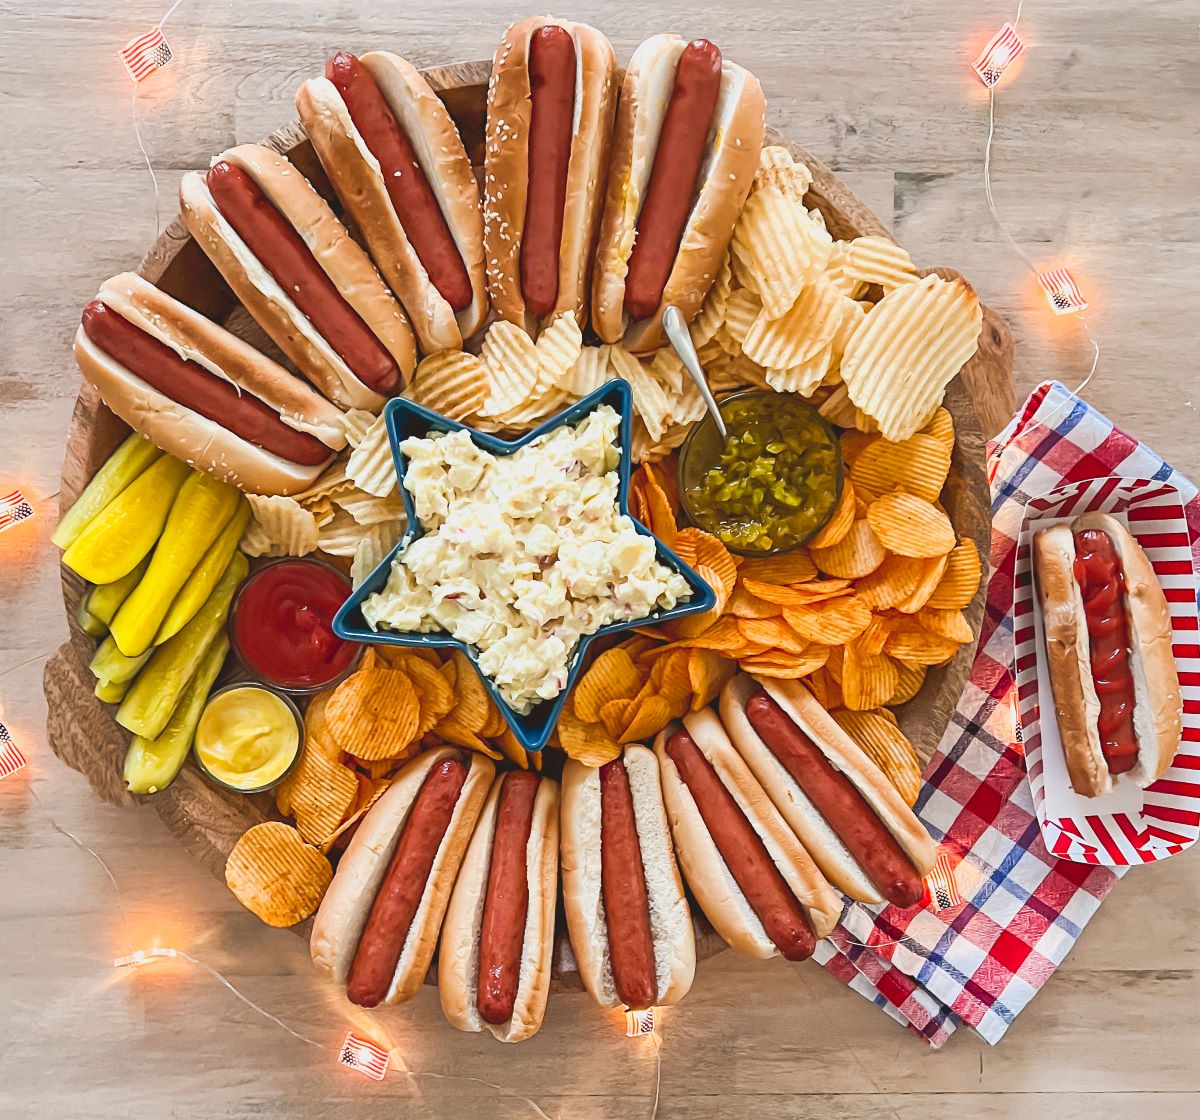
- Brunch charcuterie boards – Sweet and savory options for variety
- Mini sandwiches or sliders – Great for guests to snack on
What to Serve With a Mimosa Drink Tower
Pairing your mimosa drink tower with the right foods turns your setup into a full, elevated brunch experience.
- Breakfast casseroles – Hearty, comforting, and perfect for feeding a crowd
- Pastries and baked goods – Croissants, muffins, and scones pair beautifully with mimosas
- Fruit boards or grazing platters – Complements the fresh flavors in the tower
- Savory brunch bites – Sliders, egg dishes, or quiches add balance to the sweetness
- Light salads – A fresh salad pairs perfectly with the bright citrus notes
Frequently Asked Questions About Mimosa Drink Towers
Can I make a mimosa drink tower ahead of time?
While you can prep all of your ingredients ahead of time, it’s best to assemble the mimosa drink tower right before serving. Champagne loses its carbonation quickly, so adding it too early can result in a flat drink. For the best experience, wait until just before guests arrive to pour the bubbly.
What’s the best champagne to use for a mimosa drink tower?
A dry champagne or Prosecco is ideal because it balances the sweetness of the juice and fruit. Using something too sweet can make the drink overly sugary, especially once the fruit starts to infuse.
How much alcohol do I need for a mimosa tower?
This depends on the size of your tower and the number of guests, but typically 2–3 bottles of champagne will work for most setups. It’s always a good idea to have an extra bottle on hand for refills.
Can I make this non-alcoholic?
Yes, and it’s just as delicious. Simply swap the champagne for sparkling water or a non-alcoholic sparkling wine. This makes it perfect for kids, baby showers, or guests who prefer not to drink alcohol.
What fruit works best in a mimosa tower?
Fruits that hold their shape and add color work best, such as oranges, berries, grapes, or even pomegranate seeds. Avoid overly soft fruits that can break down quickly and affect the texture.
You’ll Also Love These Easy Entertaining Recipes
If you love this mimosa drink tower, here are a few more easy, crowd-pleasing recipes that are perfect for brunch or hosting:
- Fruit Salad with Honey Lime Dressing – Bright, fresh, and the perfect pairing for brunch drinks
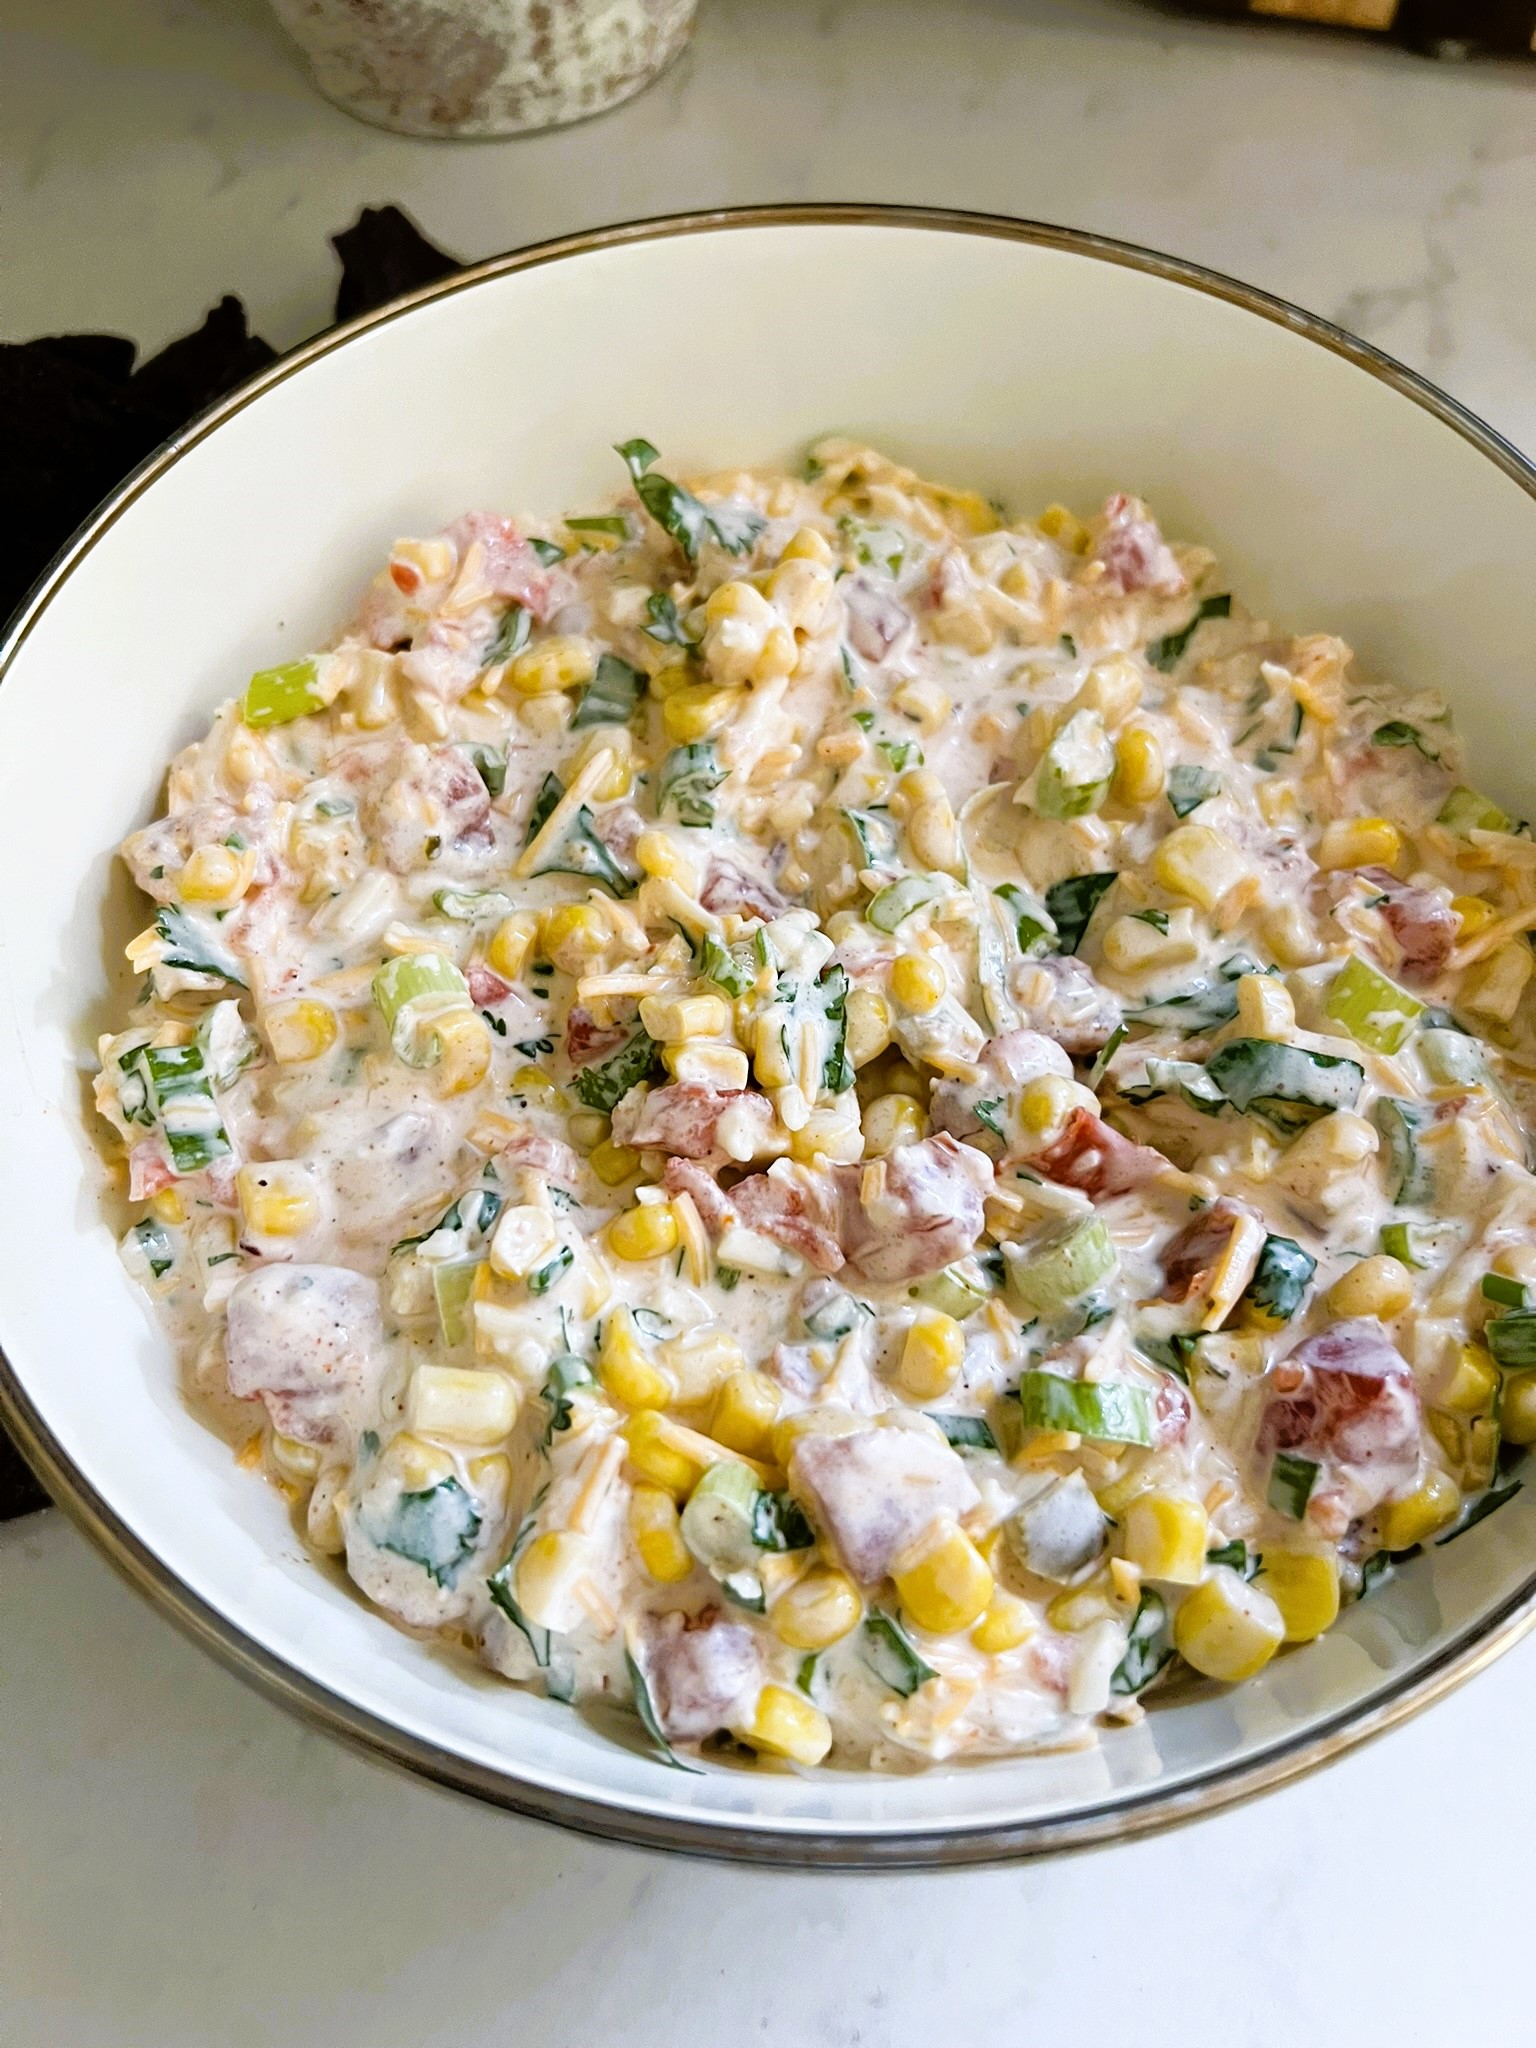
- Mexi Corn Crack Dip – A creamy, flavorful appetizer everyone always asks for
- Classic Chicken Salad – Perfect for sandwiches, croissants, or brunch boards
- Dill Pickle Chicken Salad – A tangy twist that’s packed with flavor
Mimosa Drink Tower
Equipment
- Mimosa drink tower (multi-tier beverage dispenser)
- Knife + cutting board
- Serving glasses
Ingredients
- 2 –3 bottles champagne or Prosecco chilled
- 3 –4 cups orange juice chilled, preferably fresh-squeezed
- 2 fresh oranges thinly sliced or cut into wedges
- ½ cup raspberries
- ½ cup blueberries
- ½ cup blackberries
Instructions
- Prep the fruit – Wash all fruit thoroughly. Slice the oranges into thin rounds or wedges and pat berries dry to keep the presentation clean and vibrant.
- Set up the mimosa drink tower – Place your drink tower on a flat, stable surface where it will be served. Make sure it is secure before adding ingredients.
- Layer the fresh fruit – Evenly distribute the oranges, raspberries, blueberries, and blackberries throughout each tier of the tower for a balanced and colorful presentation.
- Pour the champagne first – Slowly pour the chilled champagne or Prosecco into the tower, allowing it to flow through each level. This helps maintain the bubbly texture.
- Add the orange juice – Gently pour in the orange juice to achieve your desired mimosa ratio. Adjust based on how strong or light you prefer your drinks.
- Serve immediately – Let guests serve themselves and enjoy. As the tower sits, the fruit will naturally infuse the drink with additional flavor.
Video
Notes
Use a dry champagne – Brut or extra dry balances the sweetness of the juice and fruit
Don’t overfill the tower – Leave room for flow and easy serving
Add fruit right before serving – This keeps colors vibrant and prevents breakdown
Refill as needed – For best flavor and bubbles, top off instead of overfilling