Simple Tips for an Epic Crockpot Fondue Board!
This Crockpot Fondue Board is a super easy hack that gives you creamy, silky fondue every single time!! This is such a fun dessert option for both kids and adults!

Ingredients
This depends on what you like best! Here’s what I love to use:
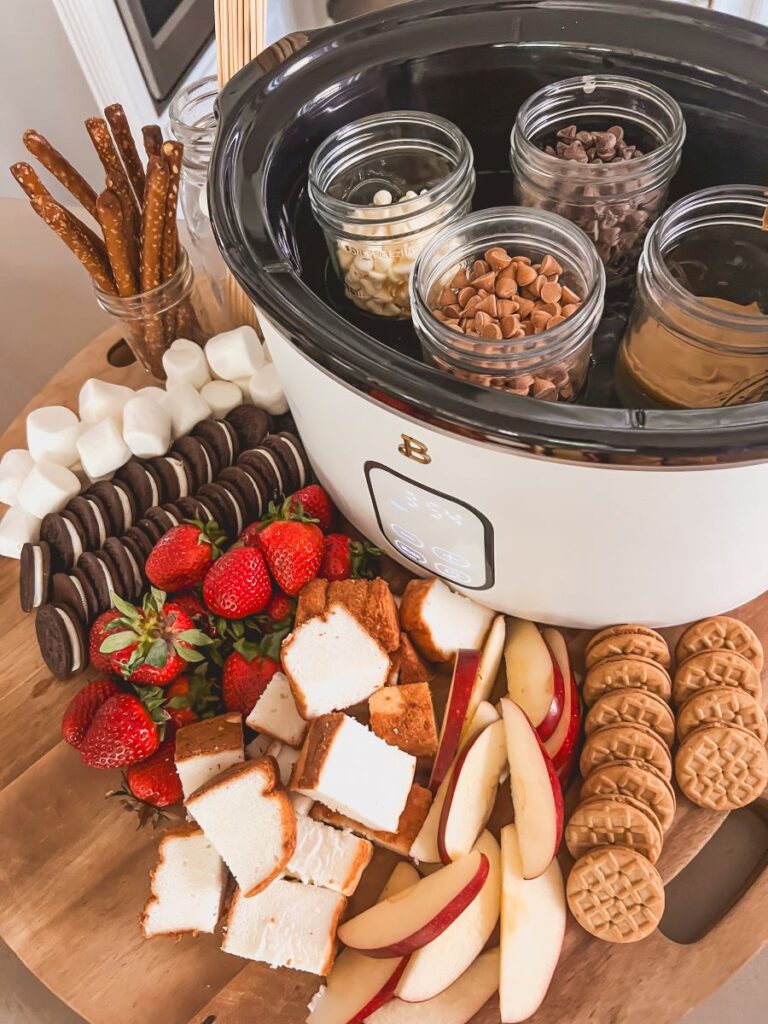
- Chocolates: Such as milk chocolate, dark chocolate, white chocolate, etc. You can also use @sunbutter for a nut free option.
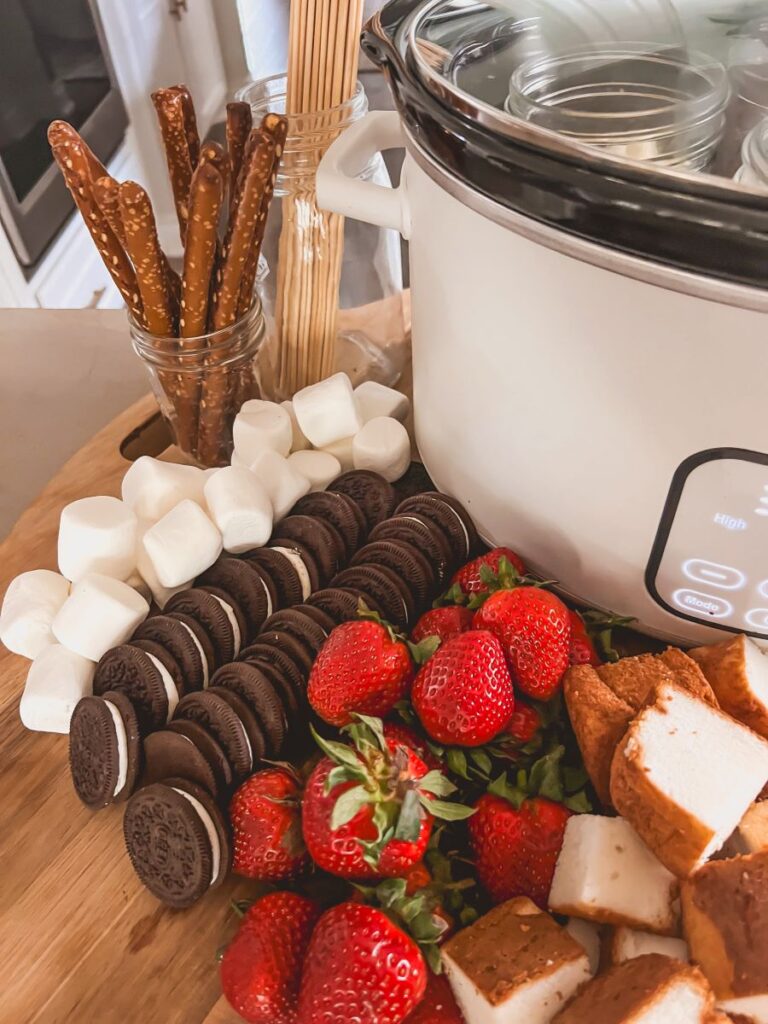
- Dippers: Such as pretzels, apples, strawberries, marshmallows, pound cake, Angel Food Cake, and cookies.
- Supplies: Crockpot, Wooden Skewers, and Mason Jars. No need to buy a separate Fondue Set! 🙂
Directions
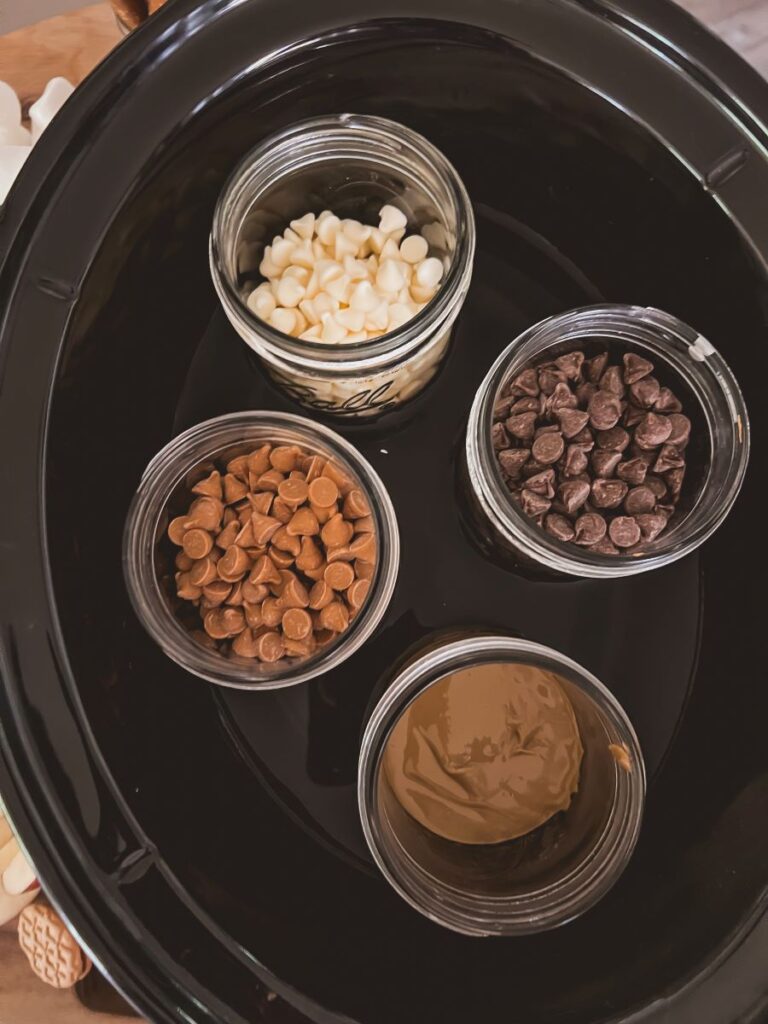
- Fill mason jars with a variety of chocolates and place them in the crockpot.
- Fill the crockpot with water and cook on high, uncovered, for an hour or until everything is melted.
- Stir and set on low!
- Use your favorite toppings to dip!
Here’s a Quick Video Tutorial!
Perfect Presentation Platters
Crockpot: I used my favorite 6-quart crockpot from Walmart, which is at a great price! It also has a cute 2-quart option for smaller meals and an 8-quart option for larger meals.
Serving Plates: For adorable serving plates, I am obsessed with this beautiful coordinating set from Target for a great price! JC Penney also has these stunning floral plates that I think you’ll love!
Wooden Serving Board: My board is from Hobby Lobby, but this White Reclaimed Wood Pizza Board is also a favorite of mine! It’s a bit of a splurge from Potter Barn, so you may also love this adorable $15 version from Walmart! I also use this Oversized Circular Serving Board all the time, which is from Target at a great price. There is also a similar Lazy Susan version that is so convenient.
Kitchen Links: I get asked all the time about the products in the background of my kitchen. Much of it is from MacKenzie-Childs, which I have slowly grown a collection of over the years! My favorites are this checkered chopping board, my black and white checkered teapot, and the gray and white checkered utensil holder. I also have this enamel canister that you can find in small, medium, or large.

Can I Prep This Chocolate Fondue Board Ahead of Time?
Yes! You can wash and cut the fruit ahead of time and keep in the refrigerator. You can also arrange the room-temperature ingredients on the serving board several hours in advance and cover with Saran Wrap so they stay fresh. You can start melting the chocolates about an hour before serving time!
Storing Leftovers
Store any leftover fruit in the refrigerator in a Tupperware container or Ziploc Bag. I always like to return any room temp ingredients (such as Marshmallows, pretzels, or cookies) in their original packaging.
Enjoy!
I hope this Crockpot Fondue Board is a simple way to make a fun memory with your loved ones! For more tasty Crockpot meals, I think you’ll also love my delicious Crockpot Cinnamon Roll Casserole, easy Crockpot Olive Garden Chicken Pasta, or this healthy Crockpot Fiesta Chicken.
Thanks for visiting this little corner of the internet, friends!
PrintSimple Tips for an Epic Crockpot Fondue Board!

This Crockpot Fondue Board is a super easy hack that gives you creamy, silky fondue every time for a dessert both kids and adults love!
Ingredients
-
- Chocolates: Such as milk chocolate, dark chocolate, white chocolate, etc. You can also use @sunbutter for a nut free option.
-
- Dippers: Such as pretzels, apples, strawberries, marshmallows, pound cake, Angel Food Cake, and cookies.
-
- Supplies: Crockpot, Wooden Skewers, and Mason Jars. This is also so handy, so you don’t need to buy a separate Fondue Set.
Instructions
-
- Fill mason jars with a variety of chocolates and place them in the crockpot.
- Fill the crockpot with water and cook on high, uncovered, for an hour or until everything is melted.
- Stir and set on low!
- Use your favorite toppings to dip!