How to Create a Gorgeous MOMosa Bar!
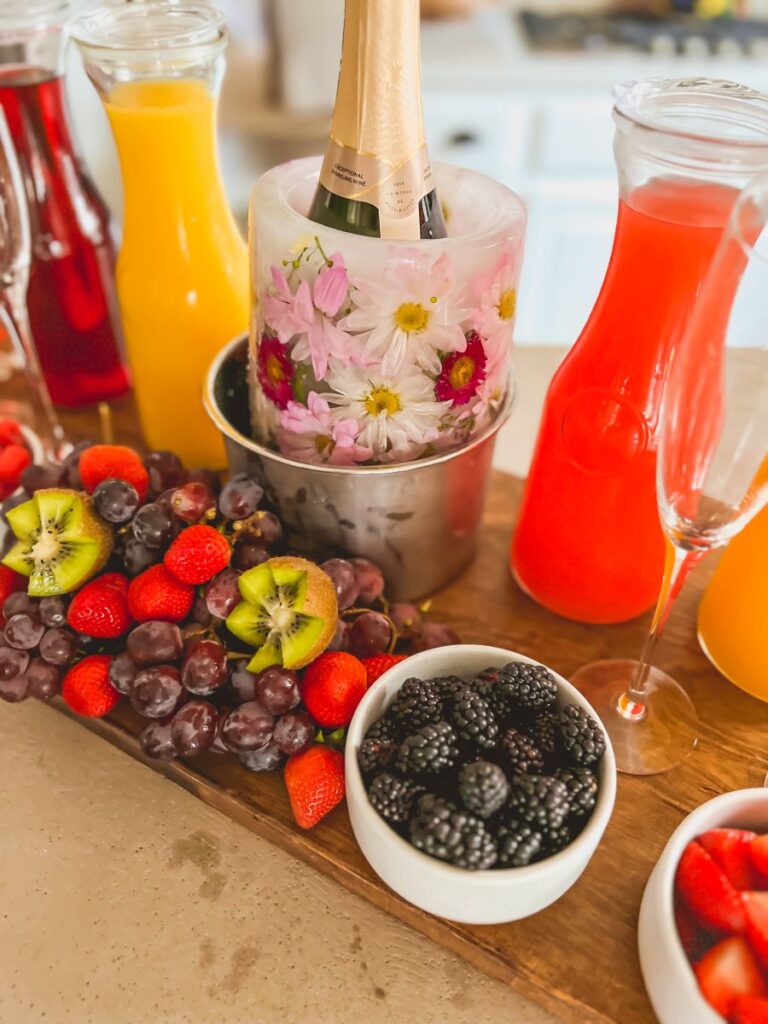
This “Momosa Bar” is such a fun way to celebrate Mother’s Day or any party! 🍾🍇🍓The floral ice bucket also adds an extra touch of elegance to any occasion!

Ingredients and Supplies
All you need is:
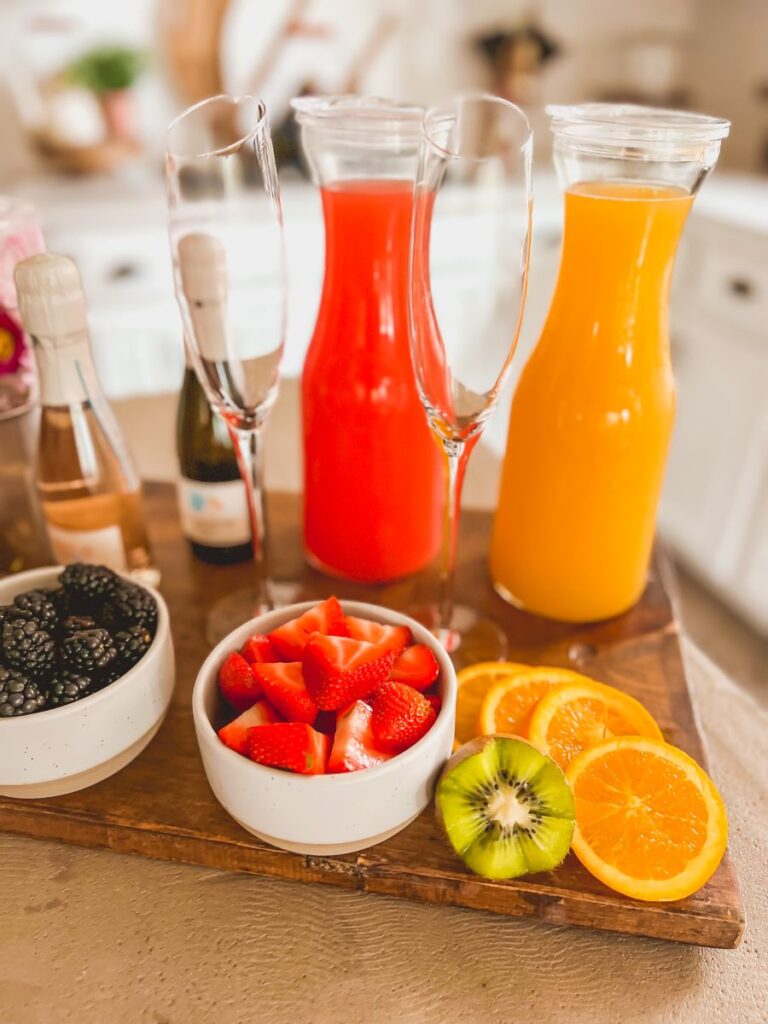
- Your fav juices 🍊🍑
- Bubbly of your choice 🍾
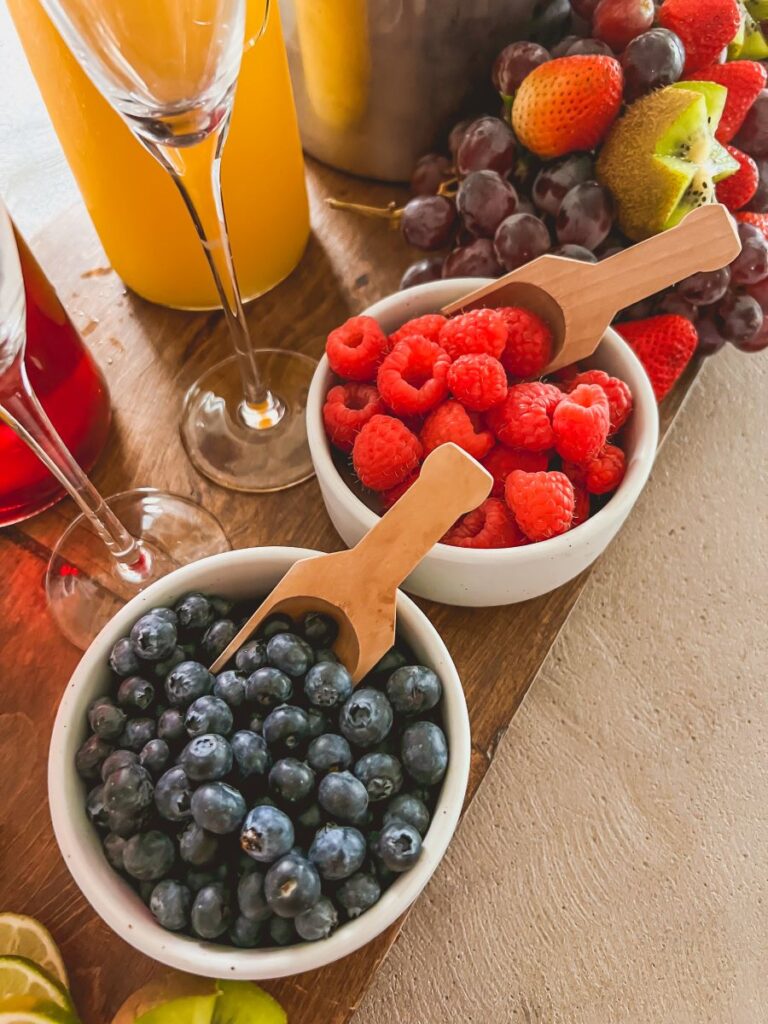
- Fruit for garnish 🍑🍓🍇🥝
- Vessels/carafes for the juices
- Champagne flutes (plastic cups are fine, too!)
- A cooler or ice bucket to keep the champagne cold
See below for my favorite products!
Directions
There’s no right or wrong way to set up your bar, but here are my favorite tips!
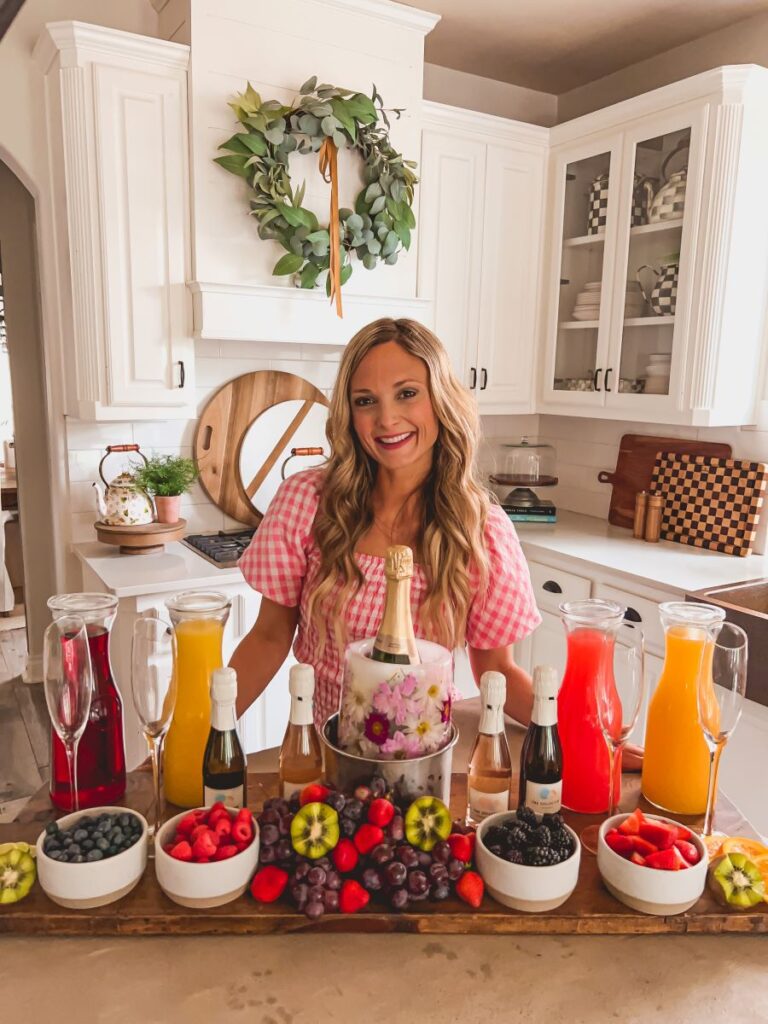
- You can set this up on a serving board, table, or counter
- Place the champagne bucket in the center with the carafes of juice on either side
- Add champagne glasses in front of the carafes
- Place small dishes with fruit in front of the champagne glasses
- Decorate with fruit garnishes and mini champagne bottles
Here’s a Quick Video Tutorial!
Perfect Presentation Platters
Here are my favorite products to elevate your MOMosa bar!
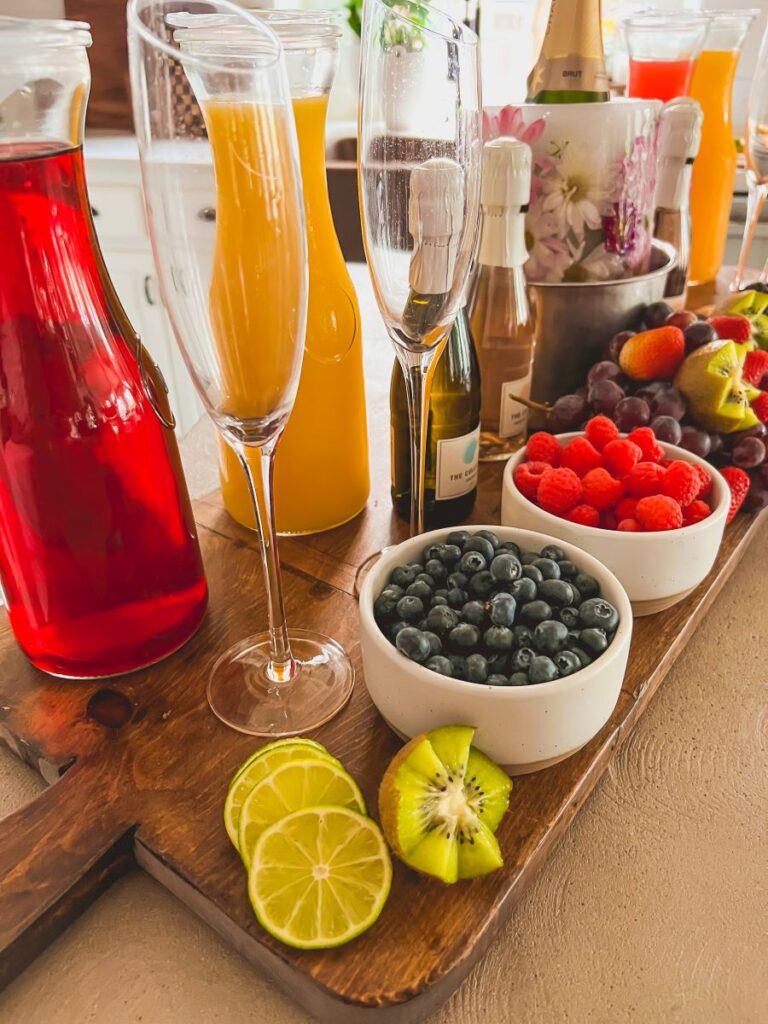
Champagne Ice Bucket: I used this ice bucket mold to hold the champagne! Just add pretty flowers (real or fake) as you fill it up before freezing. Tip: Use hot water so the ice freezes clear!
Large Serving Boards: If you’d like a rectangular tray similar to mine, this wooden version from Target is great, as well as this beautiful choice from Etsy. For a higher-end round tray, I love my MacKenzie-Childs checkered party tray, as well as this round wooden Target tray, that you can use year-round.
Carafes, Glasses, and Fruit Bowls: How cute are these carafes that you can use for juice? I also love these champagne glasses from Amazon and these adorable bowls to hold the fruit.
Kitchen Links: I get asked all the time about the products in the background of my kitchen. Much of it is from MacKenzie-Childs, which I have slowly grown a collection of over the years! My favorites are this checkered chopping board, my black and white checkered teapot, and the gray and white checkered utensil holder. I also have this enamel canister that you can find in small, medium, or large.

Can I Prep This Ahead of Time?
Yes! I like to wash the fruit and prep it a few hours ahead of time. You can also put the juice in the carafes and store them in the refrigerator to save time assembling your Momosa Bar. If you use the ice wine bucket, this will need a few hours to chill.

Storing Leftover Momosa Bar Items
I always like to save fruit containers so I can easily put any leftovers back into the refrigerator. You can also pour the juices back into their cartons, or cover with lids (if included) or Saran Wrap and store in the refrigerator.
Enjoy!
I hope this fun Momosa board helps to spice up your celebration! If you make one, please feel free to share on Instagram and tag me; I LOVE seeing your creations! Cheers, friends!
How to Create a Gorgeous MOMosa Bar!
This “Momosa Bar” is such a fun way to celebrate Mother’s Day or any party! All you need are a few supplies for an elegant presentation.
- Prep Time: 10 minutes
- Total Time: 10 minutes
- Category: Drinks
Ingredients
- Your fav juices 🍊🍑
- Bubbly of your choice 🍾
- Fruit for garnish 🍑🍓🍇🥝
- Vessels/carafes for the juices
- Champagne flutes (plastic cups are fine, too!)
- A cooler or ice bucket to keep the champagne cold
Instructions
There’s no right or wrong way to set up your bar, but here are my favorite tips!
- You can set this up on a serving board, table, or counter
- Place the champagne bucket in the center with the carafes of juice on either side
- Add champagne glasses in front of the carafes
- Place small dishes with fruit in front of the champagne glasses
- Decorate with fruit garnishes and mini champagne bottles