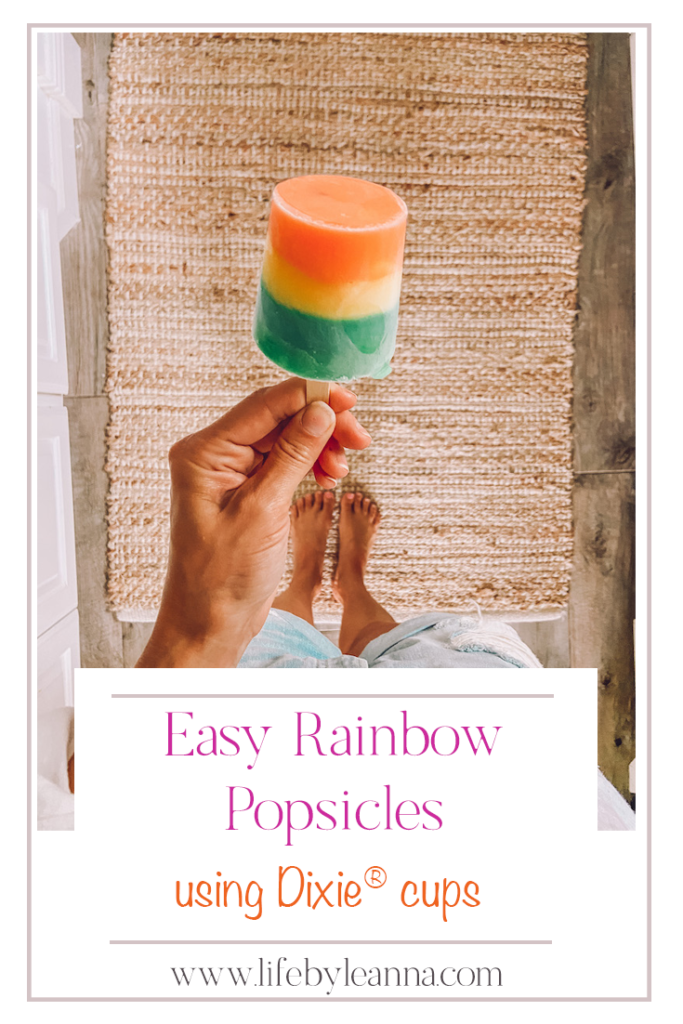
Easy Rainbow Popsicles with Dixie® Cups
Thank you Dixie® Cups for sponsoring this post. Check out how versatile these 5 oz. multi-purpose cups are!
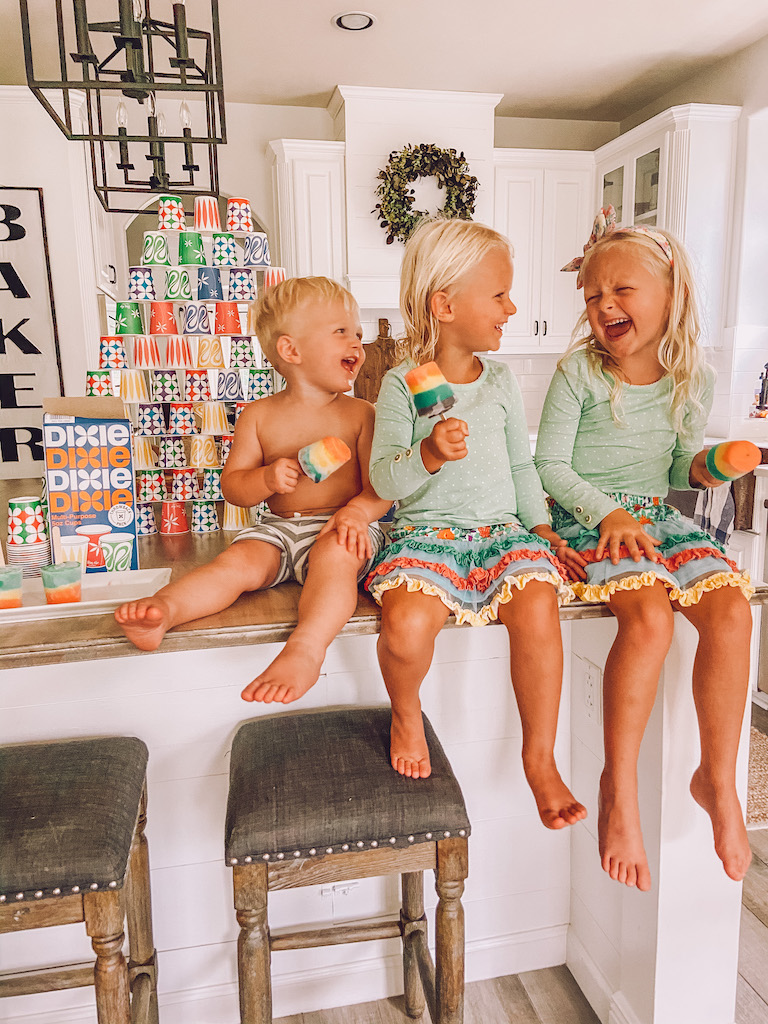
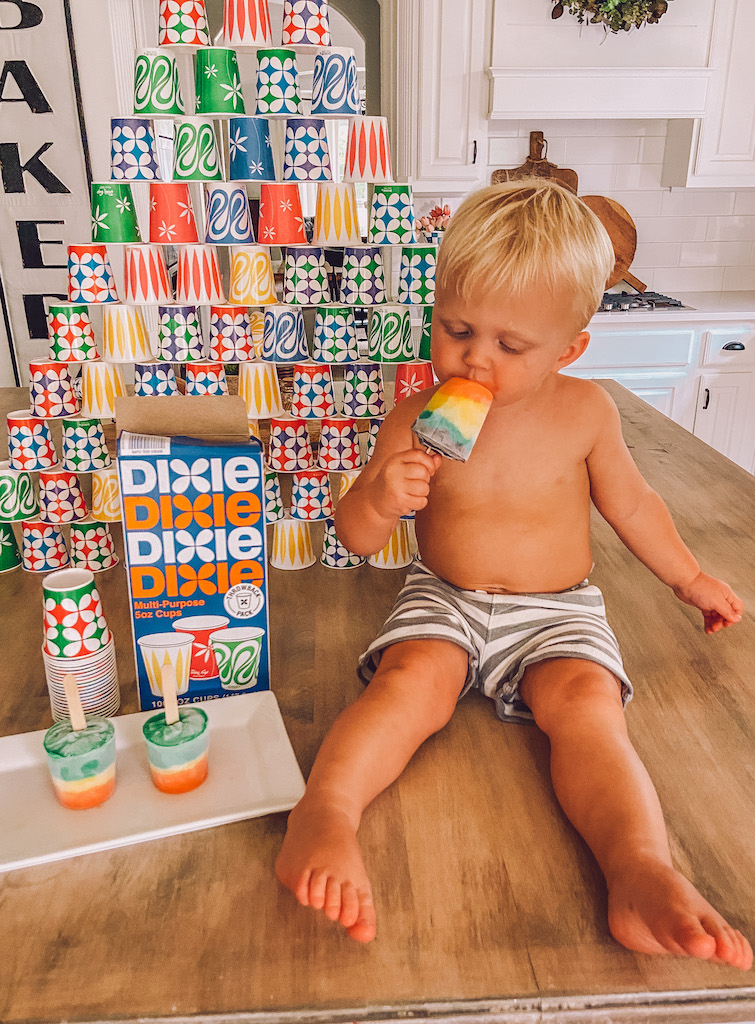
Even though summer may be coming to an end, it is still SO hot here in Texas! Popsicles are a must during the warm months, and these easy rainbow popsicles are a kid favorite at our house!
This recipe only uses a few ingredients, and the popsicles taste like vanilla birthday cake! The best part about this recipe is that you do not have to freeze each layer! The vanilla pudding sets just enough for each layer to lay on top of one another.

We didn’t have popsicle molds to make this recipe, so we used Dixie® multi-purpose 5 oz. cups instead! We always have Dixie® multi-purpose 5 oz. cups in our house for the kids to use when they brush their teeth, for snack cups, or to even make castles with. I love how versatile they are to use for crafts, too! The Dixie® cups worked perfectly to make these easy rainbow popsicles.
How to Make Easy Rainbow Popsicles
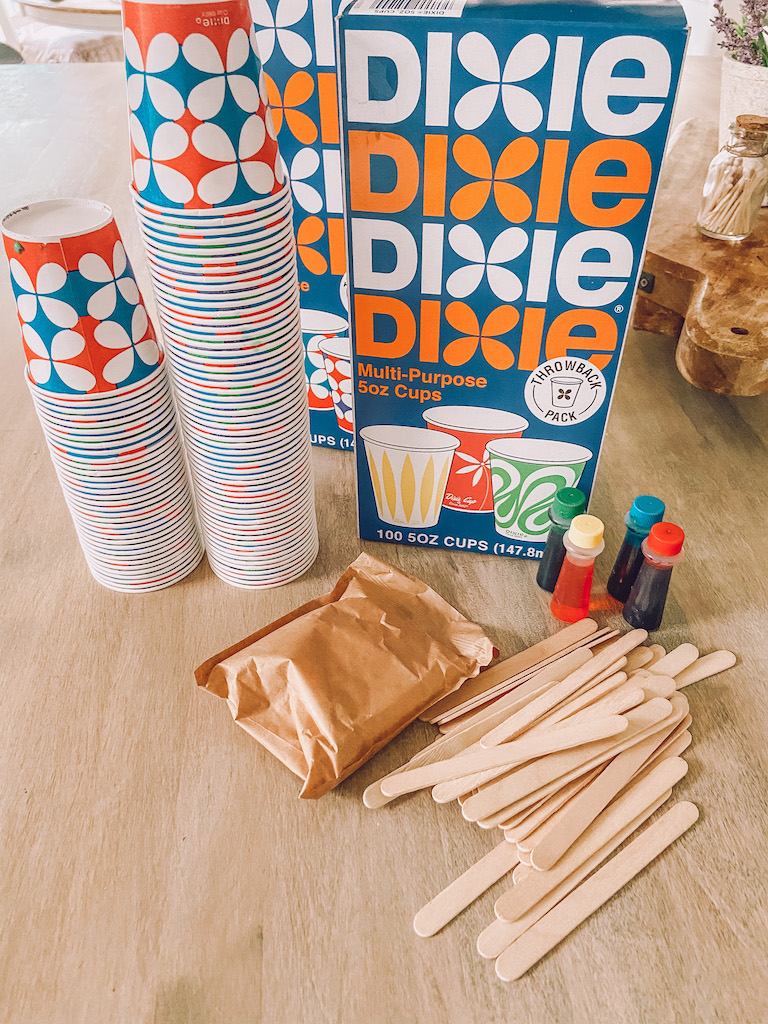
The full printable recipe is at the end of this post, but here’s what you’ll need:
- Instant Vanilla Jello Pudding
- Milk
- Food Coloring
- Dixie® multi-purpose 5 oz. cups
- Popsicle Sticks
How to Make the Layers
Divide the pudding evenly into 5 bowls. Add the food coloring to each bowl and stir to combine. If you want lighter colors, use less drops.
Pink Layer – 4 drops red food colouring
Yellow Layer – 6 drops yellow food colouring
Green Layer – 6 drops green food colouring
Blue Layer – 6 drops blue food colouring
Purple Layer – 4 drops of blue and 4 drop of red colouring

Directions
- Make the vanilla pudding according to the package directions.
- Divide the pudding up into 5 separate bowls and add in the food colouring per the directions above.
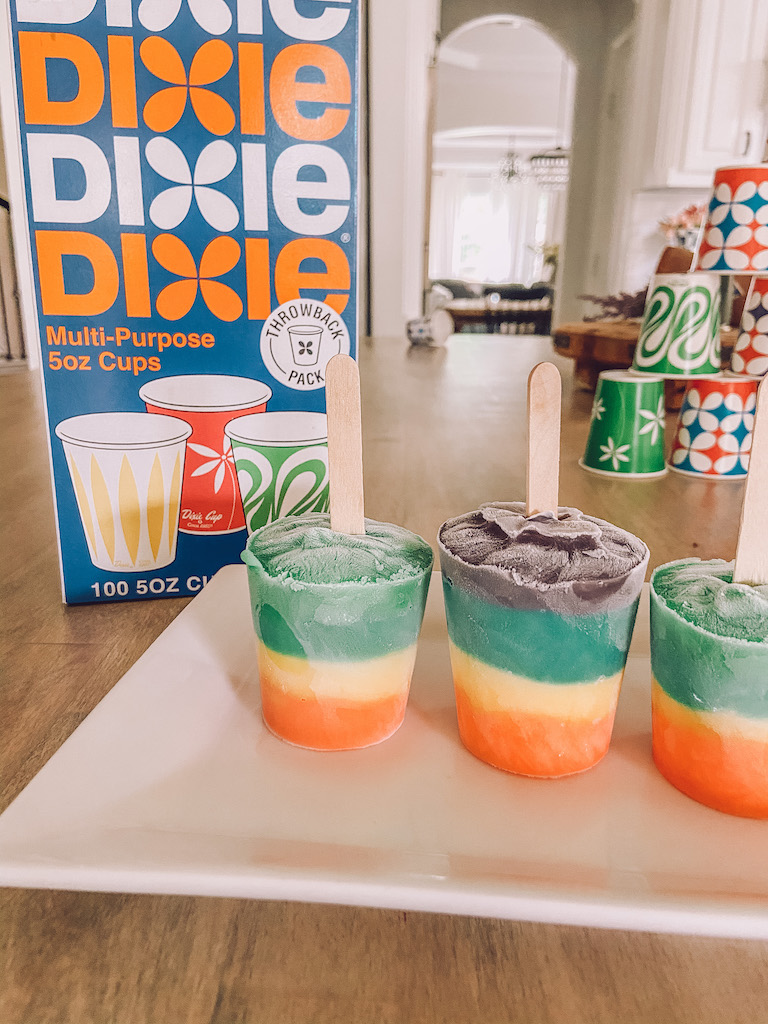
- Add the layers to your Dixie® multi-purpose 5 oz. cups using a spoon.
- After you add each layer, tap the cup down carefully on the counter to even out the pudding before you add the next layer. Do not freeze each layer; the pudding should be thick enough so the different layers don’t mix together.
- After the layers are done, add a small square of tin foil to cover the top of the Dixie® cups.
- Use a knife to cut a small hole in the middle of the foil and insert the popsicle stick all the way to the bottom of the Dixie® cup.
- Put into the freezer and freeze for at least 8 hours. We left them in for 10 just in case!
- Peel back the Dixie® cup when you are ready to eat and enjoy!
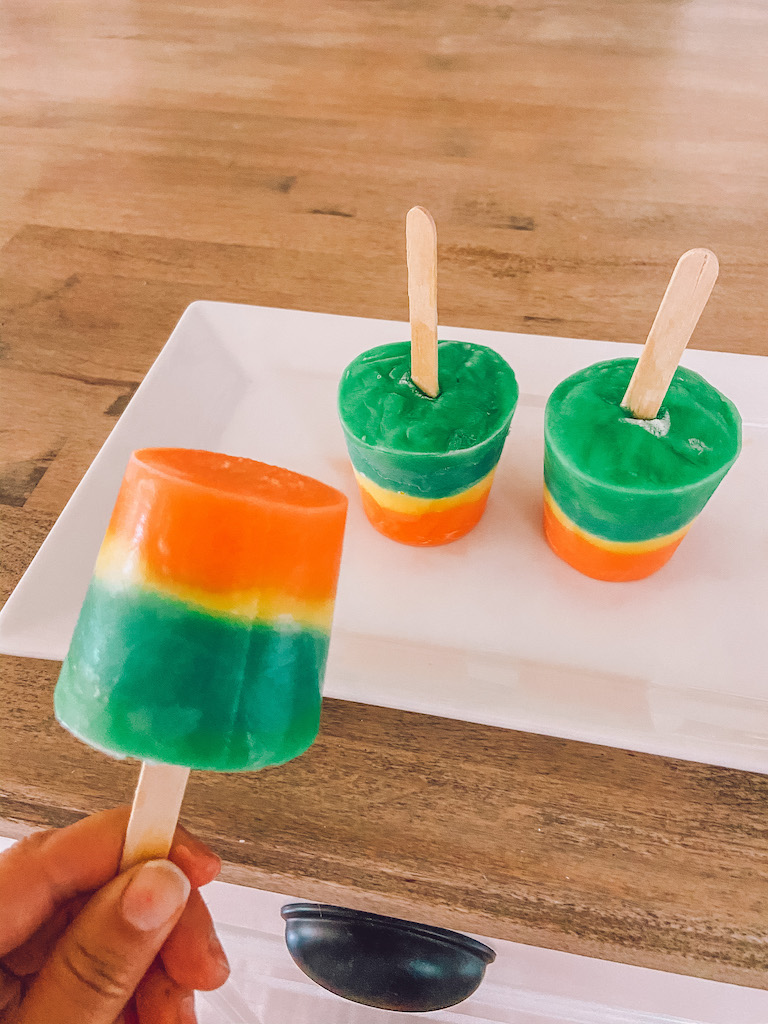
How cute did these turn out? The Dixie® cups were so fun to use in this easy popsicle recipe. Dixie® cups are also great because you can just throw them away when you are finished, which helps prevent spreading germs… which is especially important in our world right now!
Let me know if you decide to make these easy delicious treats!
xoxo,
Leanna