DIY Round Farmhouse Table with Free Plans
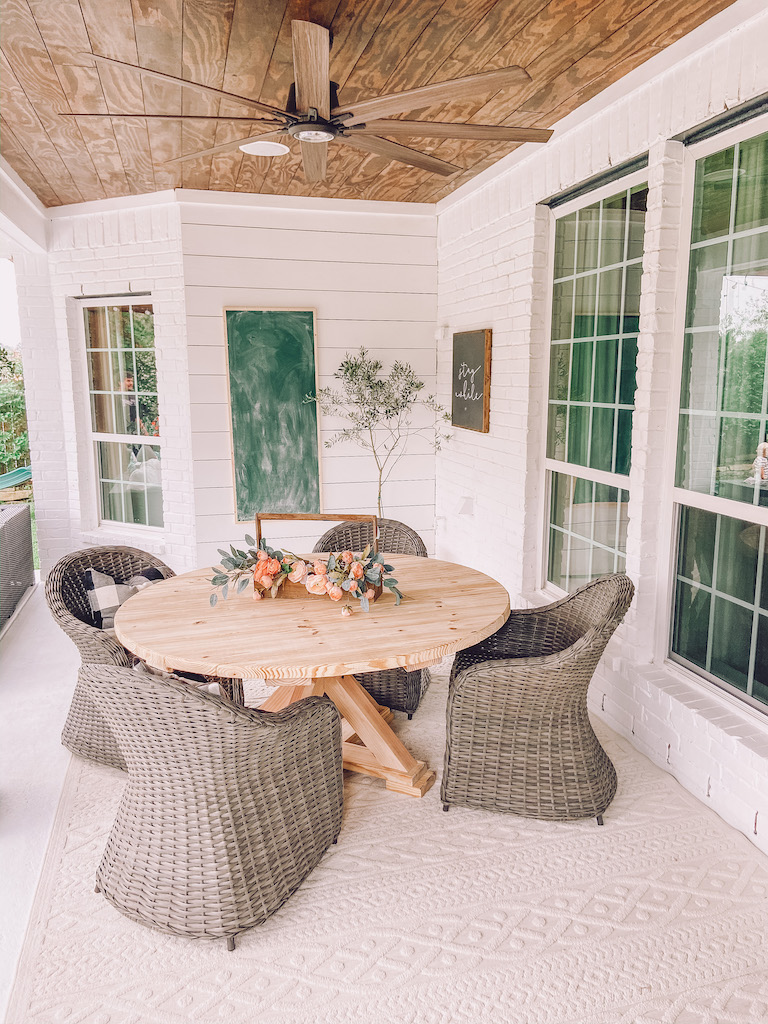
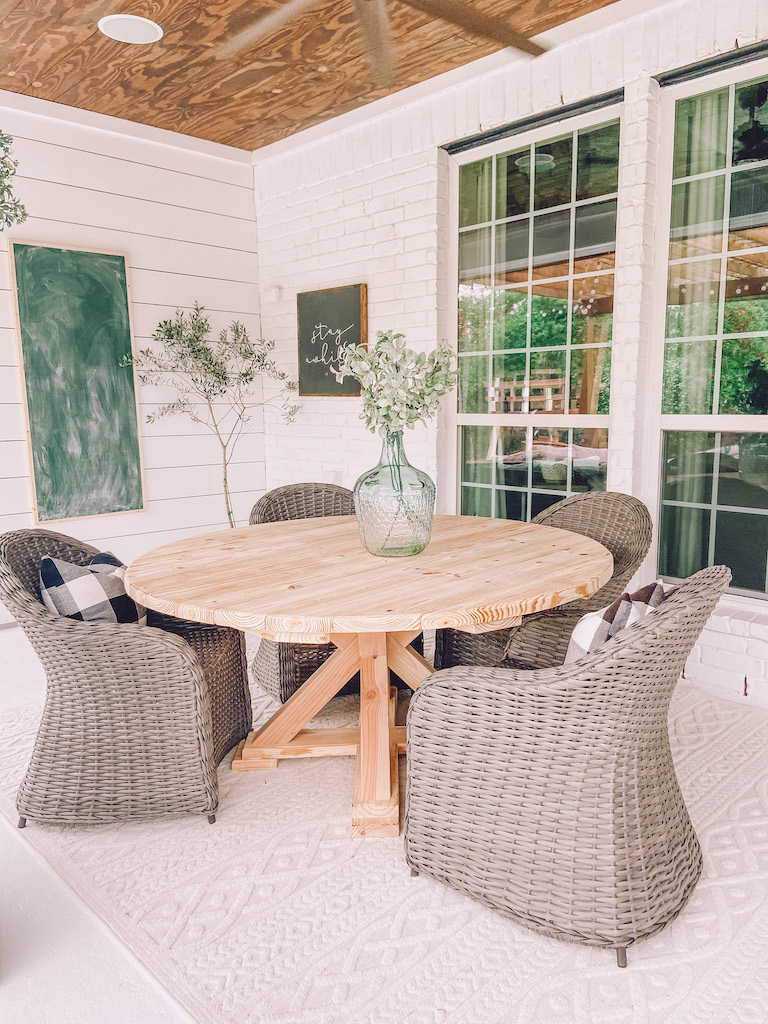
After we finished the outdoor covered patio a few weeks ago, I was on the hunt for a round table. I wanted a round outdoor table to give us more room under the covered patio. However, I could not find one that I loved that also fit into our budget. Simon took on yet another challenge and made a DIY round farmhouse table and it is everything and MORE.
As promised, here are the DIY plans so you can make this Farmhouse style table as well. These plans can also be used to make an indoor table.
I love that we now have a place to eat as a family outside, play games and do lots of activities. This table means so much more to me since Simon made it himself. I hope one day Simon can teach Oliver, and even the girls, to make furniture for themselves!
DIY Round Farmhouse Dining Table FREE Plans
Materials to Make Round Table
- 2x6x10ft (8) untreated pine
- 4x4x8ft (2) untreated pine
- 2x4x8ft (1) untreated pine
- 2 1/2 inch wood or deck screws
- 3 1/2 inch wood or deck screws
- 5 inch lag screws (4)
Tools
- Miter Saw or Circular Saw
- Jigsaw
- Power Sander
- Power Planer (optional)
- Router (optional)
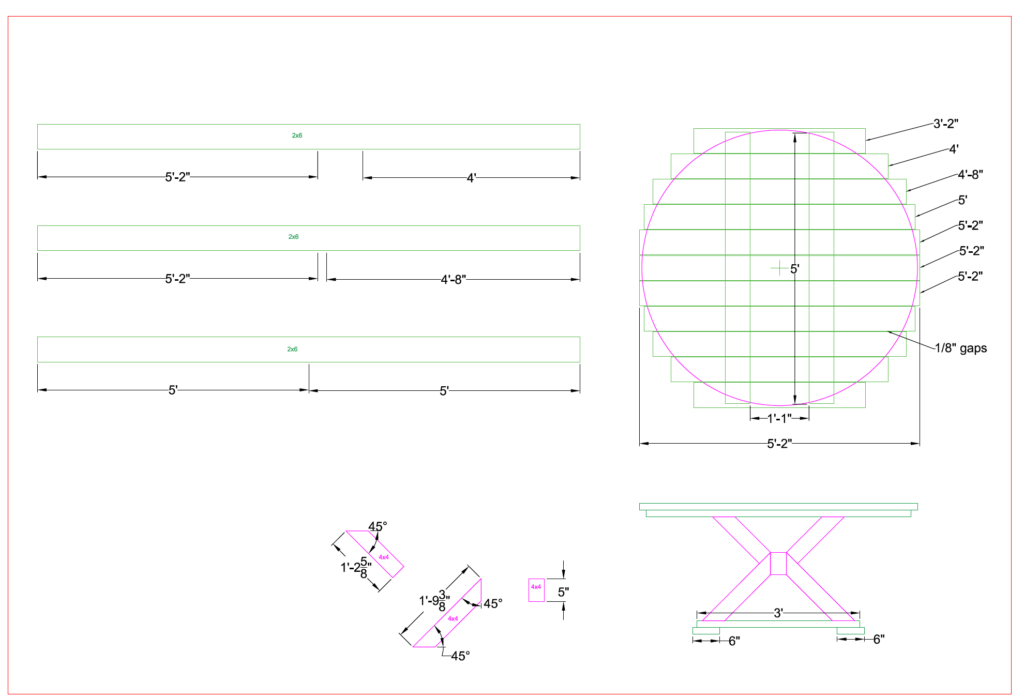
Directions to make a DIY Round Farmhouse Table:
Note: These instructions are pretty general. We are supplementing these instructions with many detailed photos to show in better detail how all of the pieces came together. We encourage you to make your own decisions when it comes to the fine details, shapes, and sizes.
Table Top:
Step 1: Cut the 2x6x10 wood pieces into the appropriate lengths per the plan for the table top.

Step 2: Lay the table top pieces down on a flat surface and mark the center line of each piece, and line them up. Keep in mind the top of the table is facing down, so keep the cleaner faces down.
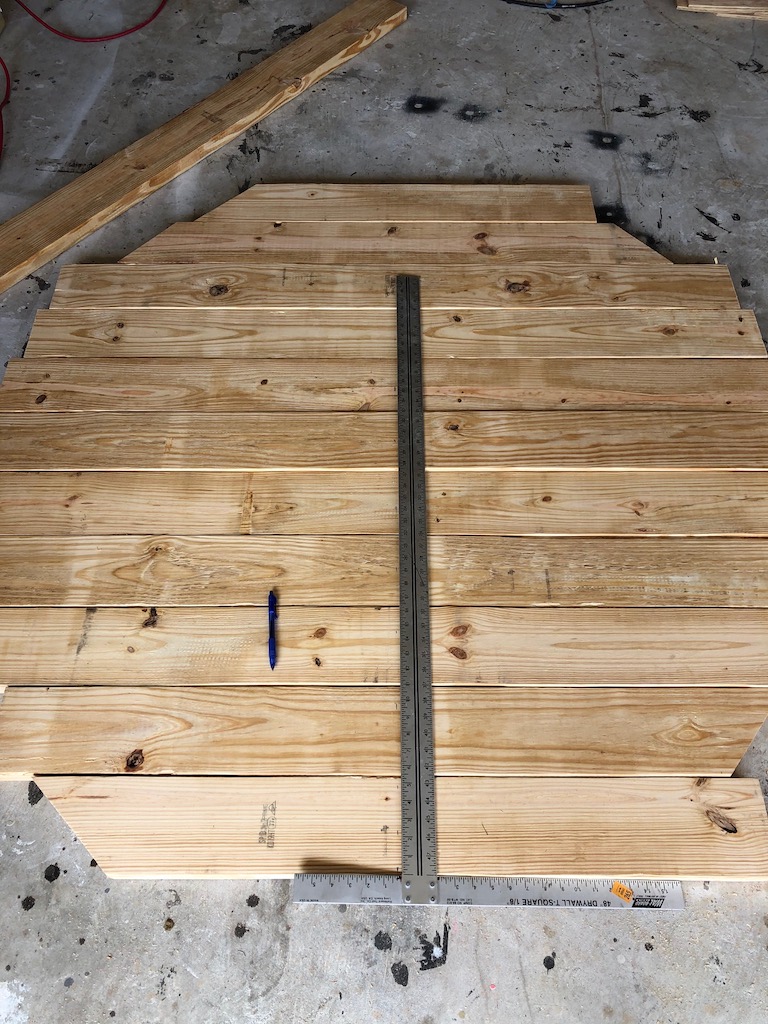
Step 3: Take the two 2×6 5ft cross planks and place them 9.25 inches away from the center line on each side (see plans). Make some 1/8 inch spacers to keep a space in between each table top plank.
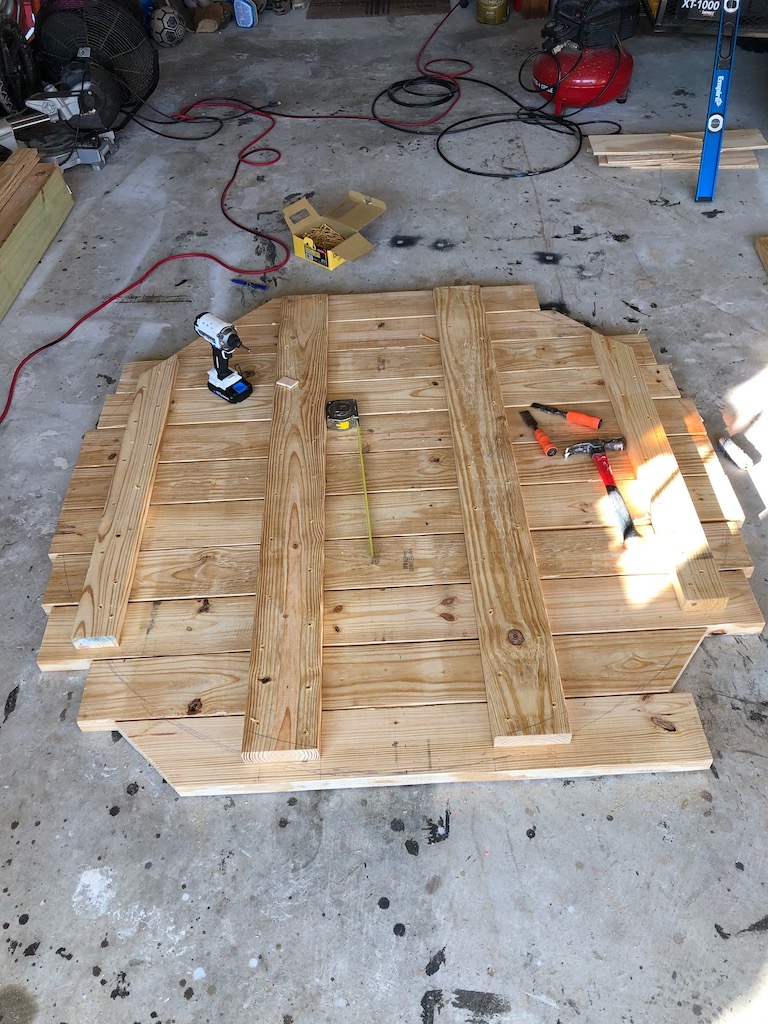
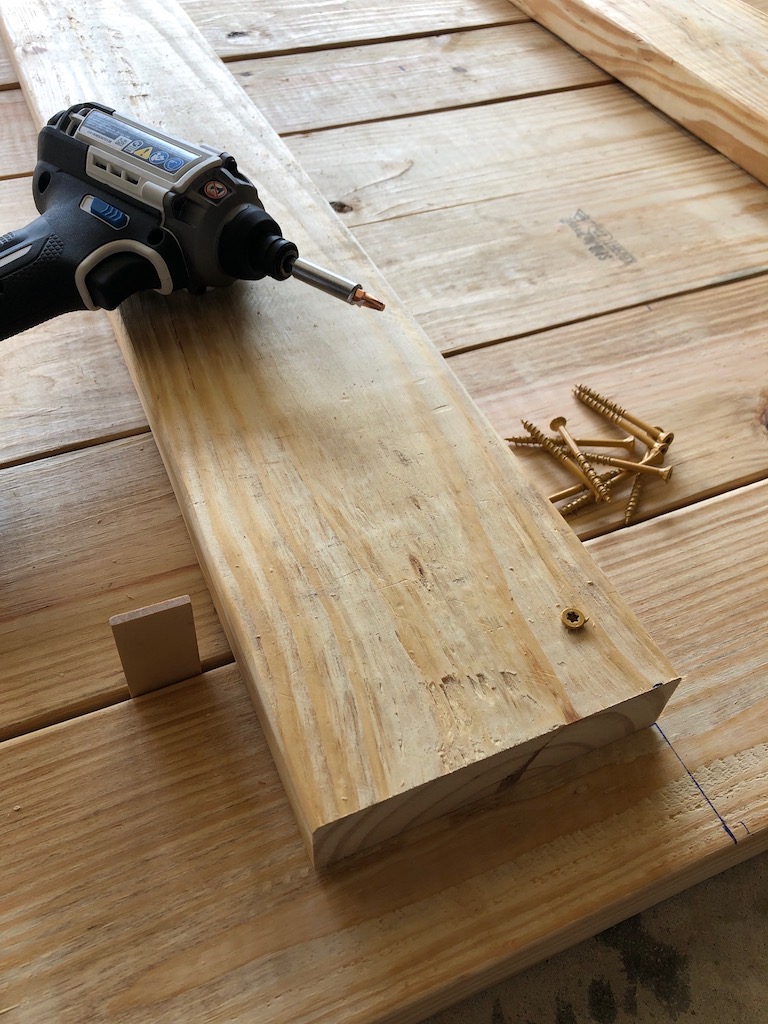
Step 4: Using 2.5 inch wood screws, screw the two 2×6 cross planks to the table top planks. Use at least two screws for each table top piece.
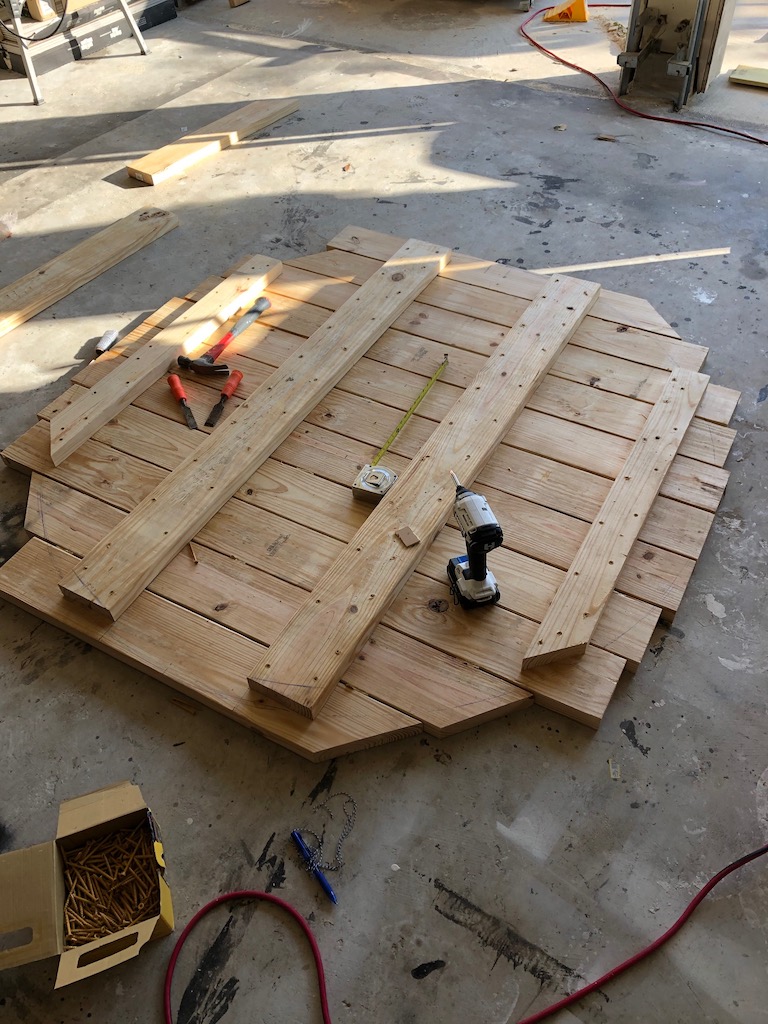
Step 5: Do the same for the two 2×4 outer cross planks. Place them two feet from the center line.
Step 6: Now, turn the table face up. This may take two people.
Step 7: Place a small nail or screw in the center of the table and use a string to mark out the perimeter circle. Note: Make the table as big as you want it to be up to 5ft 1nch.
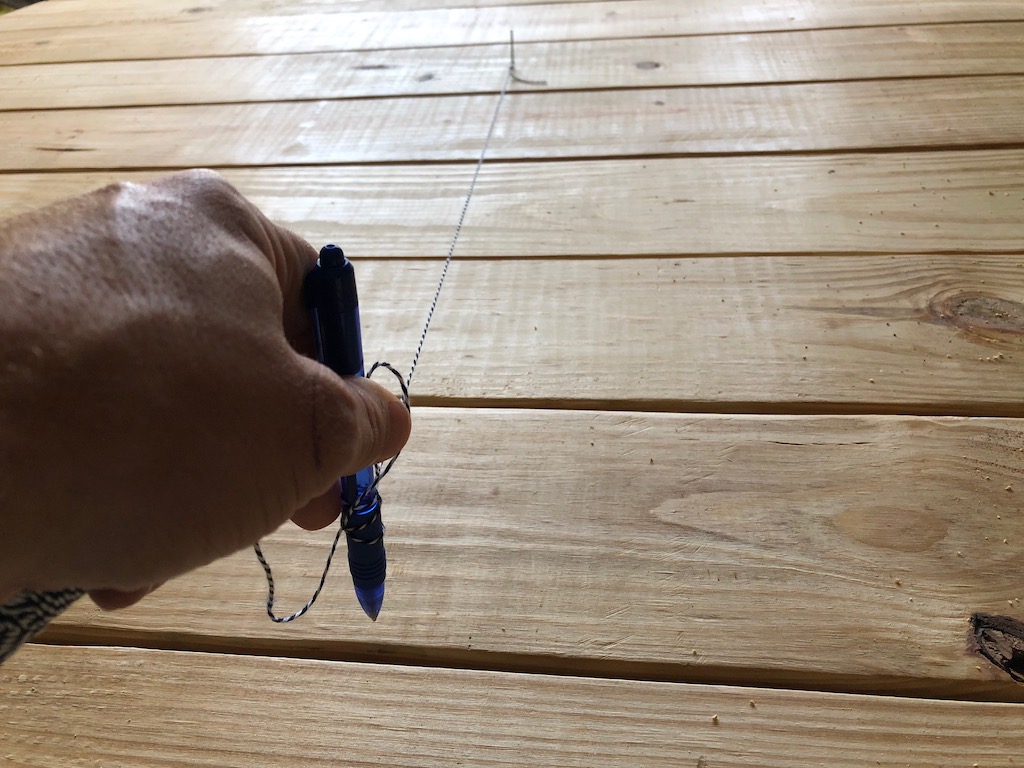
Step 8: Use the jigsaw to cut out the circle
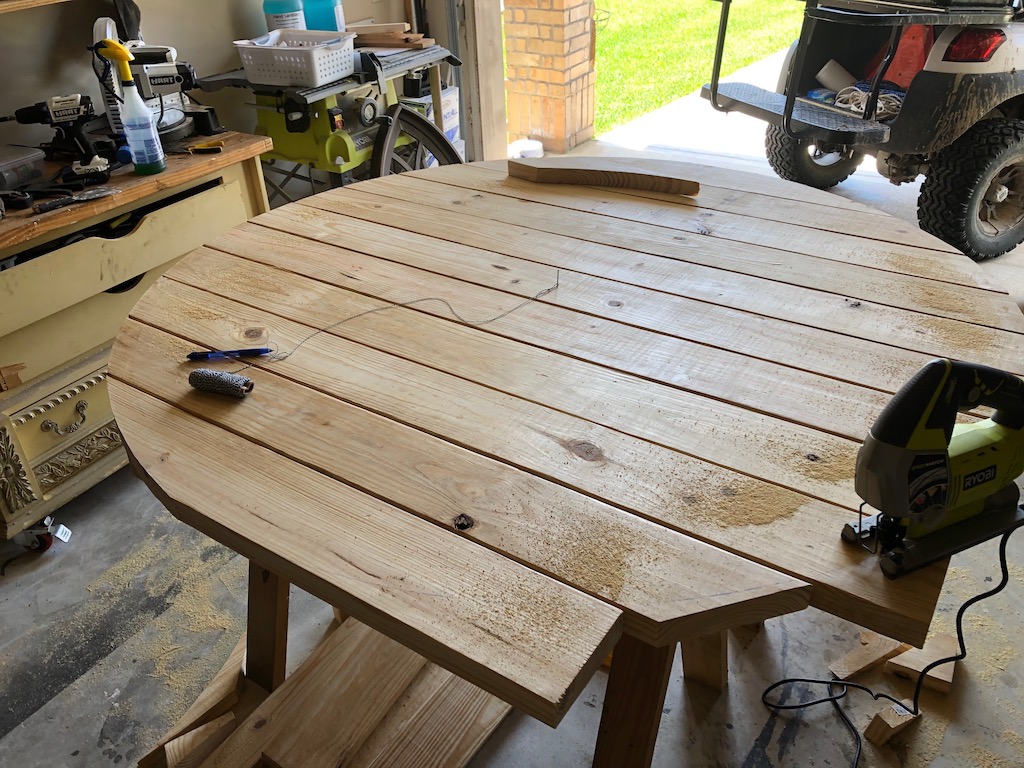
Step 9: Optional: You can plane the outer edge to smooth out the jigsaw cut.
Step 10: Next, Sand the top and the edge of the table.
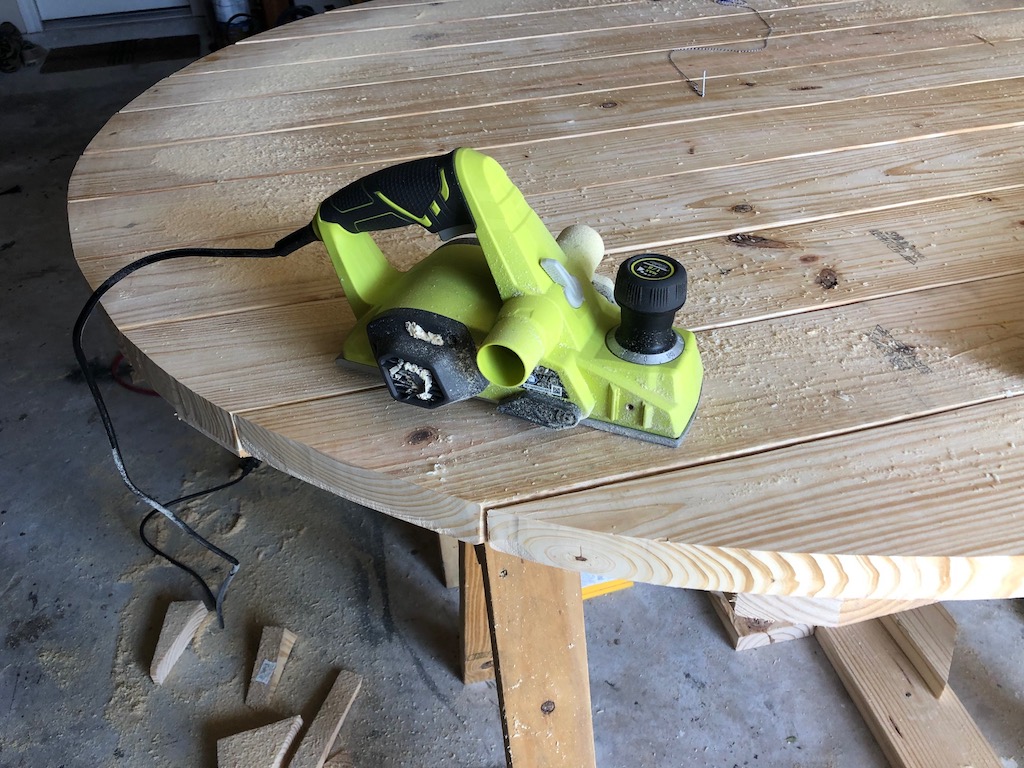
Step 11: Optional: Use a router add a decorative edge around the table.
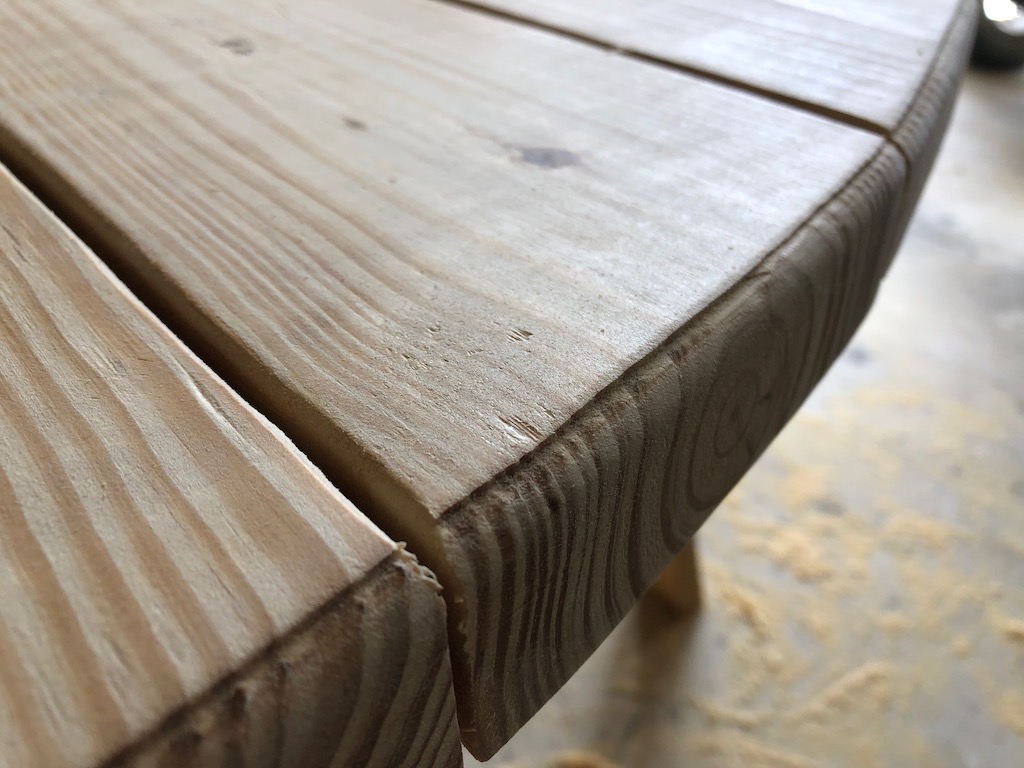
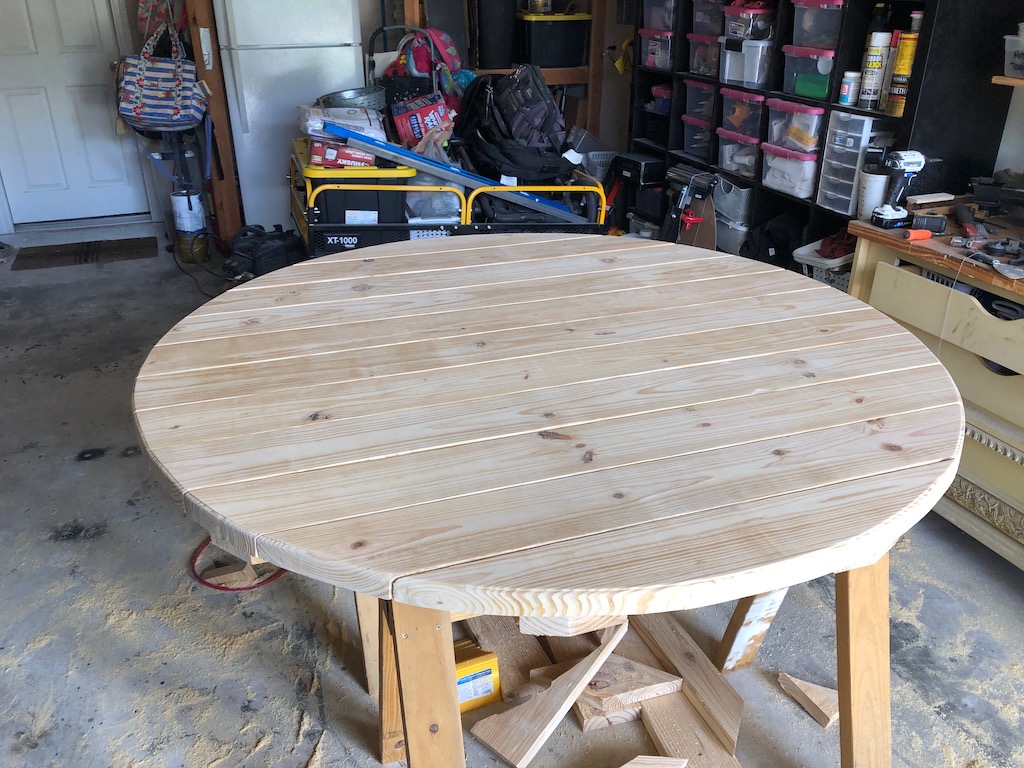
Table Legs
Step 1: Next, Cut the 4×4 leg shapes and the 2×6 base pieces per the plans
Step 2: Lay first set of legs down on a flat surface and use 3 1/2 inch screws to hold them together with the vertical 4×4 in the middle. Attach the first table base piece to the 4×4 table legs using 2 1/2 inch screws. (The image below shows the first set of legs, before we decided to trim the center vertical piece down to 5 inches.)
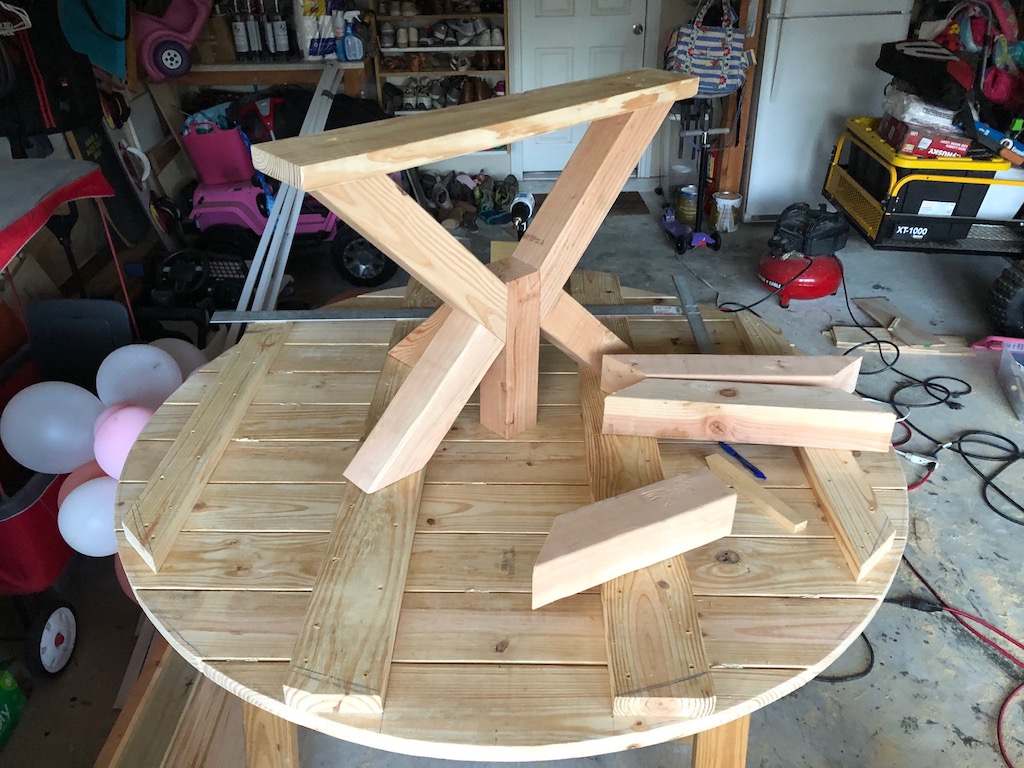
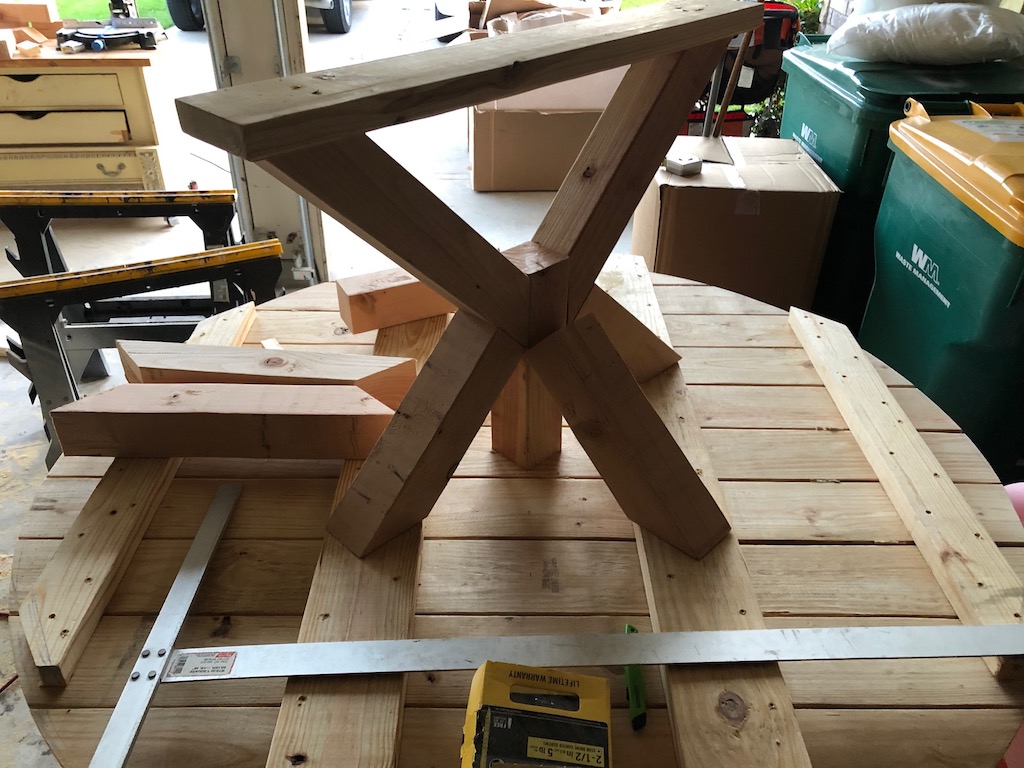
Step 3: Add the second set of legs and base pieces. Once all 4 legs are in place with wood screws, drill and screw a 5 inch lag screw through each of the sets of legs to secure them to the center 4×4. (These are the black screws you can see below)
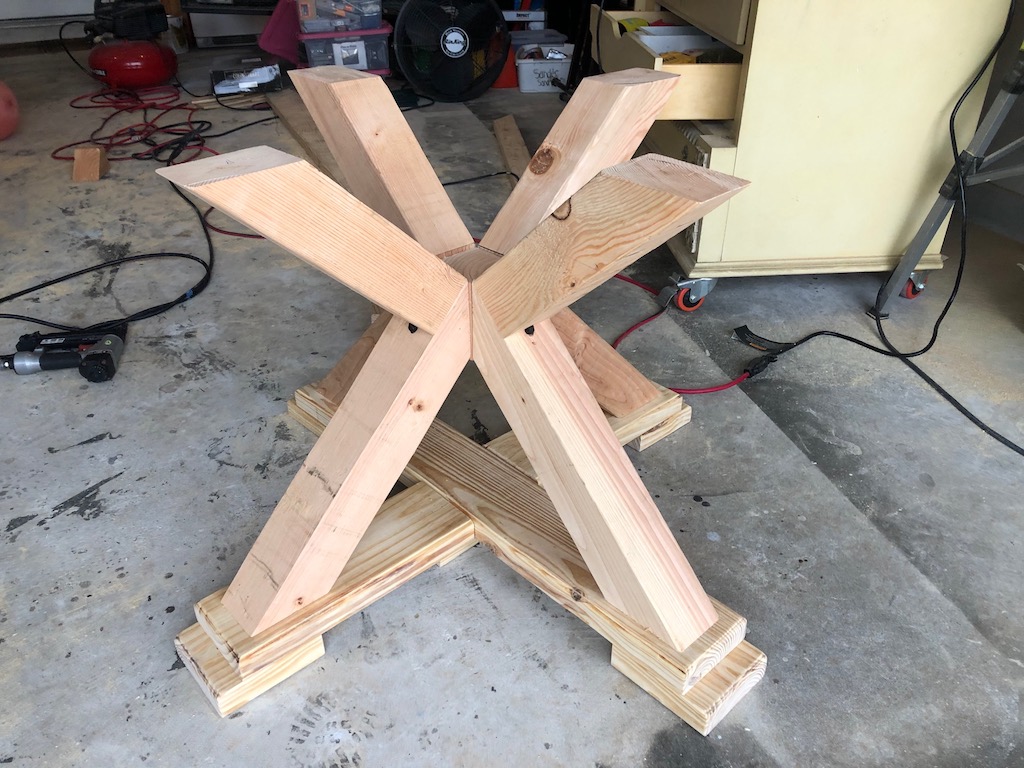
Step 4: Attach the 6 inch table feet using 2 1/2 inch screws. Insert these screws from the bottom up to keep them out of sight.
Step 5: Place the leg assembly on the table and check that all four legs are even and level. If not, use a sander or planer to trim down the top of the legs.
Step 6: Attach each leg to the table using 2 or more 3 1/2 inch screws.
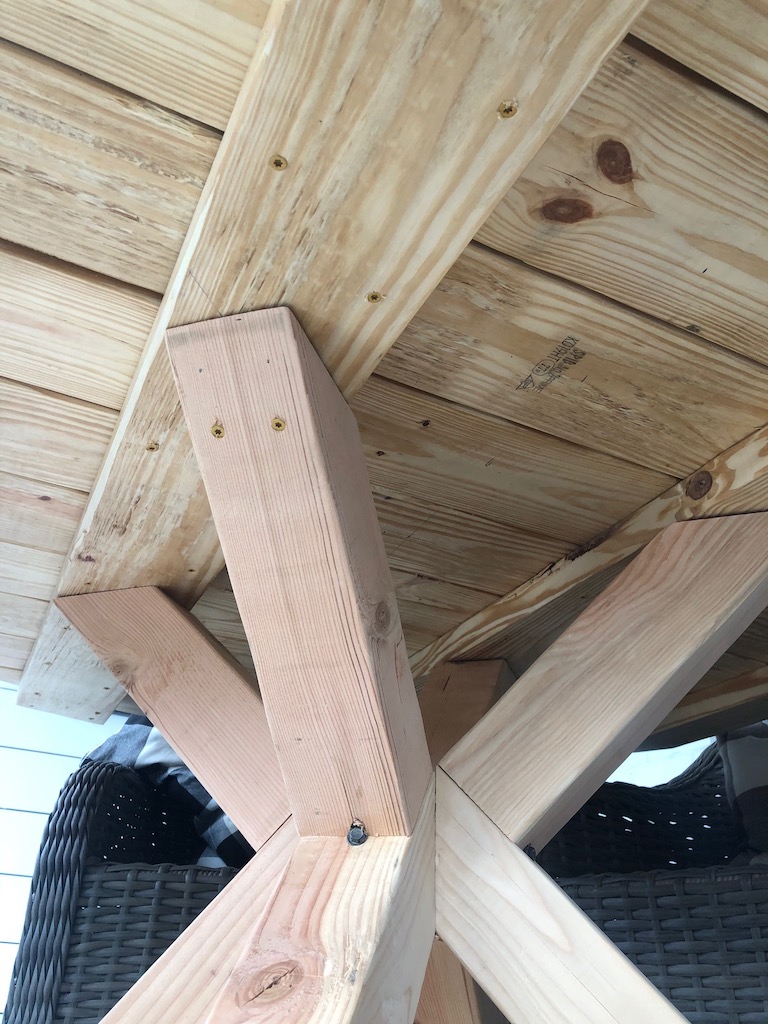
I hope these instructions help you build your own outdoor dining table! We still have plans to stain it and will update this post when we do!
Don’t forget to check out the DIY porch swing plans too!
xoxo,
Leanna


Great job; good instructions! Where did you find the chairs?