How to Update Your Builder Grade Home: Part 1
We have been in our home for almost 5 years already (5 in October). It really feels like yesterday when we made the move from New York, where we were close to friends and family, to Texas, where we knew no one. Simon moved to Texas first, and I stayed back with Annabel to get our house sold and things in order. I remember Simon calling me when he saw this house for the first time. He wasn’t very sure about it but he loved the layout. When I made a visit to Texas to look for homes with Simon, this was one of the first houses I saw and I knew we could make it look beautiful! This post will share all the details on how to update your builder grade home into the home of your dreams.
Note: As I began to write and edit this post, I realized if I put our entire house on this page it would be super long! So I am dividing it up into two parts, Part 1: Downstairs and Part 2: Upstairs
I had to convince Simon that this house was worth it and I am so glad he trusted me! The house was exactly what we were looking for, 5 bedrooms, open layout, and no houses behind us. However, to some it may have seem like a bit too much work! I saw past the paint colors and was so excited to make this home ours!
How to Update Your Builder Grade Home
I thought it would be fun to take a trip down memory lane and show you what our house looked like when we first saw it, and compare it to a photo of what it looks like now.
Trust me when I say that this did not happen overnight. It is still a work in progress!!! A lot of the projects that we have done over the past 5 years are included within my blog and I will link them for you as we go incase you want to learn about how we transformed each space.
Part 1: Downstairs
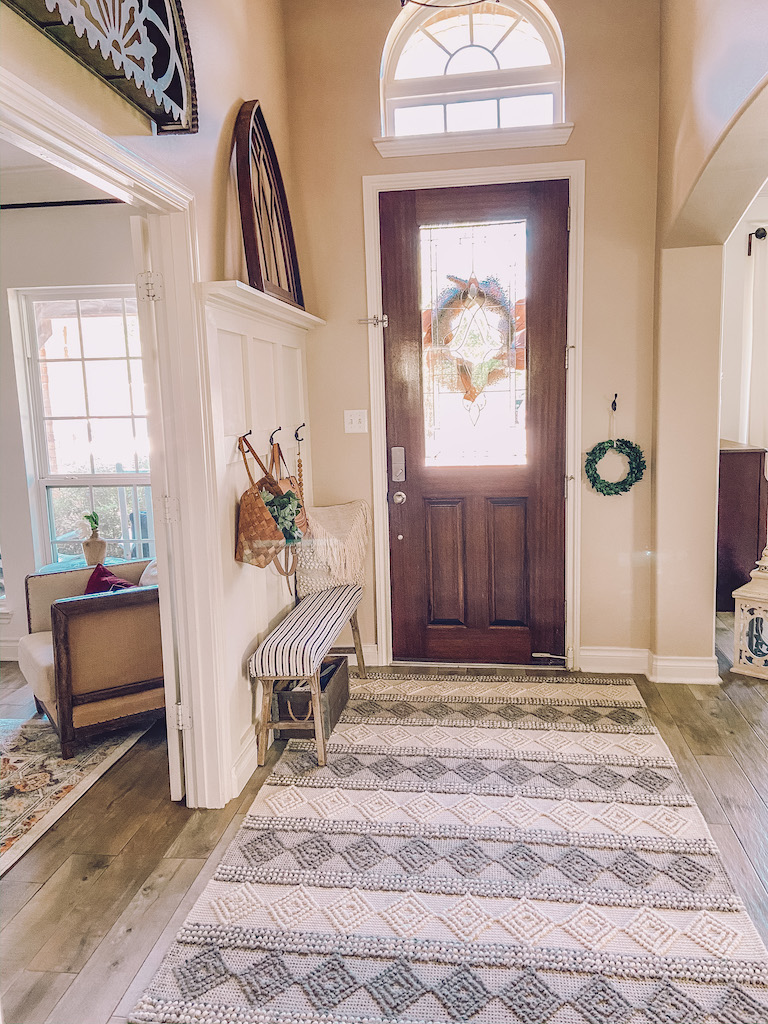
Entryway
Imagine this is the first look people see when they come into your home. You want it to be inviting and welcoming to your guest! When we first moved in we lightened up the paint colors. You can find all the paint colors we first painted with over on this post.

Besides, changing the floors and paint throughout your home. You can change so much with a few small projects. In our entryway we added this custom board and batten wall! I wanted this little space to not only be pretty, but functional!
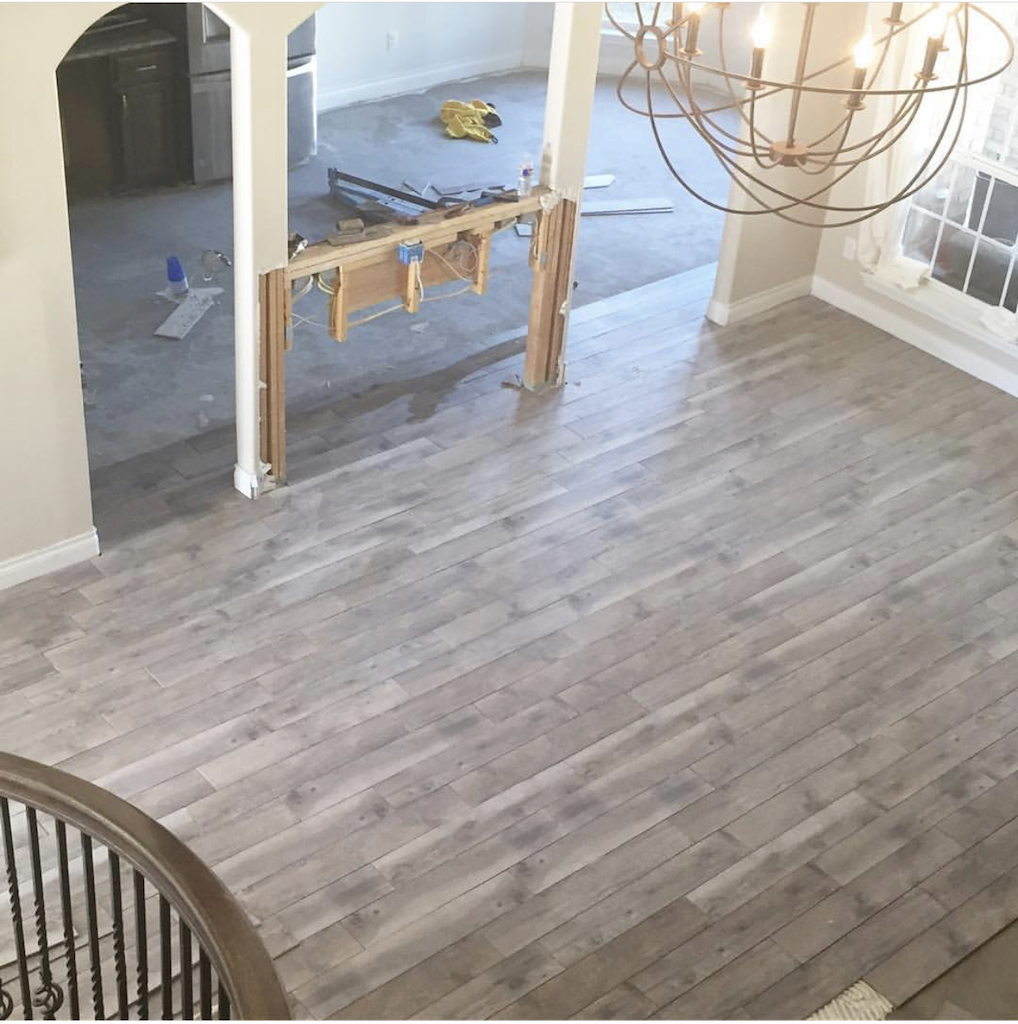
Note: We replaced all floors on our bottom floor to this wood tile that we got at home depot. I LOVE this floor and will have to do an entire post one day on it! But for now if you want more information, you can head over to my instagram @lifebyleanna and check out my highlights under “Wood Tile Floor”.
Office
Let me warn you, that this house used to be painted with all the colors of the rainbow. The office being, PURPLE! Not like a pretty purple but what I used to call Barney purple!
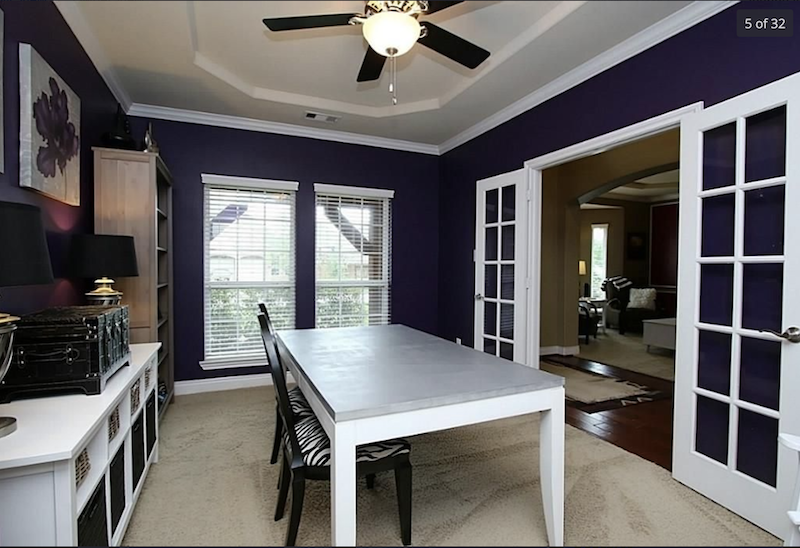
Its crazy to see how much just alittle bit of paint can change a room! Our office has actually gone through a few transformations since we lived here. But I am pretty happy with what it looks like today!
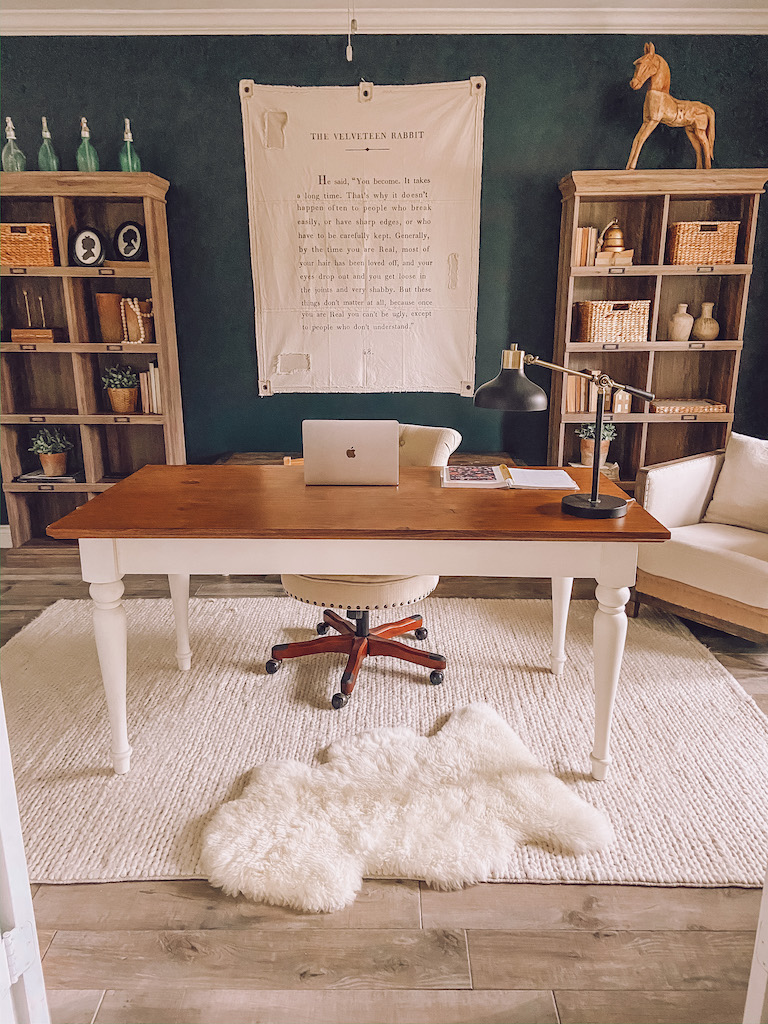
Before the dark green, we used removable wallpaper and you can see what it looked like here!
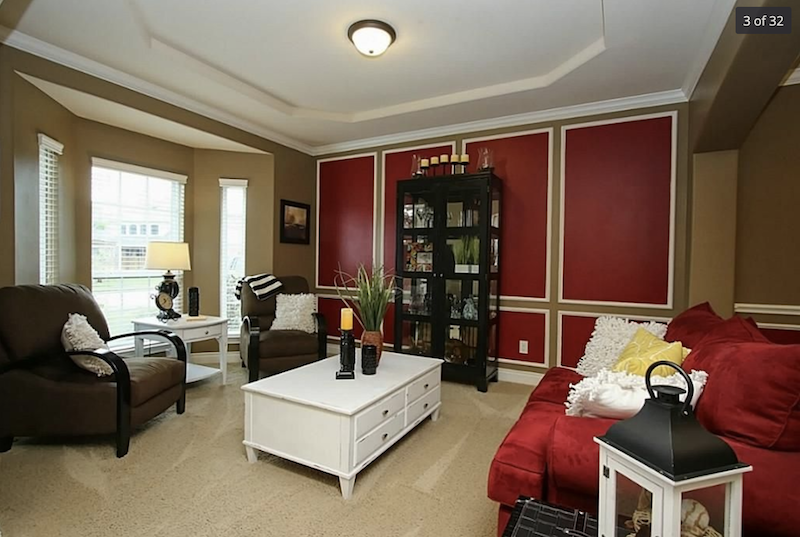
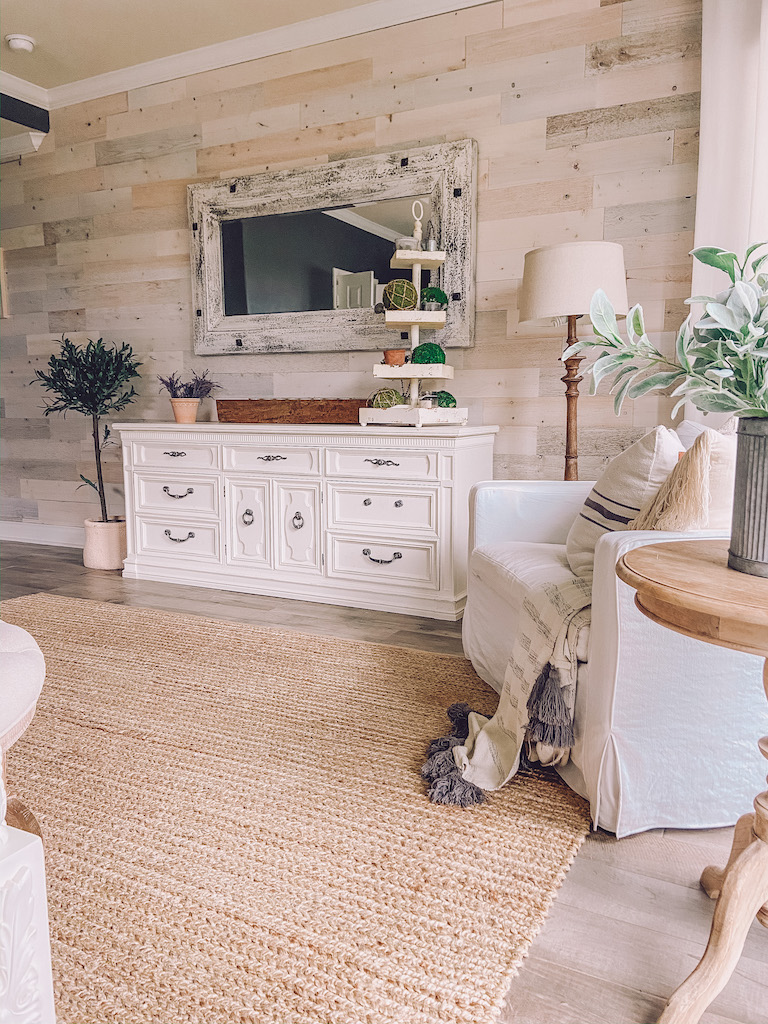
Sitting Room
Hands down my favorite room in the house is this sitting room. I browsed Pinterest for weeks before I decided on what exactly I wanted to do with this room. It had so much potential! I wanted a room for family game nights, to relax and read a book or drink a glass of red wine. I imagined hosting friends and gathering around in this room to chat and catch up!
Here is a good look at the before:
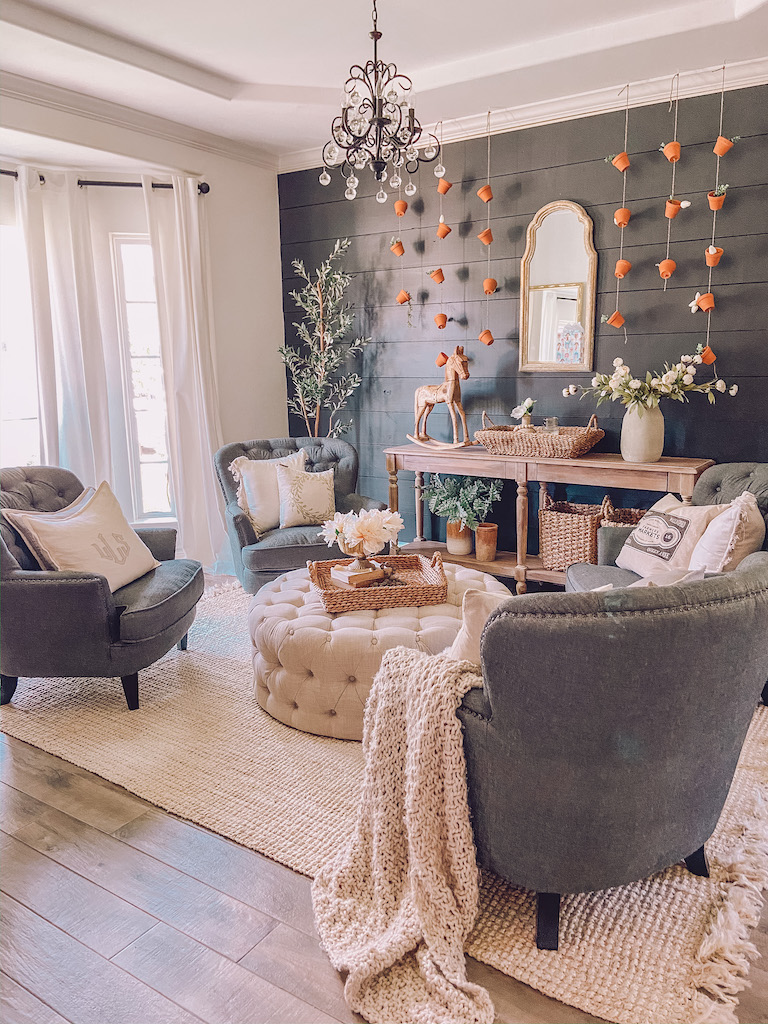
This room has also had a few different looks over the past years. We started out by adding shiplap to the back wall and have recently painted it a dark color. You can read more about the sitting room refresh here.
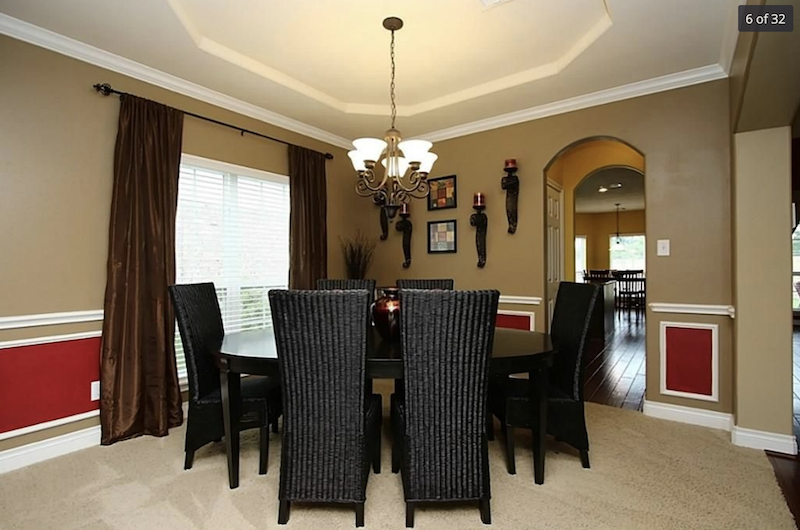
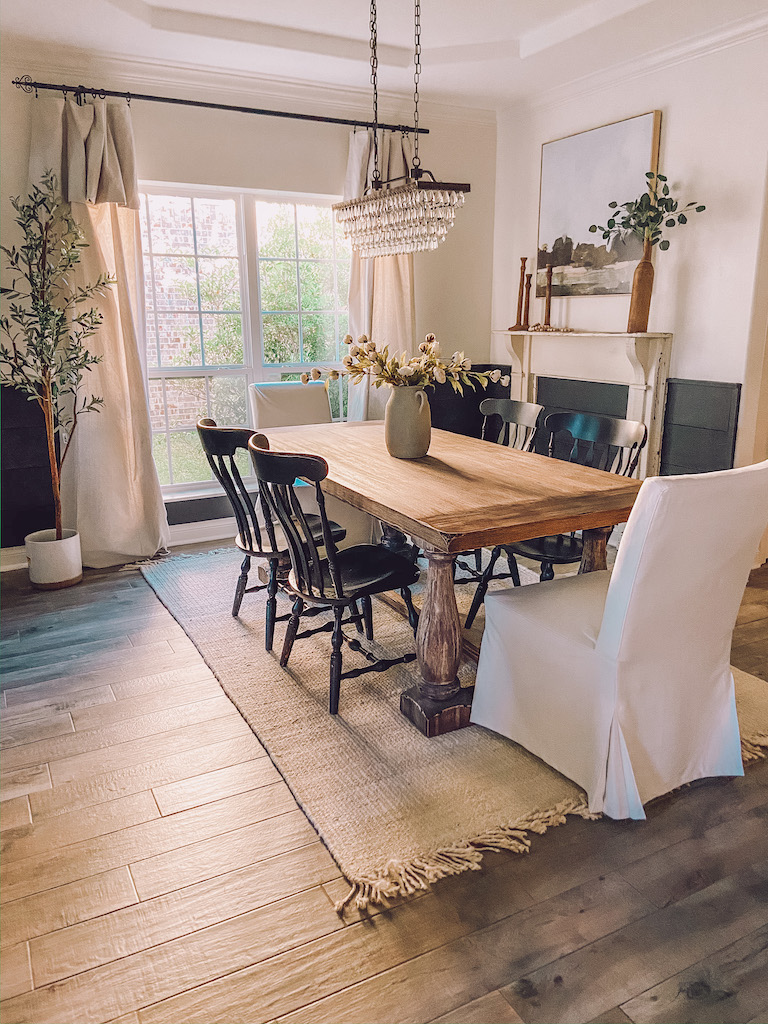
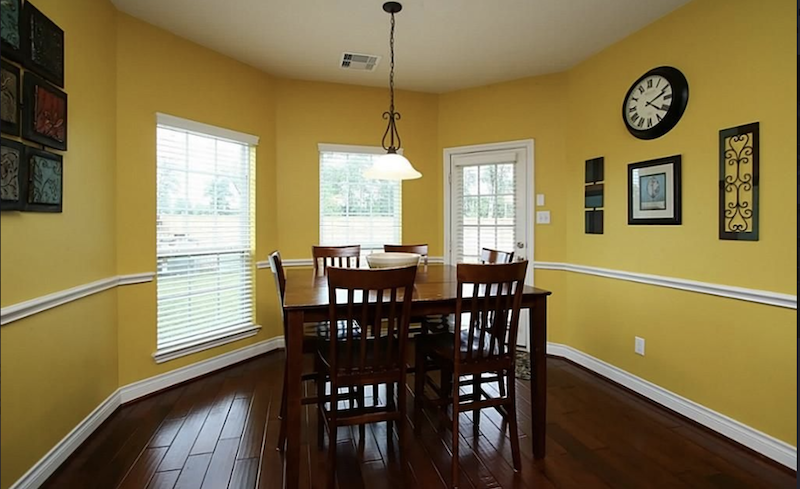
Dinning Room
The Dinning room is just off the sitting room and in here I wanted to keep it simple and classic.
Before:
After:
Living Room
Now on to the living room where we spend most of our time! We have done a few different things to this space since we moved in.
We just recently replaced the upstairs carpet with Luxury Vinyl flooring by StainMaster. The staircase is one of my favorite transformations! You can read more about the flooring we choose upstairs here.
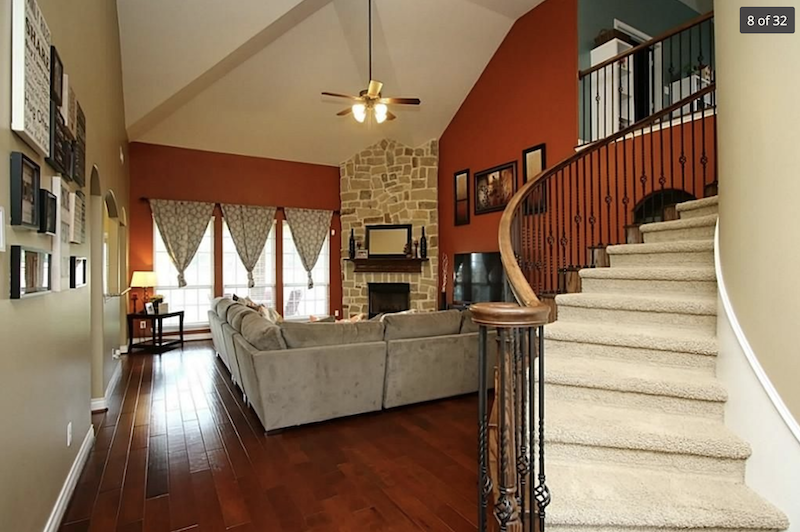
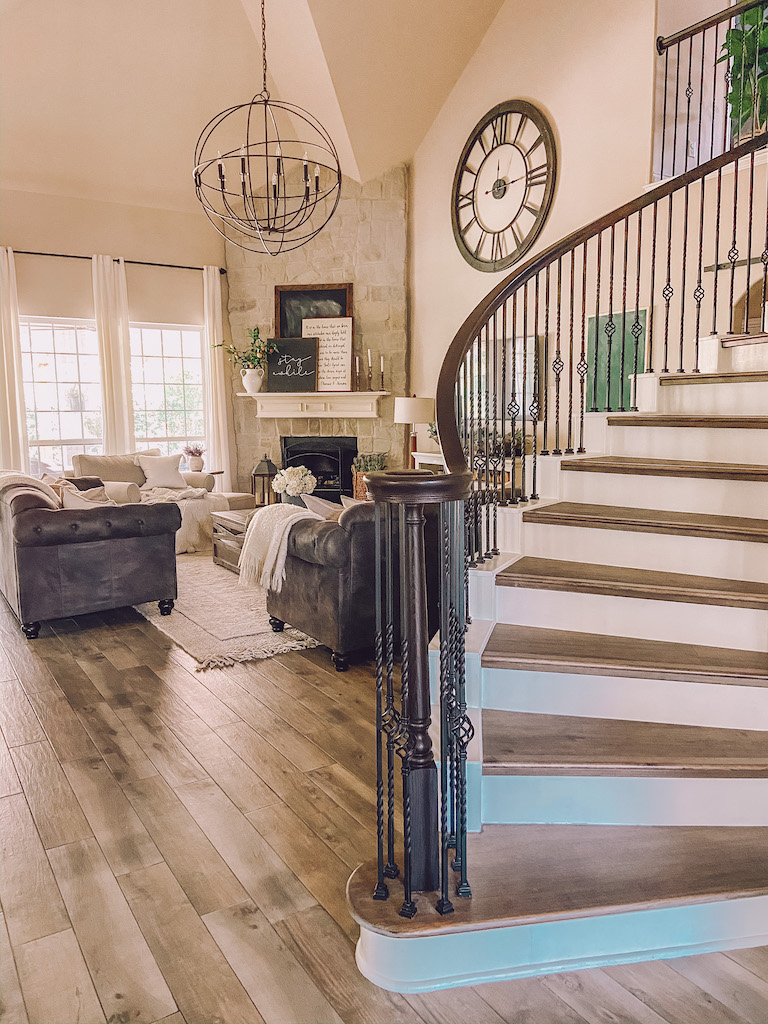
One of my biggest tips that can make such a difference in a builder grade home is to change the height of your curtains. Look how much bigger the windows look after we moved up the curtain rail!
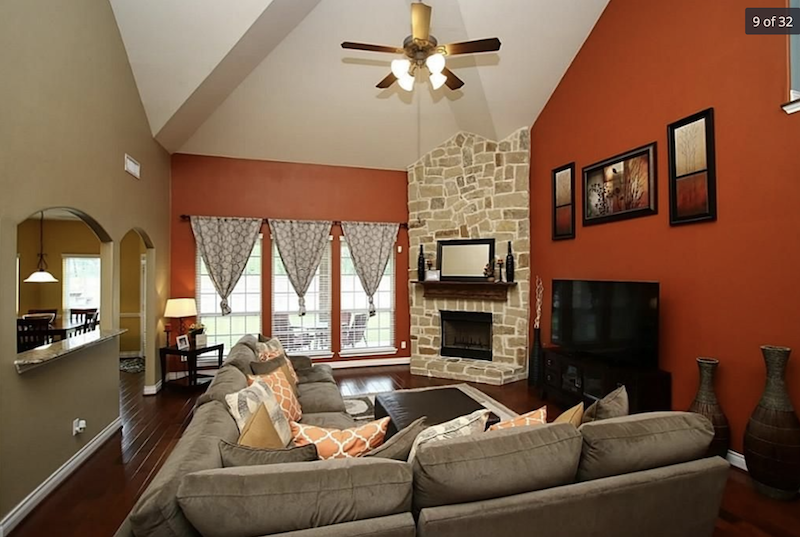
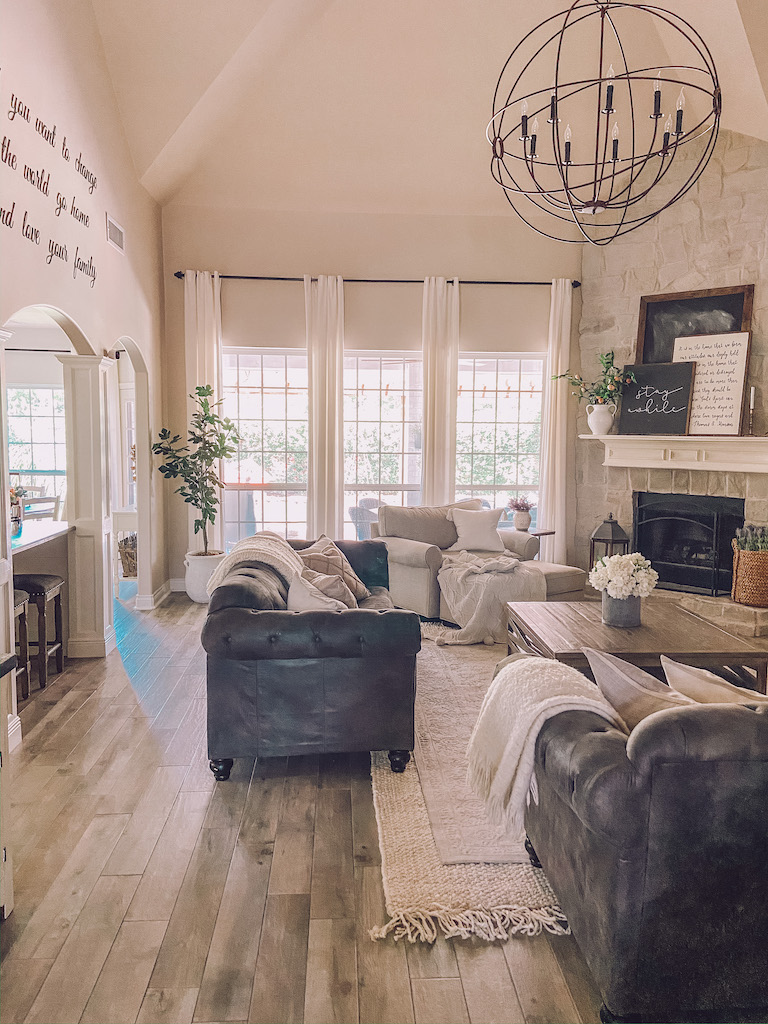
Another big change in this room, which was very easy was the fireplace! We painted the fireplace with a water down grey chalk paint. We wanted to get rid of the orange and brown tones but also wanted to keep the look of the stone.
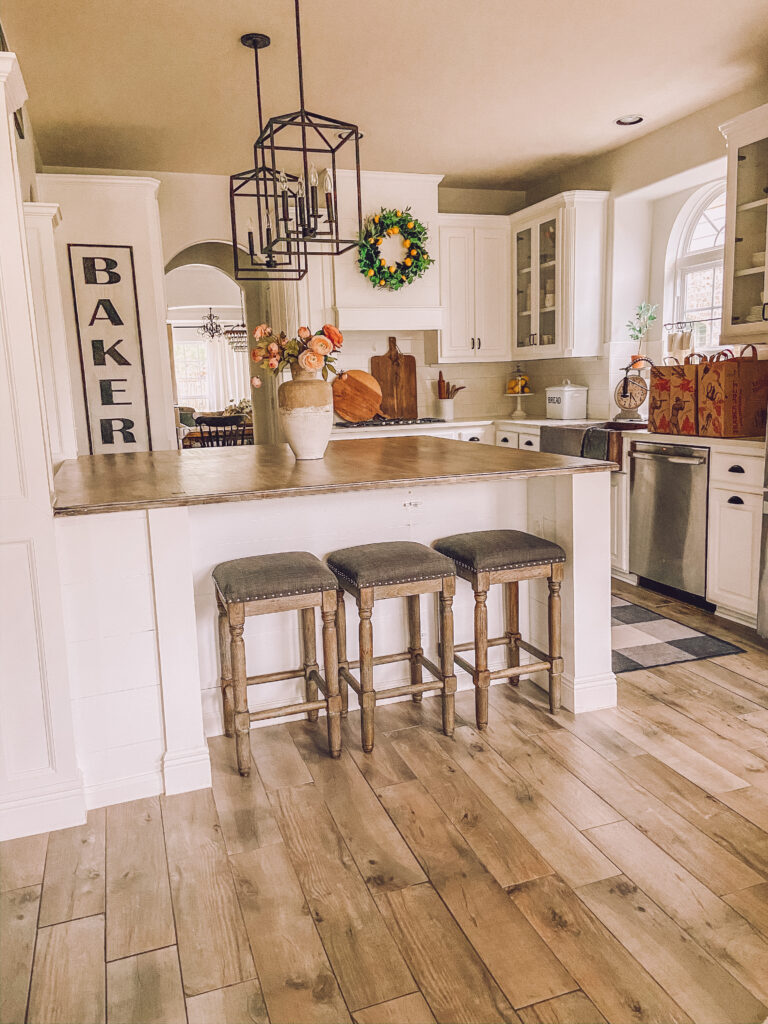
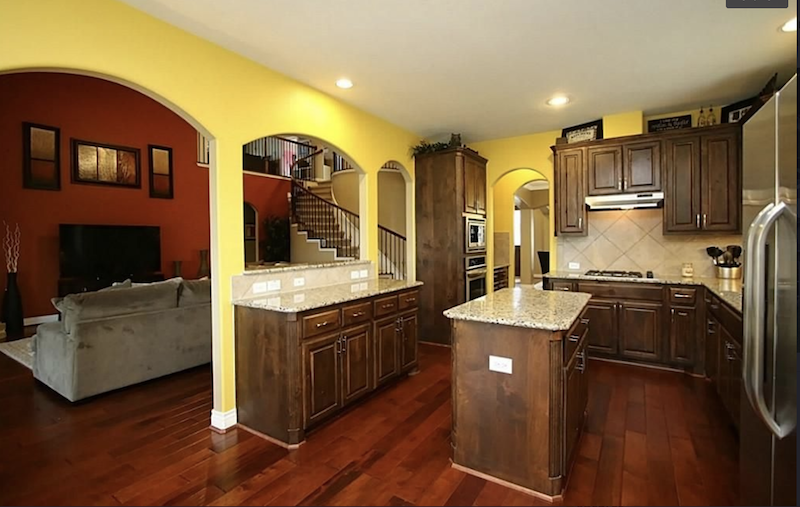
Kitchen
Our kitchen has probably been the room that has seen the biggest change. The yellow paint was the first thing to go, obviously. But, the layout was very weird in our opinion. There was no large island to sit and eat at and that was a big negative when we saw this house for the first time. We had a vision for a big island where we could gather and entertain at.

When we made the decision to replace the floors, we decided it was the best time to change the footprint of the kitchen. The floors were cherry engineered hardwood and they scratches so easily and I could see every speck of dirt and dog hair! They also completely clashed with the wood cabinets.
I have some fun pictures of the demo of the kitchen and floors!
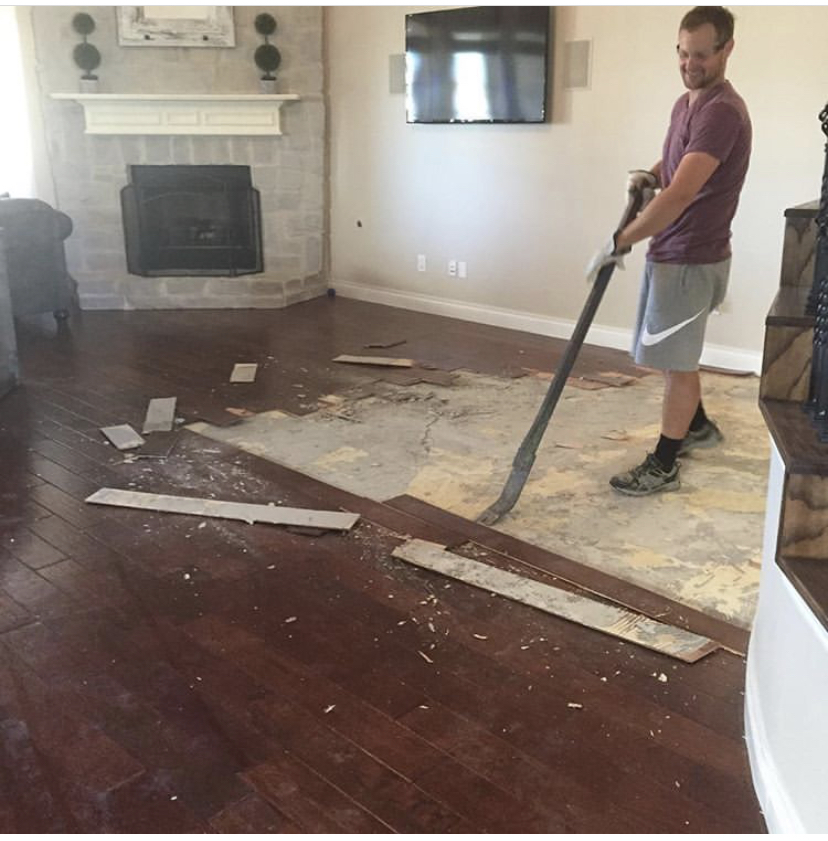
Simon did the flooring removal and we used a local company to do the install.
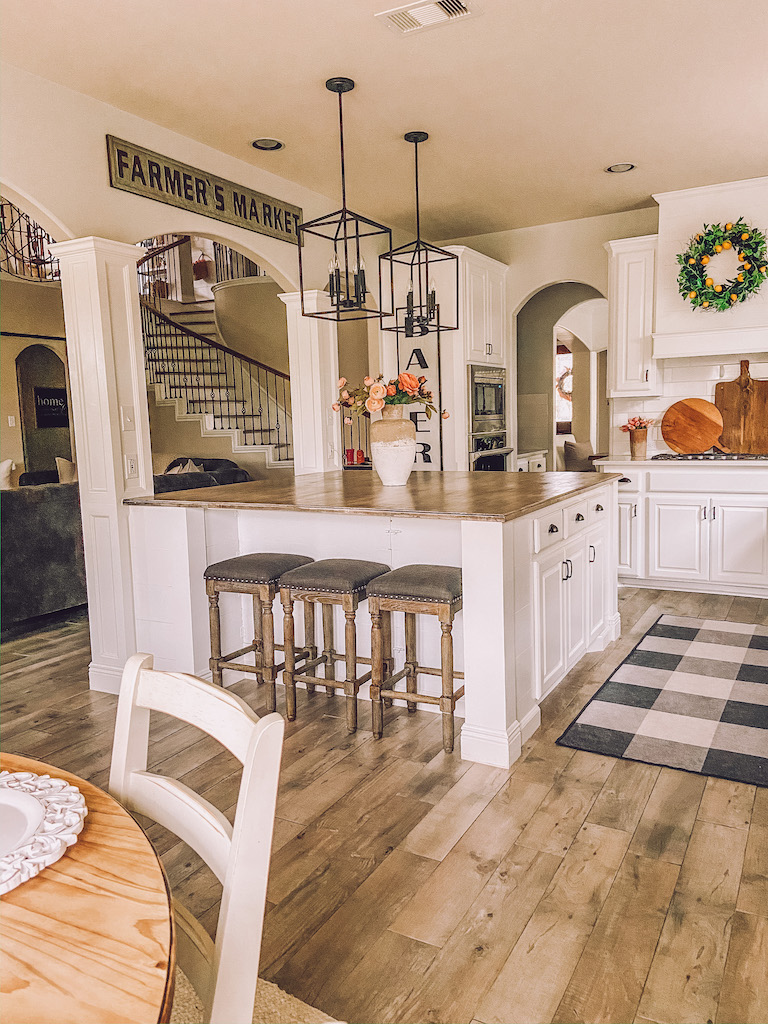
Kitchen Island
I wish I had a blog back when we built the kitchen island because it is the most frequently asked question! We used the existing cabinets along the side to the left, and then used shiplap for the rest. Or island is also unique because we had to work around the two supporting posts. We wanted the island to stop before the posts and for the seating to be in between them. We also added the shelving for decorative purposes.
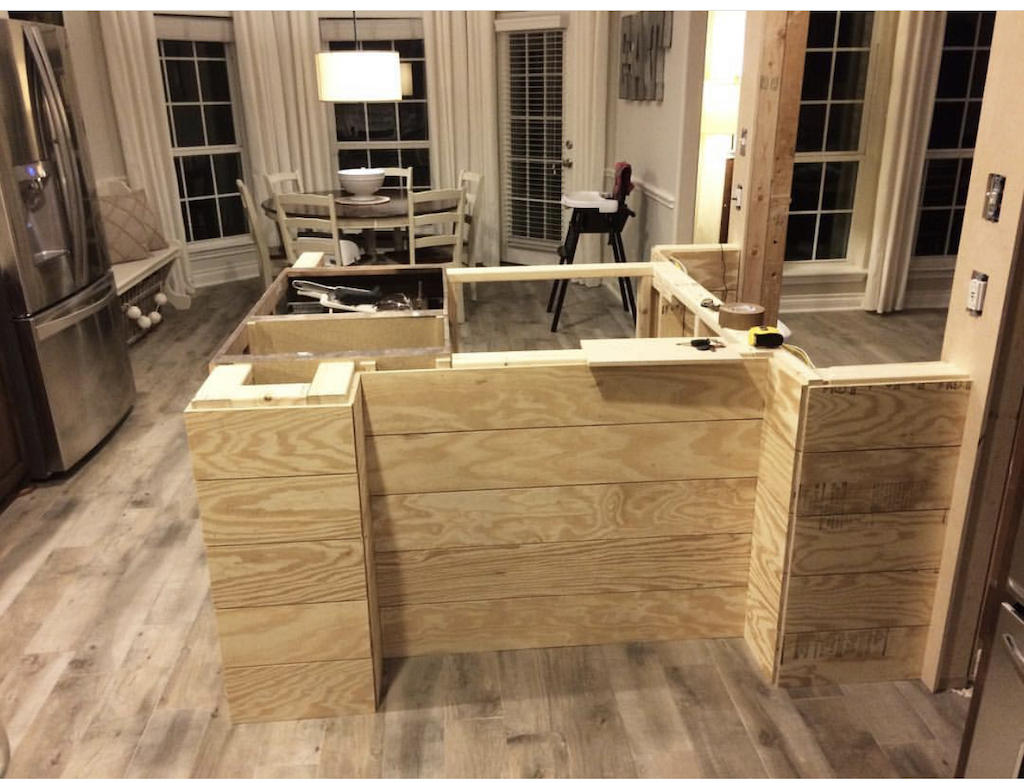
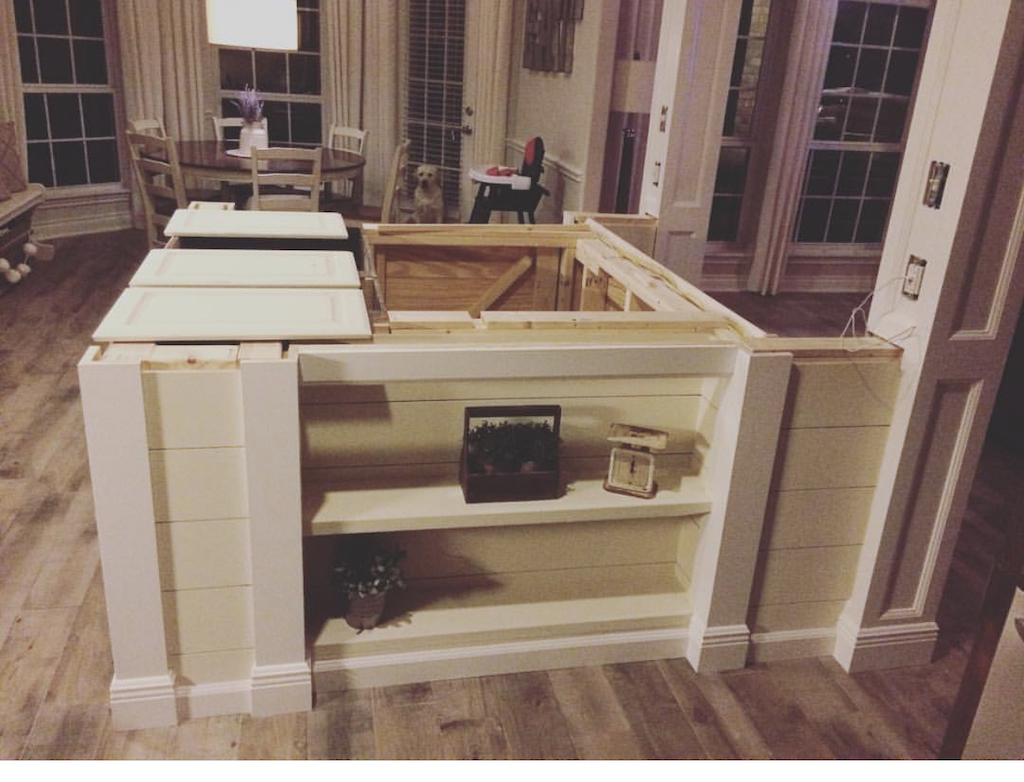
On the top of the island we used butcher block from Ikea. There was not one butcher block that was big enough for the entire island so we used two and spliced them together. If you look closely you can see the seem where they are joined together but it is not very noticeable.
Kitchen Cabinets
The next project we did in the kitchen was to upgrade the range hood. Simon built a custom range hood using shiplap, to tie in the shiplap from the island.
The last and biggest change was painting the kitchen cabinets. You can read all about how we painted them over on this post.
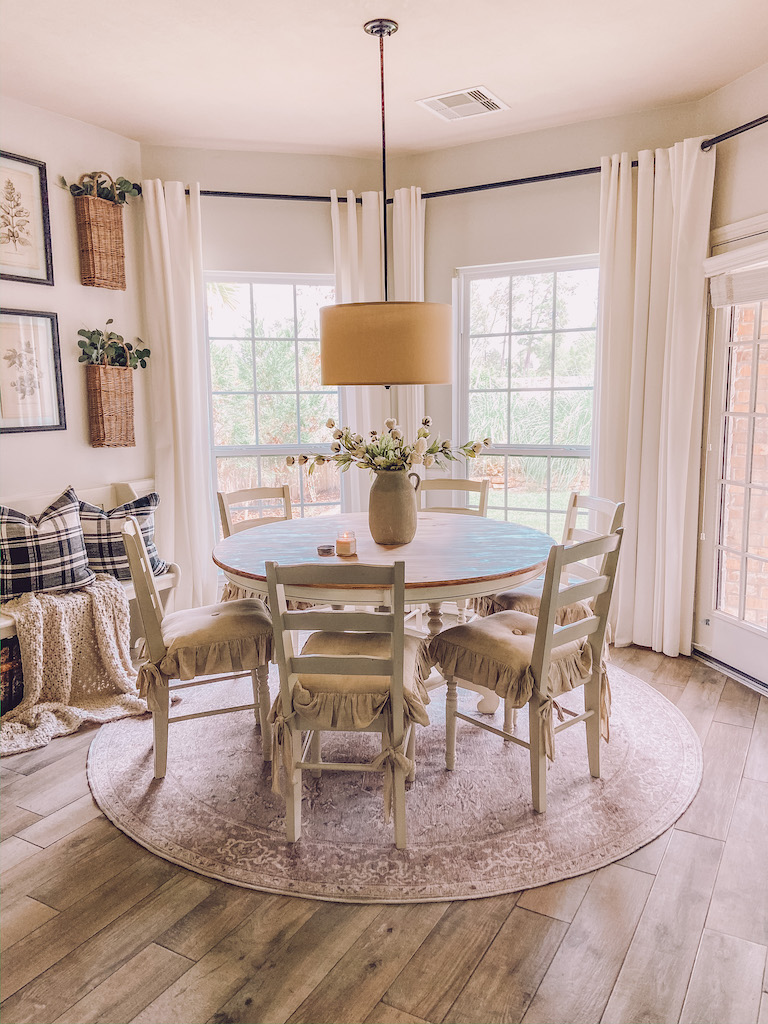
Kitchen Eat in Nook
I said it once and I’ll say it again, a little bit of paint can go a LONG way! We also added white curtains from IKEA which made the windows appear much bigger!
Alright I am running out of steam here… I’ll finish the rest of the downstairs part 1 tomorrow which will include, the half bathroom, laundry room, master bedroom and master bathroom.
Laundry Room
When we first moved in the laundry machines were side by side on giant pedestals. I wanted to have more room in the laundry room for a sink, cabinetry and a countertop for folding so we made the decision to stack the washer and dryer.

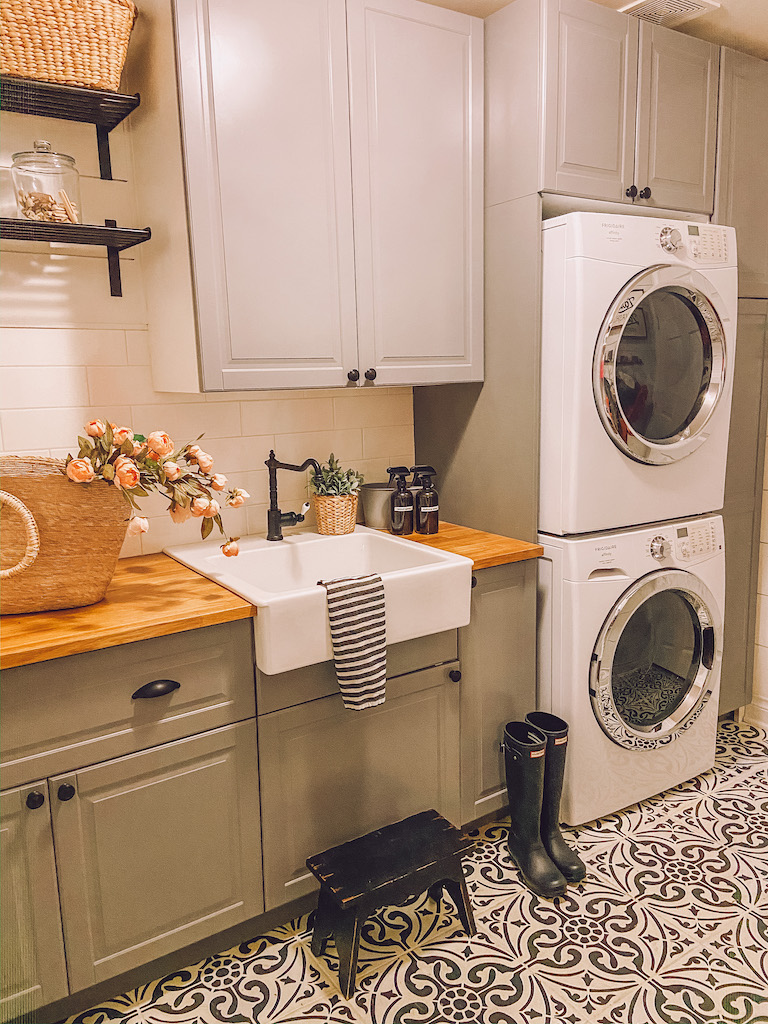
Although the front load washing machine is not my favorite thing to keep clean, having the washer and dryer stacked gave us more room in this small space. We designed our custom laundry room using all products from IKEA.
I love IKEA cabinets. In one of our previous homes we used IKEA cabinets in our kitchen and they were a great cost effective option at that time.
We also added shiplap to the walls, and subway tile against the sink. I painted the tile floor using a stencil I found off of Etsy. I have to admit, its been about 3 years since I painted the floor and it has chipped in a few spots. However, this is a very high traffic space, as it leads to our garage.
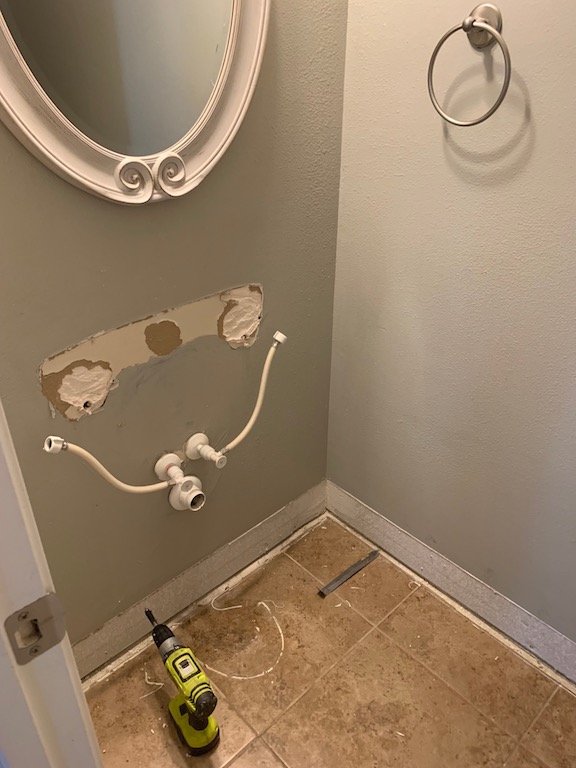
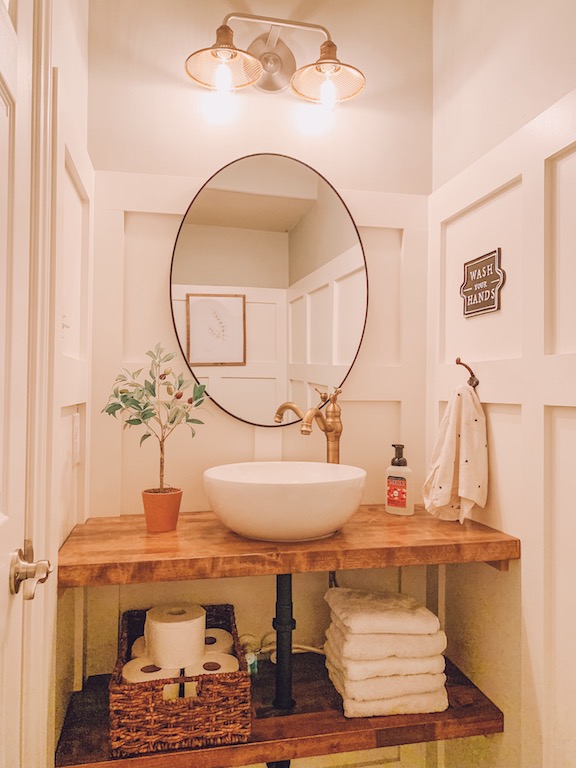
Half Bathroom
I have an entire before and after post of our half bathroom that you can see here!
Master Bedroom
Our bedroom is very spacious! It was one of the things I loved about our home! Since we have moved in we have changed the wall color, updated the flooring and added a wood planked wall.
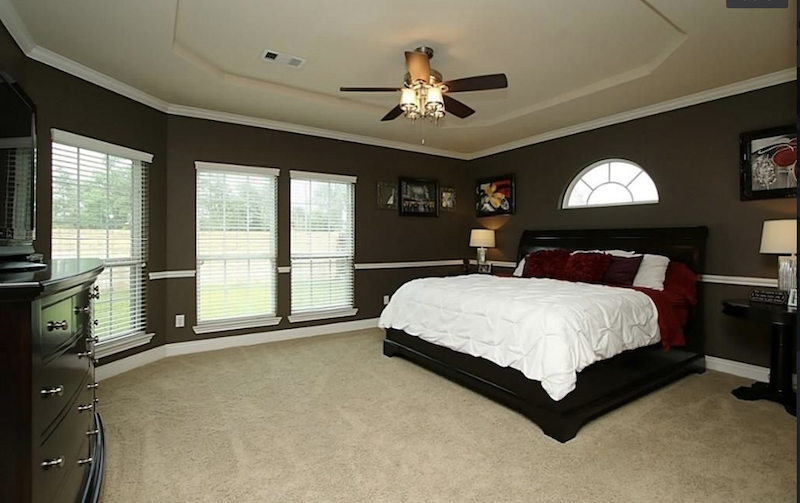
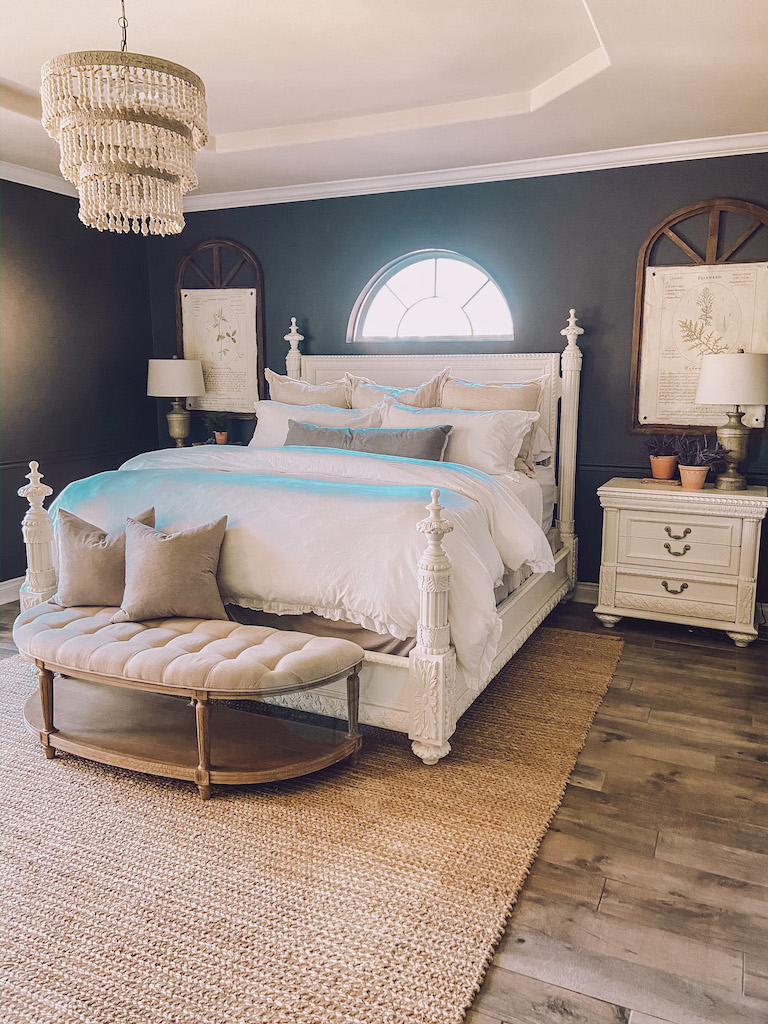
The wall planks are made by TimberChic in the color Coastal white. They are peel and stick and were so easy to install!

If you are looking for any rug sources I have all of them on this page.
Master bathroom
We updated our master bathroom about a year ago now and honestly, it needs another upgrade. We painted the tile floors and they have not held up at all. Our next project is to completely tear out the tile floors and install new tile.
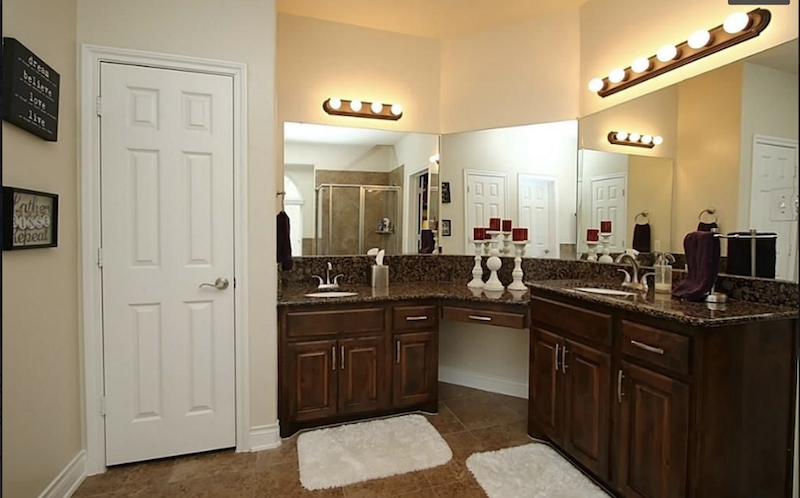
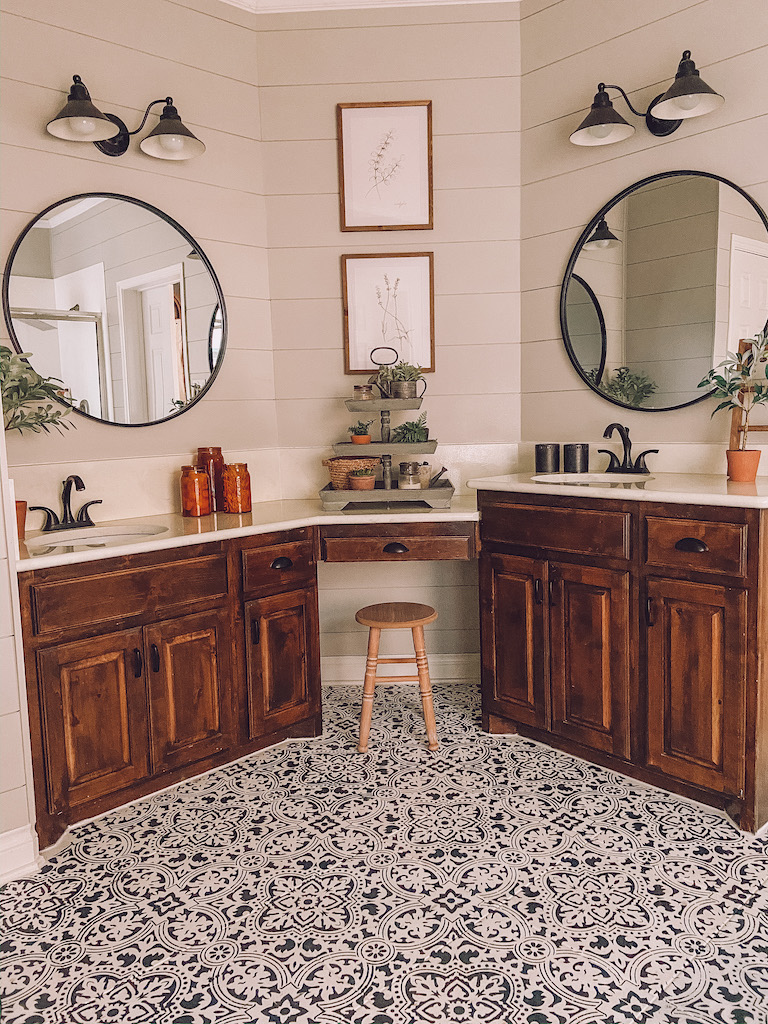
We do however love how the painted tub and shower has held up! I am even planning to do it again in Olivers bathroom.
You can read the tutorial on how to paint your tub and shower tile here.
Another DIY project that we did in this space was painting the granite to look like tile. You can also read how to paint granite over on this post.
Paint can really go a long way, don’t you think!!?
Alright, that concluded Part 1! Stay tuned for Part 2 of the upstairs coming next!
xoxo,
Leanna


Love it.. What color grout you use on tile wood look floor?